For years, I have wanted a fairy door.
Hey, I would welcome a fairy for every room of my house. Years ago, my kids would leave notes for all sorts of fairies: The Pokemon fairy, the gum fairy, the mint fairy. Yes, those fairies were busy trading cards and leaving treats!
This week, I decided to create a fairy door!

Supplies:
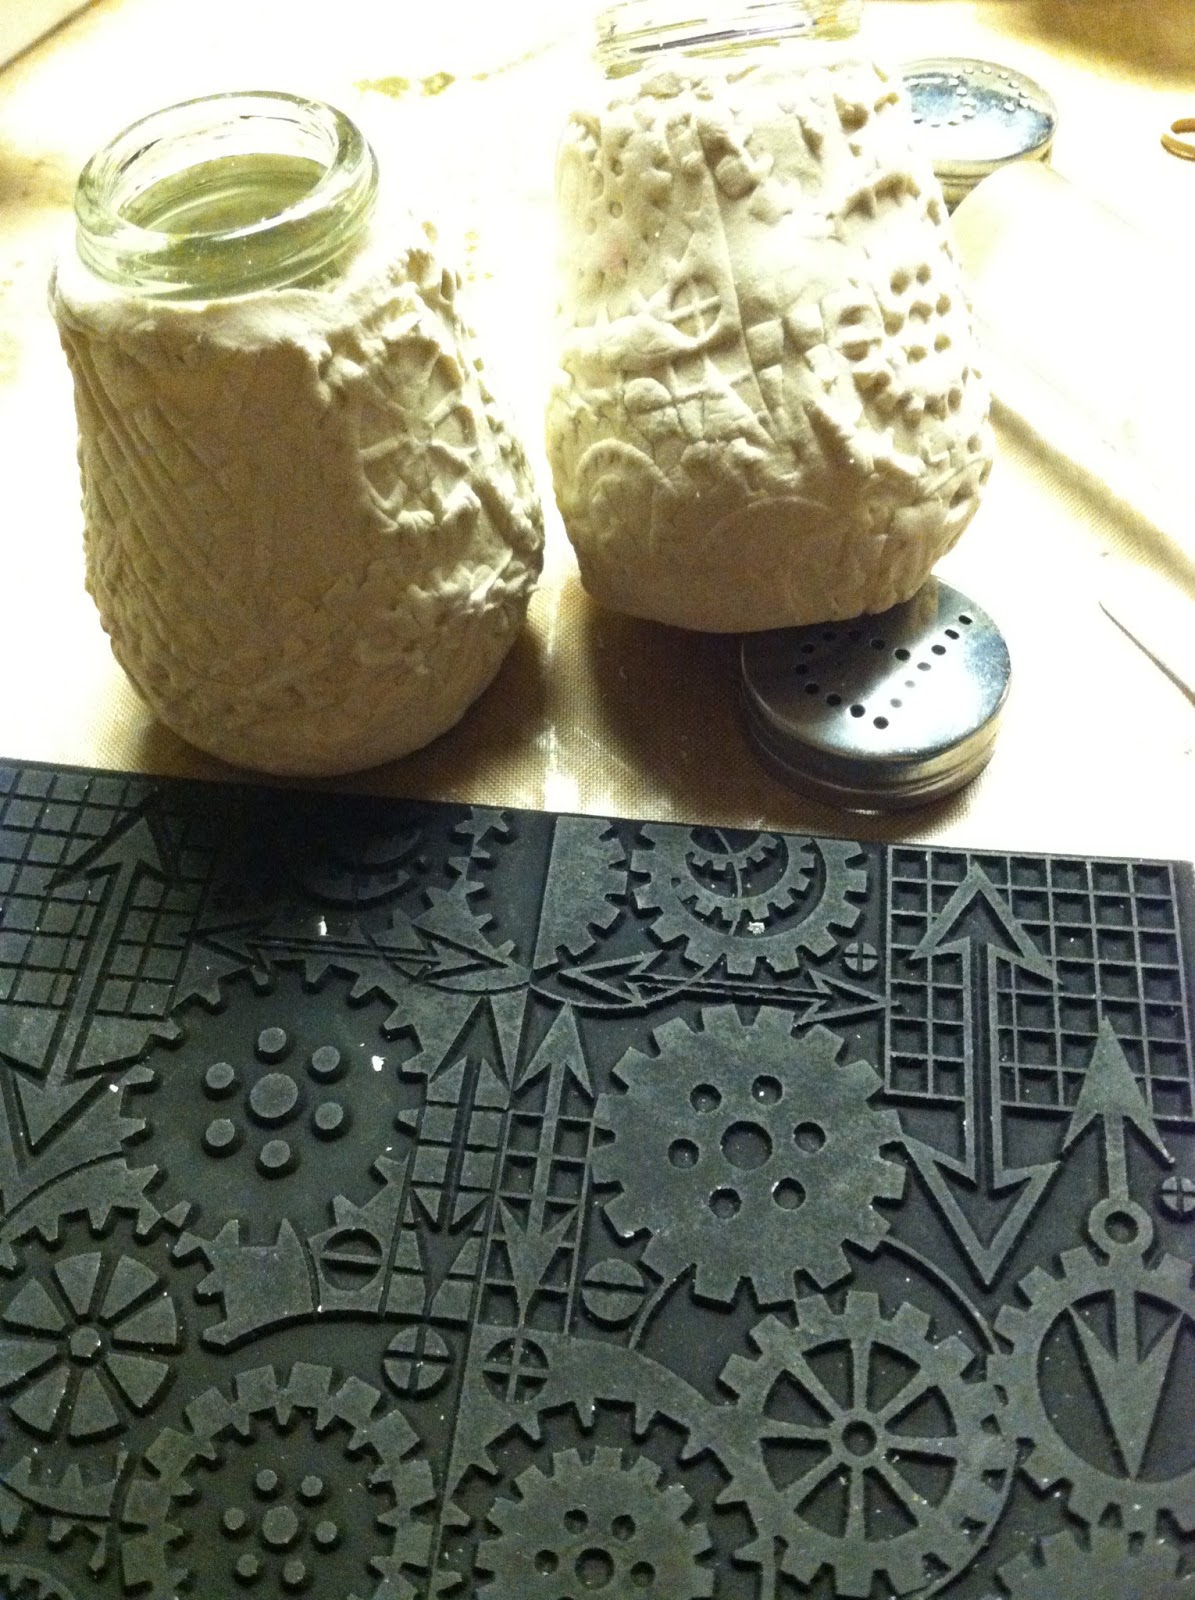
Creative Paperclay ®
wood texture stamp (I used Woodgrain from StarvingArtistamps)
rolling pin
various tools for cutting your paperclay
sponges/brushes to apply paint and a finish
acrylic paints
sand paper
Gesso
Mod Podge
embellishments as you wish
adhesive to glue down your embellishments

1. Roll out your Creative Paperclay ® to about 1/4 inch. You will want to keep this width even throughout.
2. Use a texture stamp and make an impression into your Creative Paperclay®.

3. Create a template for your door...or cut it out free hand!
I used a rolling playdough tool, that easily and smoothly cut out my shape.
(Shown in the next picture.)

4. Because I wanted mine to be a wooden door, I used my rolling tool to create faux planks of wood.
Just be sure to keep your touch light or you will slice your door!!

5. After it is dry, seal your door. I used gesso b/c that is what I had on hand.

6. Paint your door using acrylic paints.
Think about where your fairy is going to live. Do you want the door to stand out, or blend in with the colors of your home?

7. I used several browns and caramel colors to create this look of real wood grain!

8. Now...add a door knocker, a door handle, and any other special touches.
Maybe a few sweet treats will entice a fairy or two to visit your house!
I used Removable Glue Dots © for my door knocker. B/c I think my fairy is going to want to change her door decorations!
Thanks so much for fluttering by today!
Please come back early in July for a tutorial on those fairy garden stones!
Dawn Mercedes, of Sunnyside Up