Thursday, October 27, 2011

Flying Piggy Needs a Little Nap


If you've ever had a dream where you can fly, you understand what I'm talking about when I say that I wonder of animals who can fly dream about walking, or running, or just plain laying around doing nothing. Here's a little tutorial on how to make my little sleeping winged piglet. It was one of the tutorials that I made to apply for the Creative Paperclay team last spring. But hopefully, it will give some of you who are new to paperclay, or to making armatures a way to look inside a figure, and see what you need to do to build up the inner workings.

This will be my final tutorial for the Creative Paperclay Company. I have enjoyed my stint doing these tutorials, but life is so busy for me that I chose not to re-apply for the current team. I wish all the new team members success, and lots of traffic to your own blog. Have fun, and best of luck!

The first thing to think about when doing an armature is 'shape'. Look at an object and see what 3-d shapes it's made of. If you can see a shape in something, then it's a simple process to replicate it.
My piglet's body is very much an egg shape, so that is the logical piece to use as a building block. Fortunately, I go to thrift stores a lot to find odd and end crafting materials for armatures as well as other work. I don't buy new styrofoam shapes, as I am very environmentally conscious, but had these on hand from a bag of junk store treasures. You could also use any other medium to build up an armature, such as aluminum foil. My foil is clean, repurposed foil. I never throw away anything that I can use in my art. It is not only cheaper, but the right thing to do. I leave a restaurant with foil neatly folded in my pocket to put through the last of the hot soapy dish water later that night. You would have to use hot glue to glue that together though. Foam can be put together with toothpicks, and bent paper clips.

The only things needed for this project are:

one 3" foam egg
one 2" foam ball
one 1" foam ball
Toothpicks or paper clips
White glue
Masking tape
Creative Paperclay
Acrylic paint


I tried to use the entire foam egg and ball. The only part that I had left over was half of the ball that I used for his snout. That went back into my supplies. I used masking tape to hold the pieces together, as well as inserting toothpicks and paper clips, because when you spread the paperclay over the armature, you want it to stay together well.

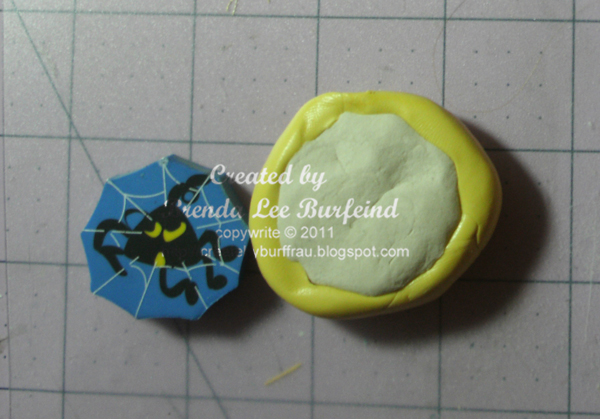
Once the armature is completely built, the only thing left to do is to spread it with paperclay. I like to spread a little white glue over the armature, and allow it to dry until it's just a bit tacky before trying to add the clay. You can do it in sections.
Then I take a piece of the clay, and try to press it relatively flat and thin with my fingers, then place it over the armature, adding others as I go, and then wetting my fingers to smooth the clay. I don't like to have to sand later, so I try to get the clay as smooth as possible. Shape the feet into hooves. Make nostrils in the snout.


The last part to make is a pair of wings if you want your pig to have them. Just a simple flat triangle, with some indentations made with the open end of an ink pen or straw, and a butter knife or small knitting needle. Let them dry separately, rather than attaching them now.

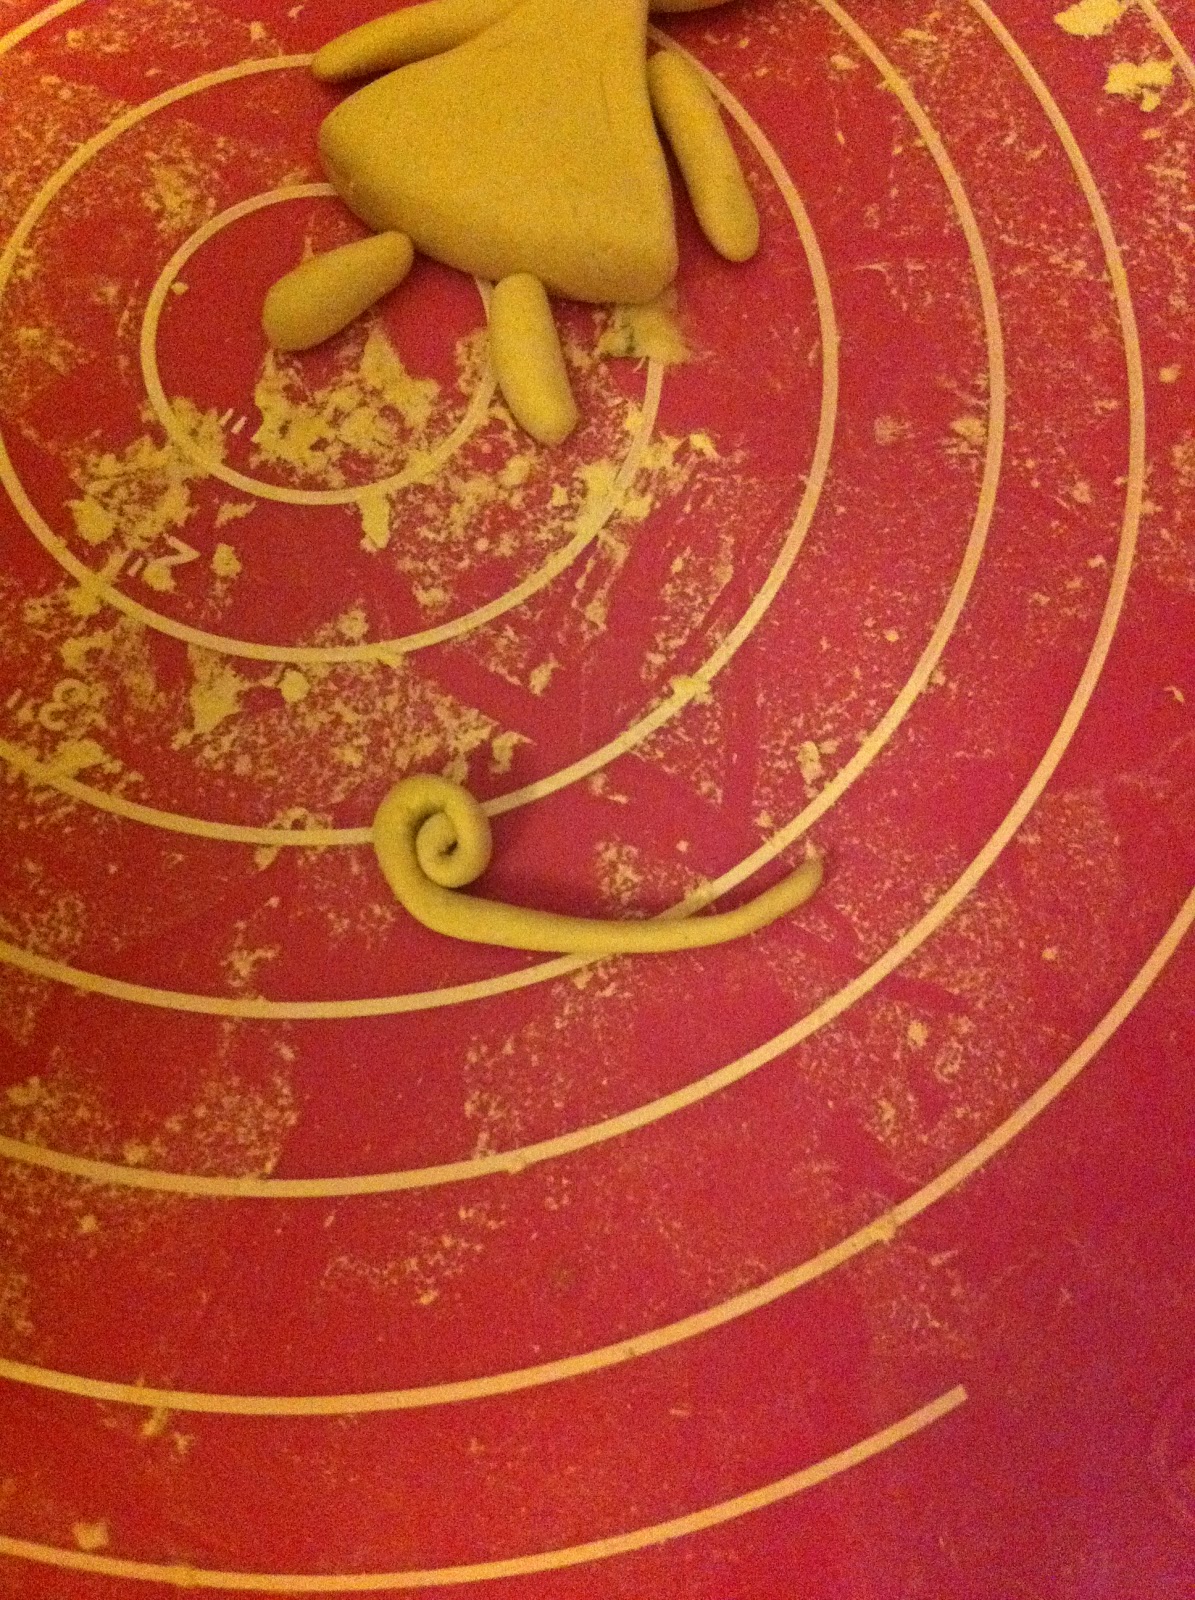
After he is dry, you can paint him whatever color you'd like. I made mine pink, but dry brushed a little cocoa color over him for a dirty pig look. Paint the wings, and after they dry, attach them with a little glue. I curled a wire and inserted it for a tail after he was finished. When you have a thinner layer of clay over something like styrofoam, it's easy to penetrate it with the wire or a needle. I took the wire out, and added some glue before re-inserting it. I later painted the wire, but when I took this photo, I was planning on making a different tail. I'm glad that I didn't, because he makes a perfect holder for a pen or pencil.


Well, folks, like Porky Pig said "Th-th-th-th-th-at's All F-f-f-f-f--f--f-olks!!!" I hope to stay in touch with all of you, so please consider following me on my:


Tuesday, October 25, 2011

Spiderweb Barrette

Good Morning and welcome to my first Creative Paperclay® submission for the new term.  I'm so excited that I was chosen again and want to show you a quick project you can adapt to any holiday.  Since we are so close to Halloween I thought I'd make a Spiderweb barrette.  Now you will need a mold and I made my own using the Amazing Mold Putty and some Creative Paperclay®.  I started with making my mold and if you have missed my previous posts on how to do that you can see it here.
Using an eraser as my object I made my mold
Then I added my clay to the mold and 
let it set up for a little while and ...
layed them out to dry.  I did pinch the sides 
a bit to really give the "webs" some definition.
I painted them with black acrylic paint and 
used my white gel pen to add in the webbing.
I used my E6000 and attached a
hairclip to the backside of the 
paperclay piece and also added
some silver embroidery floss to
the back of the barrette and the spider.
Now, you can attach it in your hair or...
hang it off of a tree branch.  LOL

Isn't this just cute?  I am going to wear my barrette to work on Halloween and see how many people comment on it.  You could even make this into a pin and wear it on your coat or sweater...totally up to you.  I hope you've enjoyed another idea for using the clay and molding material.
You can see more of my projects here at Creativity is a State of Mind
Hugs
Brenda

Sunday, October 23, 2011

Meet our New Team

I am so proud to introduce the new Creative Paperclay® new Design Team which I am the team leader for.  I have the best job getting to know and work with each of these amazing artists.  I hope you take a few minute and go check out each of their blogs and become a follower of them..  They will be creating some amazing Project with full directions for you on their blog and the Creative Paperclay® blog. 
Meet each of the new members of the team.  please stop by each of their blogs.  I will place their name with links to their blogs..
This Team will be posting projects using Creative Paperclay® with full direction to you too can play with this amazing project, Some of our artist will make you a video...  How cool is that..  We hope you too will find yourself creating amazing project using Creative Paperclay®.  Thanks for stopping by - hope you are a followers.  


Terri Sproul - Team Leader:  TerriSproul.blogspot.com

Brenda Lee Burfiend:  Creativity is only a state of Mind:

Tamara Dozier:  Tilted Asylum

Edie Cournoyer:  Life by the seat of my pants

Dennis Haynes:  Dennis Heynes Designs
Jennifer Ingle:   Just Jingle
 Barbra Moore:   Barbara Mooreshimisie
  Amanda Marks Who are you Calling Crafty? 
Debra Buckland:  Arty Crafty 
Sandra Strait:  Life Imitates Doodles  
Robyn Correa:  InJoy Stampin with Robyn Handmade  
Gini Cagle:  Beadz  
Lyneen Jesse:  I am Dreaming of Castles  
Marissa Fantoni:  Marissa Art Dolls  
Lori Williams:  Pinkcloud Scrappers  
Shelry Parson: Mother's Dream Artworks  
Thanks for stopping by today, and meeting each of these amazing artist...  Should be an exciting next 6 months...   
Terri Sproul 

Friday, October 21, 2011

Creative Paperclay® ATC Tutorial

Artist Trading Cards or ATCs are very popular these days. There is one rule for creating an ATC:  It must be the size of a playing card which is 3.5 inches by 2.5 inches. I decided to make one from Creative Paperclay®. I really like how it turned out and wewould love to trade it with another artist!

What You'll Need
Creative Paperclay®
Cup of water for sculpting and rinsing paint brushes
Non-stick craft or wax paper for rolling out Creative Paperclay®
Rolling pin
Pottery carving knife or butter knife
Very thin jewelry wire
Acrylic paint (not pictured)
Paint brushes (not pictured)
Fabric scraps, bits of ribbon, beads
Glue of any kind 

What To Do
1.  Take out a lump of Creative Paperclay® and roll it out into a thin sheet. Make sure it is not sticking to your work surface and that you have rolled out enough to cut out a rectangle the size of a playing card.


2.  Take your ruler and measure out 3.5 inches by 2.5 inches, cutting as you go. Use your pottery knife or butter knife and run it along the edge of your ruler to get a nice, straight edge.


3.  I thought it might be good to poke a hole at the top so that my ATC can be an ornament of sorts.


4.  Make sure your new blank "ATC" is flat and then pop it on a sheet pan and into the toaster oven. Bake at 250 degrees for 10-15 minutes depending on your toaster. Check a couple of times to make sure your ATC is not curling. If it is, carefully press it down flat without burning yourself!

5.  While your ATC bakes, you can make the main character of your ATC as I have. Or you can certainly veer off here and make your entirely own creation! Start by sculpting simple shapes by first rolling lumps of Creative Paperclay® into balls. From here, you can make any part of a character. 

6.  To make the head, flatten a ball of Creative Paperclay® so that it is a little small than the size of a quarter. To make the dress, press a ball of Creative Paperclay® flat and then pinch three edges. For arms and legs, take small balls of Creative Paperclay® and roll them into tiny snakes. Curve the snakes a bit and place where arms and legs go.


7. Once your ATC is finished baking and completely cooled, dampen bits of Creative Paperclay® into your water and start adding it to the blank ATC. I like to use the Creative Paperclay® to build up texture for grass, sky, and to sculpt fun things like balloons.


8.  Now it's time to attach your character to the ATC. Use Creative Paperclay® as a sort of glue/cement. Dip bits of Creative Paperclay® into your cup of water and blend into the ATC. Set your character onto the ATC.


9.  I like to give my characters a happy little place. I decided to make my little character some grass, used my pottery knife to give her some simple eyes, and made her a little nose. I also added more texture to the sky and gave a good foundation for balloons. 


10.  To make her hair, I make little snakes out of Creative Paperclay® and coil them up into little snail shapes. She's a curly-haired little character!


11.  Three egg-shaped lumps of Creative Paperclay® become balloons. Use thin jewelry wire to create strings for the balloons. Cut the wire down to size and insert between the character's hand and her balloons. 

12.  And now it's time to paint and embellish!!! My favorite part because when you are finished with this step, you'll be holding your brand-new piece of artwork! I love that moment!!! I paint the whole base one color, usually a dark color, and then add layers of paint over the base coast. 


13.  When the paint dried, I decided to give my little ATC gal a pretty dress and a hair bow. A little glitter to the background, grass, and balloons; a string through the hole for hanging and voila! My first official Creative Paperclay® ATC!!! Now who wants to trade?  


Thursday, October 20, 2011

How to Make 130 Creative Paperclay® Apple Ornaments

It is hard to believe it has been 6 months, this is my last project for the first Creative Paperclay® Design Team.  I wanted to go out with a bang; so I decided that to make 130 apple ornaments for my daughter's school for the faculty and staff for Teacher Appreciation Day.  I am not going to lie this took me a while to do I have been working on them for over 2 weeks.  I would recommend having "help" painting them opposed to doing everything yourself.  Keep in mind this can be used with ANY cookie cutter, I chose an apple for obvious reasons.

 I decicated on of my shows to making apples:


Materials:
7 - 8oz packs of Creative Paperclay® Modeling Material
Apple Cookie Cutter
Fondant Roller
1/2" Circle Cutter
Exacto Knife
Sand Paper
Slip (Dried Paperclay and water)
1/16" Paper Punch
Sculpture Tool
PLAID Apple Barrels Paints ( 20401 Bright Red, 20521 Nutmeg Brown, 20584 Lemon Chiffon, 20754 Hunter Green and Folk Art 954 Fresh Foliage)
Brushes
6715 - Kathy Davis Collection Stamp by Inkadinkadoo Inc.
Staz On - Blazing Red Ink Pad
White Card Stock
1.  Take clay and roll it out with fondant roller to a uniform thickness.  Using the cookie cutter cut out apples (repeat as many times as neccessary until desired number has been reached.)


2 Allow to dry for 24 hours.  Sand the apple to desired smoothness.  Take hole punch and punch a hole in the stem. 


3.  Take more clay, roll out clay, cut circles out and cut the circle in half.  Pinch one end of the leaf and fold.  Allow to dry.


4.  Take leaf and apply with slip onto the apple.  Allow to dry.  Stamp the tags for the ornaments.


5.  Paint apples, seal, add tag and ribbon.  Give to an amazing teacher or staff member.


Tuesday, October 18, 2011

See What The New Project is with Creative Paperclay® !

I don’t know what inspired me on this project other than the cover of the Cloth Paper Scissors magazine for July/Aug. I just loved it! Anyway I decided I wanted to try to make my own version of a doll with Creative Paperclay® These are the items that I used in my project except for paint, eyes,and glue.


Flowers and paperclay doll 017


To start with I trimmed a piece of styrofoam down with that nifty styrofoam cutter that you see in the back of the photo. The trimmed piece is in the front of the photo. I also used some green wire that I bought a long time ago that I retrieved from my stash to fashion two longer pieces for the legs and two for the arms. I connected the two styro pieces together with that short piece of dowel rod that you see along with some glue for stability. I then inserted the wire for the arms and legs along with a little more glue for stability. Once I had all of the body parts put together I covered them with the Creative Paperclay® and inserted the eyes. Here’s what the doll looked like when it was covered with clay, dried and ready to paint:

Flowers and paperclay doll 021         Flowers and paperclay doll 022         Flowers and paperclay doll 024

I also used a flower that I painted and glued on later after I finished painting my little doll up. Check out what she looked like after I got her all dolled up! hehe
              

Flowers and paperclay doll 026                                        Flowers and paperclay doll 027


Flowers and paperclay doll 029


So do you think that you could make your own dolly using Creative Paperclay®? I certainly think that you can! What do you think I should name her? Please leave a comment because I love hearing from you! Thanks for following to all of you new members!


Barbara

Thursday, October 13, 2011

Funny Bird


For this project, you will need:


3" styrofoam ball


2" styrofoam ball


1 1/2" styrofoam ball


1" styrofoam ball


(or you can substitute balls of foil, if desired)


2 thin bamboo skewers, or stiff wire, like from a clothes hanger


an additional piece of stiff wire, about 8" long


aluminum foil


Spanish moss for the nest


acrylic paint


masking tape -1" is a good width


white glue -like Elmer's


hot glue, and gun

CREATIVE PAPERCLAY


Step ONE:


Cut the 3" ball in half to make the base for the statue.


Cut the 1' ball in half to make the tail. You will only need 1/2 of each ball for this project.


Then build the armature of the bird using the 2" and 1 1/2" balls, by inserting the skewers as shown below. The top of the head should have the two skewers perfectly lined up in the center, and about 1/2" apart. See the two tallest head feathers in the photo? Those are the two skewers, covered in paperclay.

Take the 1" ball half, and tape it to the back side of the bird, down low for his tail.


Bend the piece of wire into a flat armature for the branch, then wrap foil around it to
make it into a cylindrical shape, about as thick as a pencil. You can create a forked appearance to your branch, by bending the wire in two narrow loops at one end.


I like to cover everything with masking tape before covering armatures with clay. Your choice, of course.


Step TWO:

Cover the bird armature with a layer of clay. I coat mine with glue to assure sticking. The clay should be about 1/5 of an inch thick. I am a polymer clay artist, so I have a pasta machine devoted to clay. It works with paperclay too, so if you want to use a pasta machine to roll your clay flat to cover the armatures, use the third largest setting.

Make sure that you cover the two skewers and shape them as you like. I made mine flatter on the front and back. You can make the beak now, or later. Use something like the eraser on a pencil to make indentations where the beak parts will go. You can attach the beak either before drying, or dry it separately, then glue it on later. You can indent some feathers in his chest with a fingernail, or the end of a straw, etc.

While the body is drying, you can make two wings from paperclay. I have an example below for you, or you can design them your way. You can use household items to make indentations for the feathers. I used a thin straw, and a flat sculpting tool.

Also make the tail feathers, and set them aside. I did a group of three, which are painted blue and red in the photo above. Make the feet by indenting two places in the edge of a small disc of clay.

If you are very steady with your hands, and feel confident, you can apply the feet, beak, wings and tail feathers now, with the use of a bit of glue, paperclay, or both. You will have to have a sturdy place to set him aside, so he won't get knocked over while he's drying. Otherwise, you can attach them later, and let him dry in about any position.

You can also either add the shorter head feathers before he dries, or wait to do it when you can hold onto his dry body while you work. Either way, you need to make three upside-down teardrop shaped feathers to add around the two tall feathers on his head. Smooth them out at the bottom, like an inverted V, so they will look like they are part of him, not just sitting on his head.


Step THREE:

Make the base by covering the rounded side of one half of the 3" ball with clay. You can cover the bottom as well. Or you can glue on some felt later. Smooth it, and set it aside to dry.
___________________________________________________________

Step FOUR:

Take some long strands of Spanish moss ( about an inch wide), and twist them to make a loose rope-like strand. Not too tight. This is the nest, but it will be shaped like a donut.

Also at this time find something like a piece of styrofoam, that is about 1/2" thick, and about the same wide. Like the size of a die out of a game. This can be made form the clay too, but I like to re-use things, so I used a piece of styrofoam packing material. All this piece does is serve as a rest for the bird's butt, to raise him up level with the branch his feet will be on. You'll cover it with bits of moss to hide it.


Step FIVE:

Cover the branch with a thin layer of clay, leaving the forked ends bare to add leaves. I added a wire extension so that the top leaf would be higher. Use a butter knife or sculpting tool to create lines in it, like bark. Add a few leaves stuck on the ends of the wire and one or two here and there. I let the two on the ends of the wire dry on it, but I made the middle leaf separately, and glued it on after drying and painting. Your choice.

Step SIX:

Assuming that everything has been assembled, and is now dry, you can sand lightly, if desired, then paint in your choice of colors. I painted the base sky blue, and added leaves to give the appearance that the nest is in a tree, but you could make the base any solid color. I painted the branch and leaves a darker color, then dry-brushed a lighter color over that to show the textured details.

Step SEVEN:

Heat your glue gun. Assemble as shown in the picture above, by gluing the nest on the base, leaving the center of the moss ring open, like a nest.

Then set the branch in place, making sure that it makes contact with the base, You don't want to glue it on the nest so much, as you do the base. You need stability to set the bird on it, and don't want it tipping and tearing off the moss. So, position the branch where you want it, and hot glue the back half of it to the base, leaving most of the opening in the moss for the bird.

Then set the bird with his feet on the branch, but don't glue him. See where you need to put the square riser piece to support him. It will probably be right in the center of the opening in the moss, but it might need to be back some. Glue it directly to the base when you know where it needs to be. Then add a little more glue around it, and tuck some scrap moss around it, but not on top.

Put glue on the bottom of the bird's feet (lightly) and on top of the riser, then quickly set him in position and hole him while the glue cools.

You can glue felt to the bottom if you wish, and didn't cover it with clay. You can also put it on a wooden decorative base, like you buy at the craft store.