Friday, March 27, 2020

Creating a Standing Bust


Hello everyone, today I am going to show you all how I created this standing bust that was loosely inspired by this Selma Burke sculpture for Women's history month. Selma Burke's most notable work was a Bas Relief sculpture of President Franklin D. Roosevelt that was used on the reverse side of the U.S. dime that she was never given credit for. You will need the following supplies for this tutorial:

Supplies: 

Creative Paperclay®

Masking tape
Small wooden base

thick and sturdy 16 gauge wire
Drill
Sand paper
E600 Craft Glue
Acrylic paint
Sealer, Varnish


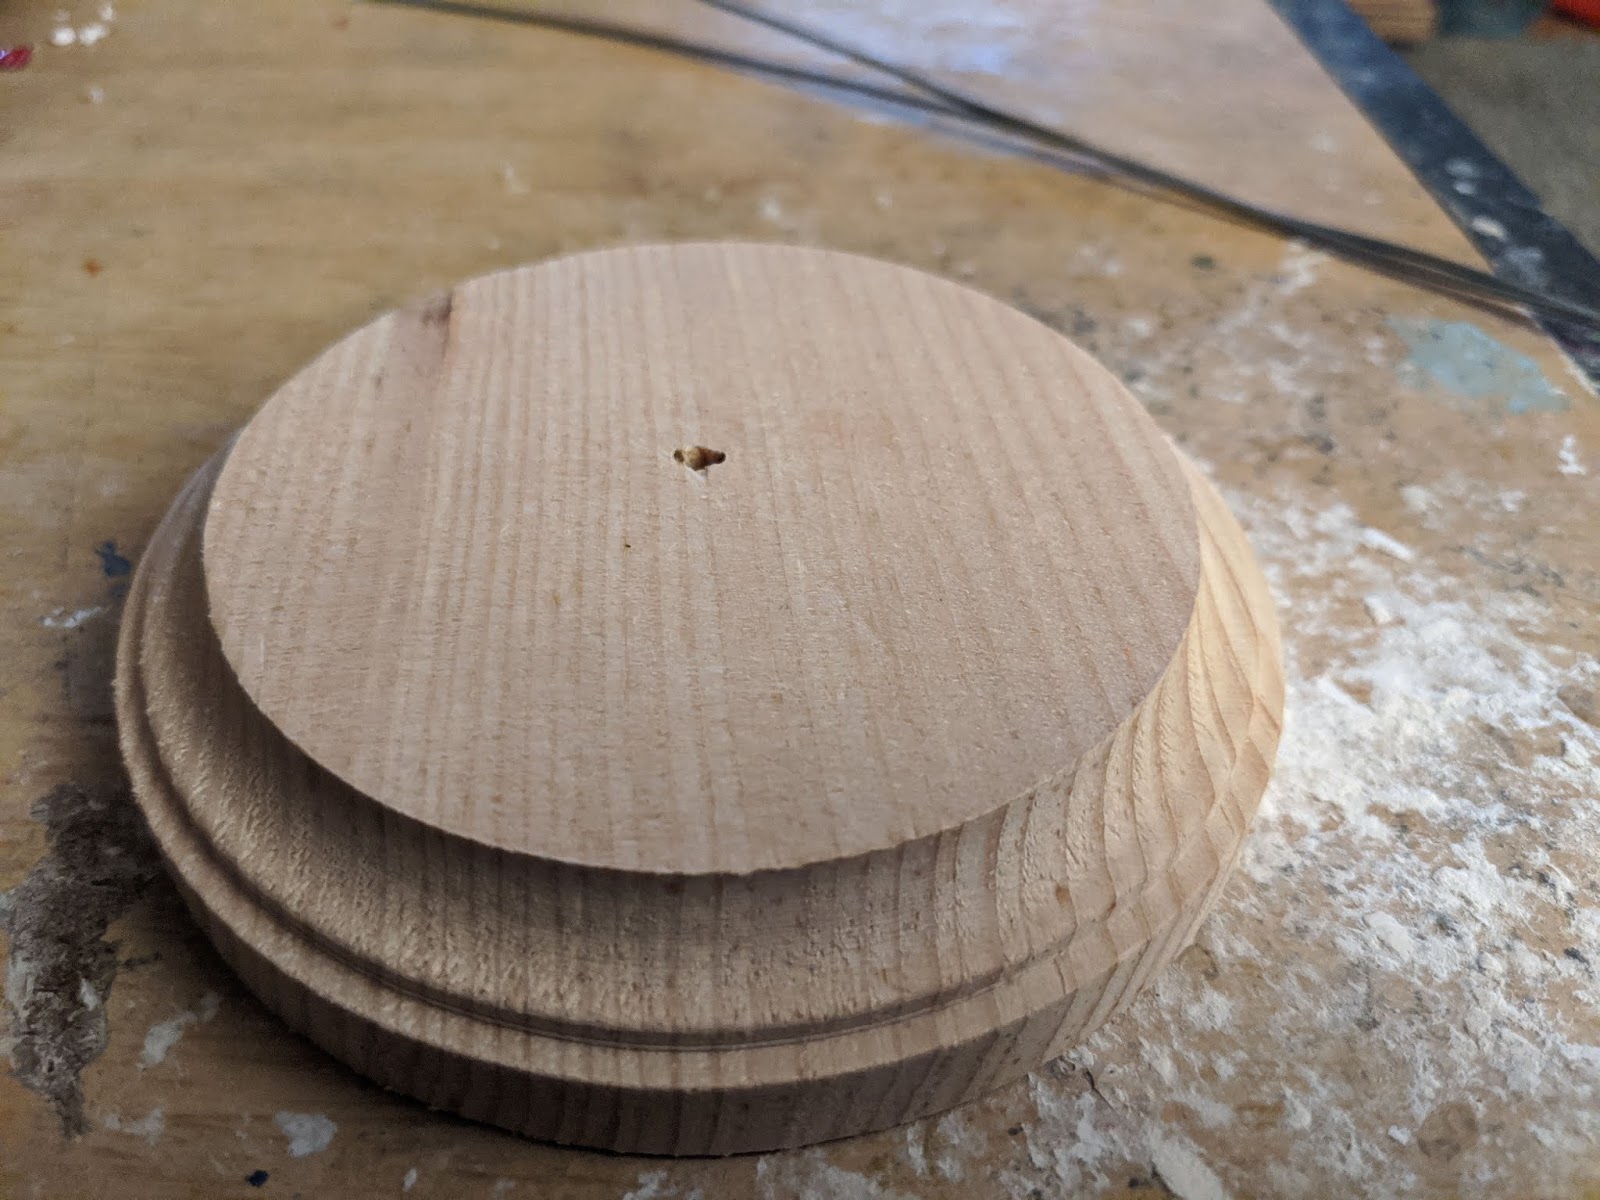
I already had a wooden base that I previously drilled a hole in laying around from a project that I didn't finish. Make sure that you use a drill bit that is just a smidgen bigger than the wire that you plan to use to stick into the base.


Create your armature with the heavy wire, make sure that you leave about a half inch of wire sticking out from the bottom so that you can later put your bust into the base. I doubled the wire here so that it would be strong enough to hold the piece up.


Begin building your sculpture, here I used some thick paper and masking tape. Keep bulking up and tightening it until you get it to form the shape that you want.


Begin adding clay onto your armature when you are satisfied with the shape.


Here I set the piece aside to dry since I work in layers. I after it dries I return to it to begin adding features. 


Here I am using a ball point stylus tool to work on building the nose with. 


After setting the piece aside to dry after a few passes, I am happy with how it looks and done with the sculpting phase. Here I am using an 800 grit sandpaper sheet to get the piece nice and smooth.


With this sculpture I decided to have the base removable so I did not glue the bust onto the base. If you chose to glue it to your base, I would do it at this point after your sanding is done. You can use epoxy if you want a really strong hold or E6000 glue could work as well.


Using regular acrylic paints here to paint my bust. I decided to give this one color instead of going with the bronze look as in the original sculpture. 


Just a shot of my messy portable work space, I rarely work in my designated work area.  When you are done, be sure to cover with a protective finish!


This is how she turned out, she needs a necklace...

Well anywho, thank you all once again for stopping by, and I hope that you enjoyed today's tutorial!

*****Stay Safe, be well and take care!*****


You can find Creative Paperclay® at the following retailers Creative Paperclay® Online Store, Michael'sAmazon, Joann's.

See more of my work at Melandolly.com and be sure to catch updates on my Instagram page


Wednesday, March 11, 2020

Color Mixing With PreK!

Color Mixing with PreK!

This is my first year to have PreK as a part of my Art program at school.  At the beginning of the year, I found it to be a bit of a challenge.  But now, I am loving all that they can do as we creep closer to the end of the school year and them graduating to Kindergarten.

One of the things they learn is Primary colors (red, blue, yellow) and how they can mix to create Secondary colors (purple, green, orange).  In the fall we used Delight Air Dry Medium plus red and yellow markers to create pumpkins.  With Spring arriving soon, I thought it was the perfect time to revisit color mixing.  In my mind, I saw leaves of green and flowers of purple and orange.  BUT this is a PreK group with ideas of their own, so may I present Spring color -mixing PreK style 😉

The materials are simple: 
1 package of Delight Air Dry Medium
watercolor markers: red, blue, yellow (I also put out pink & 2 shades of blue)
2 hands (I think everyone has those handy)

I work with 9 students at a time, so I cut the package into 9 pieces and handed each student one piece.  They were directed to break/pull apart the clay into 3 somewhat equal pieces.  I then showed them how to flatten the clay before adding color.  
Each student chose 2 colors to mix and dabbed the color on the clay (one color on each side). 

Once color is applied, the color is mixed in by folding and squishing, folding and squashing until the color is blended in.  The kids were amazed at watching the color changes.  Some were even more excited with the marbelized colors!

A few of the students created flowers.  Many more had other ideas: a one-eyed octopus who's eye was created by pressing the clay with the marker cap, a car (you may need a good imagination to see that one), balls (of course), and a pair of googles!
You have to love the imagination of a child ❤


_____________________________________________________________________

I have to share what was happening in the 4th-grade classroom while I was working with my PreK babies!  The 4th-grade teacher came to me early in the week and asked if I had any kind of clay that she could use with her students to create coiled pots.  I immediately handed her Creative Paperclay and gave her instructions for creating coils, joining them together (dip a finger in water and apply to the clay before joining), and possibly creating lids for the pots.

NOTE:  I also handed her a bottle of "slip" that came in my last box of clay.  I don't know what it is technically called, but here is a photo.  I gave it to her in case anyone had troubles with getting the clay to adhere with only water, knowing that certain "someone" would need a little help 😉
She shared a few photos of what they created.  Once dry, the students will paint them with acrylic paints.

Friday, March 6, 2020

March 2020 First Friday Fan Day


Need some inspiration for your next Creative Paperclay® project? Check out what folks are making with Creative Paperclay™.


Whimsical Wall Hanging
Clay Bells Wall Decor
Geometric Place Cards
Rainbow Cake Topper

Tea Light Lantern
Eyeglass Holder
Butterfly Tile

HELP US FIND YOU!!
  1. Use the hashtag #CreativePaperclay on all your social networks.
  2. When using Facebook, be sure the your posts and images using the #Creative Paperclay hashtag are set to public, otherwise we won't be able to find you.
  3. Share your projects on the Creative PaperClay® Facebook page.
I'm always trolling the web, looking for great Creative Paperclay® projects. If you find something, post it on our Facebook page.

GOT QUESTIONS???

Find the answers to your paperclay questions. See what other folks are creating. Stop by our Facebook group and say, "Hi!" Creative Paperclay Q&A
Carole

Wednesday, March 4, 2020

Painting a Creative Paperclay® Art Doll Bust


Painting a Creative Paperclay Art Doll Bust


Today I will demonstrate my painting techniques for a Creative Paperclay® Art Doll Bust.

Here is a list of tools and supplies that you will need:

Creative Paperclay® Art Doll Bust
Black Gesso
Acrylic Paints - I prefer heavy body for full coverage
Carbon Black  

Titanium White

Burnt Umber
Titan Buff

Quinacridone magenta
C.P. Cadmium Yellow Medium

Phthalo Blue
Prism Violet
Fixative/Sealant - Krylon (or Hairspray) Acrylic Gel Medium or Mod Podge (Optional)
Assorted paint brushes.  

At least some fine detail brushes and some flat for dry brushing
palette knife - for mixing paint colors
palette - a ceramic tile or paper plate will work
receptacle for water and a couple of rags for clean up.


This is a hand sculpted Creative Paperclay Art Doll Bust based on a design by my friend Linda Misa.  She came to teach in my Northern California studio all the way from Australia!  That's really far away!  Anyway, it was a wonderful workshop!  If you get the chance to sign up for a class with her, jump on it!  She is super generous with her knowledge and ensures that everyone is successful with their project!

At this point the bust is dried and lightly sanded.
The texture on her bodice was done with a beautiful silicone texture sheet by my friend Victoria James. Click on the link to check out her great designs. She will ship them anywhere within the continental U.S. for FREE!

http://www.victoriajamesart.com/realtextures/

First I add a coat or two of black gesso.  I used Golden brand.  You'll notice the streakiness.  That was because I started painting her and didn't like it so I covered her up with more black.  I was also really impatient to get back to painting.  You can always sand yours down to smooth things out. 400 - 600 grit sandpaper is good.  I'm going for a more primitive look so I won't do that here. 


Supplies and intro


Flesh Tone Underpainting

Shadows and Lowlights - I use some weird colors


Flesh Tone Highlights

Highlights, eyeliner, eye whites, blush, lips, and brows
Eyes
Once you get the eyes in she starts coming to life

Final Face paint.  Isn't she a cutie?  I darkened her eyebrows to go better with her dark hair.  
I painted the bodice and hair black.


Eyes, Pupils, Hair, & Bodice

Here are the final photos.  
The bright lights washed out her complexion a bit 
but, you can see the highlights in her hair and dress this way.  


Monday, March 2, 2020

Clay Talk - Using Molds with Creative Paperclay®

Hello and welcome! Did you know you can use your molds with Creative Paperclay® and Delight Clay™? It is really simple! I did a show on Facebook Live show on this last year and have included it below. I spoke about both clays and using common household items to prevent the clay from sticking in the mold.


Both clays can be used but Delight Clay™ is my favorite when using molds. It is lightweight and has some flexibility when it is dry. I often use it when decorating bottles as they easily mold to the shape of the bottle. I have included some pictures below of artwork I have done using these clays and molds.

If you missed the show or want to watch it again here it is:


These embellishments were made with Delight Clay™.


Thank you so much for stopping by!  If you have any requests for Clay Talk please leave a comment below. Don't forget to join us on the first Thursday of every month at 8PM EST on Facebook.


You can share your creations and all your other creations with us on our Facebook page. We would love to see them! For more inspiration have a look around the blog. There are tutorials for many levels using Creative Paperclay®. You can also visit my blog www.papermachepatch.com.

You can find Creative Paperclay® online at Creative Paperclay Co and also at MichaelsHobby LobbyDickblickand Amazon. 

Thank you for stopping by!

Suzette