
How to secure glitter to your Creative Paperclay Proyect.


The weather is changing and the new warmer season is starting to show.
Well I have to apologize for the delay this weather cause to my monthly tip.
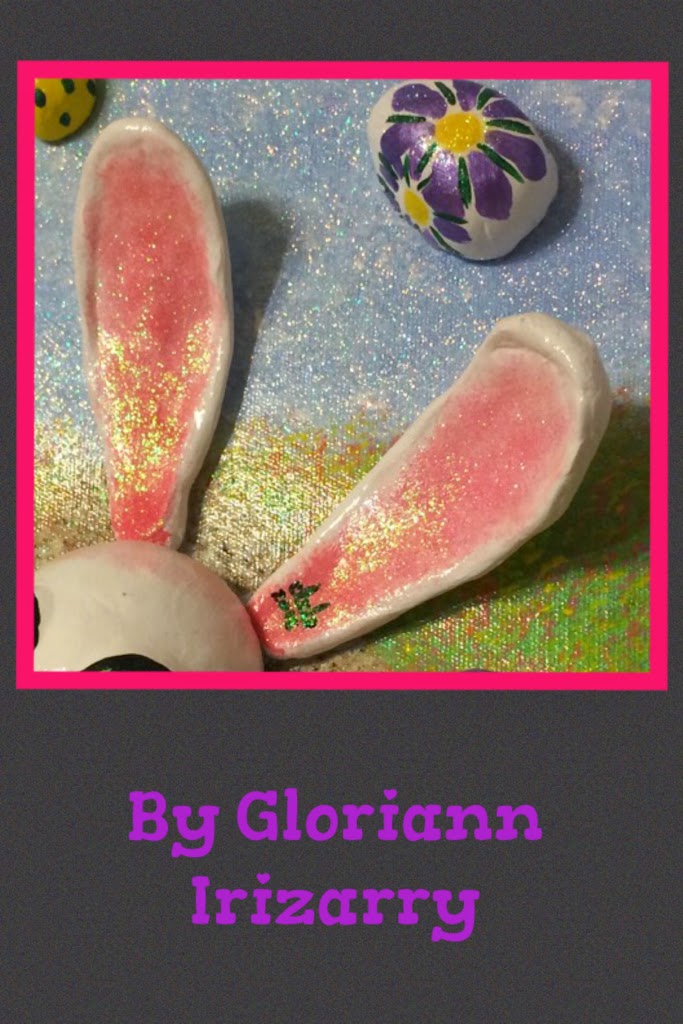
Thinking of spring brings warm and shinning skies to my mind and nothing more fitting than give you a few pointers on how I secure the glitter to my 3D Wall Art.
I love how secure this method is so I don't end up with tons of glitter all over the place.
.jpg)
Choose your favorite Sealer
Matte
Gloss
Or extra Thick

Just make sure is of a higher quality

Select your favorite Glitter.
Fine
Shape
or regular

Simple. Spray plenty sealer all over the dry paint and let it get tacky.

Once the sealer is tacky sprinkle the glitter were you want it to be.

Any shape, color or size and let it dry.
.jpg)
You can use fake snow glitter to add more texture.
If you want it to have a more thick texture you can repeat the process in layers until you like the result. Make sure the sealer is completely dry in between.

Add glitter to accent pieces only to give the canvas a more appealing look.
Or simply add to your Creative Paperclay figure to give it a magical appearance. To tell you the truth the possibilities are endless.
Once your satisfy with the glittery results just seal the piece once more to make sure all the small glitter particles are secured to the art and will not fly off when you are cleaning the dust off your project.
I do apologize for the delay of the post and I guarantee you there are more tips and trick coming up next month so please stay tune .

.jpg)
I hope you have fun with this tutorial and feel free to have any questions join our
Sincerely
No comments:
Post a Comment