Showing posts with label Crafter's Pick "The Ultimate" glue. Show all posts

Sunday, July 12, 2015

One of a Kind Card for a One of a Kind Person by Linda Hess

Along life's path you will encounter many people: some good, some "challenging"...all weave the cloth that is our journey on Earth.  One of the special people in my journey is a girl named Annie.  I have known her since she was small, watched her grow from an adorable redhead with spunk and musical talent into a beautiful woman.  Now I watch as she enters her next chapter in life as a Catholic nun!  To say I feel blessed to have watched her grow and develop would be an understatement. 

Tomorrow I will go to a shower for her as she prepares to enter the convent.  Her wishes and needs are simple: yarn, instruction booklets, oboe & piano music...I lucked into a couple of crochet books from "Annie's Crochet" (I thought that so appropriate!).  I want to create a special card for her to go with the gift and you get to be a part of the design process.

For the base of my card I start with a white "linen" piece of 12"x12" from Recollections®.  I cut it to 9"x12", folded it in half, and used a corner punch to curve the corners.  The edges were rubbed along a black stamp pad to add an extra touch (NOTE: Be carefully when rubbing...less is more in this case).

For Annie's love of music I chose another Recollections® paper "Music Notes".  I cut it down to 6"x6" and then carefully tore the edges. It is glued in place on top of the white...perfect so far.

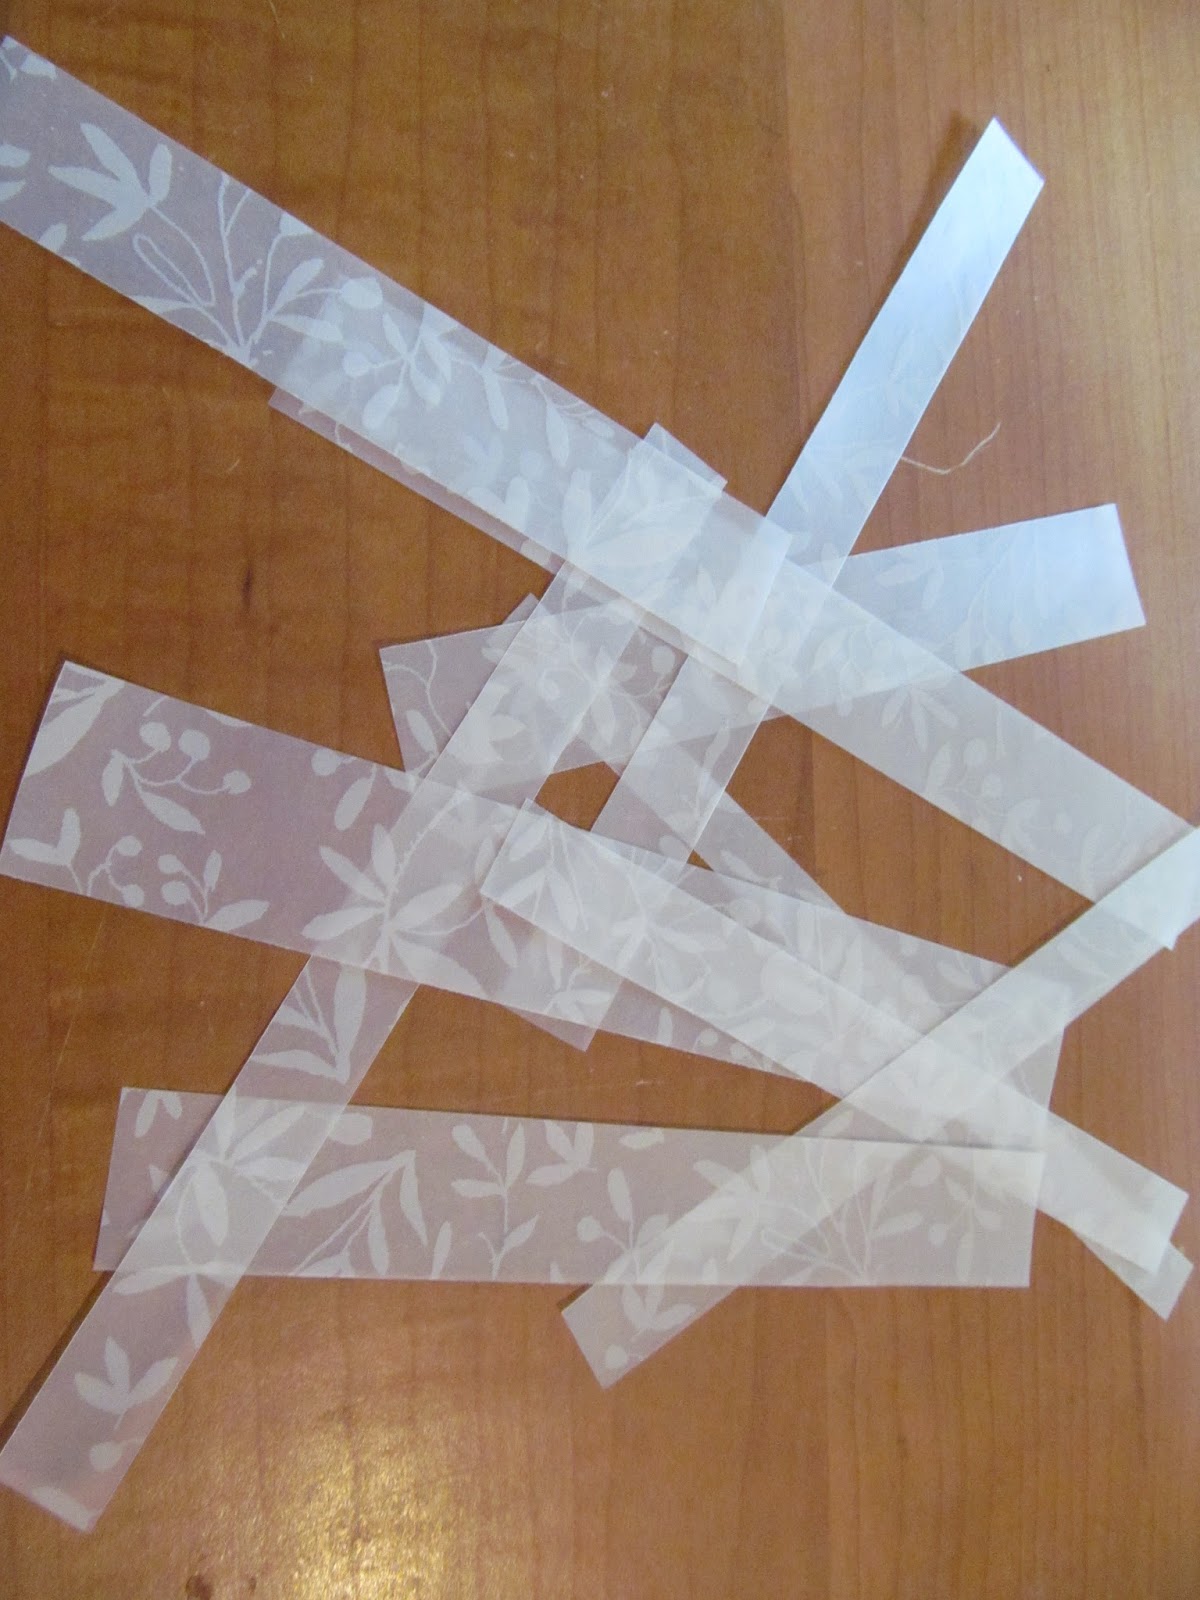
I found vellum paper strips on my table from a previous project.  I wove them together ("Our lives are forever woven together")...nice.

But when I placed the woven pieces on top of the music it basically disappeared :-(  Bummer

Not to be deterred, I went to my stash of paints and pulled out a few Twinkling H2Os (Pretty Peridot, African Jade, Sapphire on Ice, & Boysenberry) from ColourArte (http://www.colourarte.com/).  I quickly learned that Vellum doesn't like water and curls,
but I was able to lightly paint the back of each strip. As the strips dried, they magically opened back up. 
A few minutes under a book flattened them enough to re-weave for the card front.

Time to pull out the Creative Paperclay®.  I worked a bit in my hands, then rolled it through my pasta machine to flatten it (NOTE: clay can also be flattened with a rolling pin or acrylic roller).  I like rough edges rather than clean cut straight edges, so I tore the edges (towards me).  I am not patient enough to wait for the clay to air dry, so into the oven it goes (275* for 15-20 min.) with a piece of glass on top to keep it flat.

Once cooled, the piece is stamped with a beautiful scrolled cross (Rubber Stampede© #0403)
and then painted using Twinkling H2Os. 
Pearl dots complete the cross details. 
It is glued in place with The Ultimate! glue from Crafter's Pick™ (http://crafterspick.com/)

It needs a little something else.  I found this saying in my stamp box.  PERFECT for the occasion!   Stamped on a piece of the leftover white cardstock, edges torn, and rubbed over the ink pad.  Glued in place...exactly what it needed! 

One final touch.  A shimmery ribbon and a couple of appropriate charms (Bead Landing™)


Thursday, March 19, 2015

"Reach For The Stars" by Linda Hess

Those of you who follow my posts know that I teach art in at a local Catholic School.  Every year the school has an auction to raise money for "extras" that the school and/or teachers may need/want/wish for.  I have been given the job of creating a piece with each of my classes to be auctioned off during the event.  One of the pieces that I am creating wit a class is called "Reach For The Stars".  I will be creating it with the 8th graders who shall leave us soon and venture on to high school and beyond.  It will incorporate tracings of each student's hands and part of the arms that they will decorate.  The piece will be framed in a 24"x36" wood frame tat I plan to inscribe with inspirational sayings that I found online (of course).

With that piece stuck in my head (I am very excited to get started on it!), I thought why not create a smaller version with a bit of dimension?  Immediately a vision began to form and I ran to the studio for some clay....

If you know me, you know that my studio is filled with every kind of clay imaginable.  For this project I grabbed my Creative PaperClay, a straight blade, a small bowl of water, and my Sculpey Etch & Pearl tool (http://www.sculpey.com/product/sculpey-etch-n-pearl/).  I pulled off a bit of the Creative PaperClay and went to work.
1) Roll a 1" ball of clay in your hands.  Pinch the ball into a paddle shape and flatten slightly. 
2) Use straight blade to cut a thumb line and 3 finger lines.  This will give you 5 rough fingers.
3) Roll each "finger" until smooth and rounded.  Clay can be easily manipulated at this point.  If it begins to dry and you can't seem to get the cracks out, dip your finger into the bowl of water ad smooth over cracks.
4) Position fingers to form "reaching" hand.  Shape hand and wrist. 
5) Add fingernails using the "Etch & Pearl" tool as shown.
6) Wasn't that easy?!  Now create a few more.  Arrange the hands in a staggered line.  Once happy with the look, cut a straight edge. 
7)  If you have followed my posts for any amount of time you know that this is where I get impatient, so into the oven the hands will go....bake at 275 degrees for about 20-30 minutes.
 
Once cooled it is time to put the piece together (wasn't that fast?!).  I took the back off a frame (5"x7") and got rid of the glass (you can reuse it for something else like I do OR pitch it).  From my stash of scrapbook papers I found a great paper from Murdock Country Creations (www.murdockcountrycreations.com [turquoise #PSO42] ).  I cut it to fit the back and glued it on using my favorite "The Ultimate" glue from Crafter's Pick (www.crafterspick.com)
 
Next I painted the cooled hands with a variety of acrylic paints.  Don't they look nice? 
Hmmm, I think they may need manicures...perfect. 
A beaded trim from my stash (I think Expo, International, but not positive) attached to the top edge adds a bit of bling and the illusion of stars.
Place the backing into the open frame.  Position the hands and glue in place.  Print off chosen saying or use a rubber stamped saying.  To get a organic look, tear the edges towards you rather than cutting.  Glue in place. 
THERE!!  All done.

I hope you have enjoyed this tutorial.  See you next time. 


Thursday, September 12, 2013

Mary, Mary, Quite Contrary....


I have fallen in love with Mixed Media pieces!  They allow me to use a bit of THIS and a bit of THAT accumulated over the years in my studio.  Last week, after a visit to our local Farmer's Market such a piece was born. 
 I fell in love with these flowers.  The fuchsia pink with bold orange centers screamed to come home with me.  Come home with me they did, BUT (as we all know) cut flowers only stay with us for so long :-(  Why not extend their life with a custom piece of art??  An idea began to formulate in my mind (do you hear the cogs turning??)

I went first to the Delight Airdry modeling compound to create some beautiful flowers, just opening pods, and green leafy components.  I rolled a piece of the clay through my pasta machine to flatten (for those of you without a pasta machine, 2 Popsicle sticks and a rolling pin will work just as well).  Then I used teardrop shaped Kemper cutters (2 different sizes) to start my petals. 

To shape each petal I pinched the edges between my fingers to thin and then used a needle tool to create veining down the center of each.  As each petal was complete, I placed them next to each other on my work surface and the flower began to take shape.  **Please note: pinching the petals gently together or overlapping a bit will help your flower to stay together as you build.**

After one layer of petals was completed I began with a second and then a third (note: 3rd layer used a smaller teardrop cutter), stacking layers as they were completed.  A final touch for my flower reproduction was a vintage glass button pressed into the center.  Once completed, the flower was set aside to dry (about 24hrs). 
I began work on the pod in the same way, but with a much smaller teardrop cutter.  I created the leaves first, pinching and veining just as with the flower petals.  I then rolled a ball of Delight clay about 3/4" round.  The top edges were shaped and veined with the same needle tool until I was happy with the look.  The pod was then pressed into place on the leaf ruffle and set aside to dry with the flower.
 
What to do while waiting for the flower components to dry?  Why work on the canvas, of course!  I sponge painted the canvas using 2 or 3 different green acrylic paint colors.  I used the edge of the sponge brush to add some gold veining.  Never known for letting something be so simple/plain, I knew it needed something more.  Time to pull out the Paperclay!!

I recently purchased a Delta stencil (Checkerboard Medley) and knew that would add the perfect background for the flowers.  I mixed a bit of the Creative PaperClay with some water to make a soft paste.  With the stencil placed on top of the painted canvas the paste was smeared into the open spaces.  Be patient...a light touch will lead to less frustration than a heavy hand.  Work the palette knife back and forth scraping paste into and out of the stencil.  Add more paste as areas need it.  Once all open areas are filled the stencil can be removed to reveal a raised texture.  WAY COOL!!  (**please note: the stencil cannot be replaced once removed without much smearing!**)
Set canvas aside to dry.


Flash forward 24 hrs...
...the flowers have dried and now it is time to paint!  Painting the flowers tends to be a messy process.  Normally I use Pinata inks and rubbing alcohol for this, but I wanted the flower color to be a bit more intense.  In my box of inks I found my Color Box Crafter's Pigment Ink Refill in a gorgeous color called Peony.  I mixed a little of the ink refill with rubbing alcohol and began to paint.  Areas where the color was too harsh were softened by going back over it with a bit of plain rubbing alcohol.  During this process my layers began coming apart :-(  Bummer!  No worries...as each portion was painted they were put back together before drying.  Be sure all areas are painted: top and sides especially.  The bottom will be glued down to the canvas eventually, so it really doesn't need to be painted...just a time saving thought. 
 

The process was repeated for the green leafy pods using Color Box Ink Refill in "green".  As I looked at the color, it was a bit brighter than I wanted, so I mixed a bit of Pinata Color in "Burro Brown" and added that on top of the green.  The brown seemed to soften the bold green.  A few dots of "peony" ink refill placed directly onto the pod center finished the look.

Placing the flowers on top of the canvas I waited for it to "speak" to me...Please, do not call the white coats yet :-)  The canvas asked for a few things: something along the edge, wording, some additional texture, and a few polymer clay components (you didn't think I would get through a whole project with out at least one, did you??)

Back to the studio to search....
...where I found some beautiful decorative leaf components, multiple alphabet rubber stamp sets, and a FABULOUS Mrs. Grossman's metal "Fall Vines".  The vine edging was the perfect touch both in size and color!! 
Woohoo...I placed a few leaves behind the flower and placed the green pod in the corner...Hmmmm, something not quite right.  I added a few decorative leaf accents behind the flower...getting better, but still something not quite right.  Hmmmm, I think some words are needed.  To the clay and stamps I go....

Perfect.  But still something is not quite right.  I searched through my polymer clay components and found a beautiful butterfly and a flower.  I finally realized that as much as I like the painted leaf pod, it just wasn't working the way I wanted.  Remove the pod, add the butterfly and polymer clay flower, plus some more wording...FINALLY!!! 
Use tacky glue (I use "The Ultimate" from Crafter's Pick) to affix everything to the canvas (note: Vintage glass button made need to be attached with super glue rather than tacky glue).  Let dry, the hang and ENJOY.

Materials list:
Delight Air Dry Modeling compound, Creative PaperClay modeling material, Kemper cutters, stretched canvas, acrylic paints, Color Box ink refills, rubbing alcohol, Ancient page ink pad, Mrs. Grossman's "fall vines", Delta decorative stencil,  Crafter's Pick "The Ultimate"glue, palette knife, q-tips, small mixing cups, miscellaneous components