

Hello and happy Friday everyone! This is Cinnamon here with you all today and I am going to show you how I created this bird. I had planned on making a raven at first but I ended up with something that looks more like a stork of some sort. Always work from reference pictures if you are dead set on what your project is going to be.
Supplies:
Creative Paperclay
Masking tape
Wire for armature
Acrylic paint
Exacto Knife
Needle nose pliers
Probond Elmer's Glue
Aleene's Tacky Glue
Feathers
Sealer


Take your wire and shape it into the shape of the bird that you would like it to be. Cover it with masking tape to create a base for you to add your clay.


Start adding the clay when you are done covering the wire with tape. Build it up in layers. Allow the first tacky layer to dry and come back to further bulk it out.


Keep building up the layers of the bird and allow it to dry in between stages.


Take your wire and start shaping the feet with pliers. Make sure they are large enough to support the weight of the body

Here I am using a dental tool to make a hole in the dried clay to stick the legs into the bird. You can use whatever tool that you have available to make the holes.

Stick the Elmer's Probond glue into the holes so that you can set the legs in place

Set the legs in place and allow to dry

Start painting your piece with acrylic paint and set aside to dry.


Now prepare to set your feathers onto your piece.

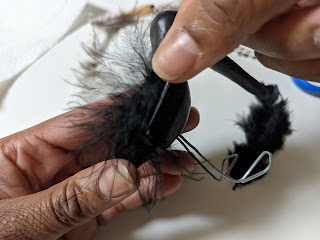
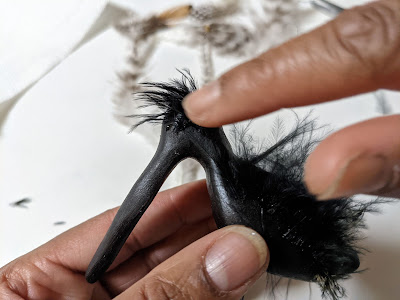
Use your tacky glue here to glue the feathers onto the bird.
Here I glued some feathers onto the head, use as many feathers as you'd like

I glued a bigger feather in the back of the bird to make a tail.

And all done!
See more of my work at Melandolly.com, catch updates on
my Instagram page and here is a link to my shop!

No comments:
Post a Comment