Hello everyone! My name is Cinnamon Willis and I am going to show you how I created this cute wall piece!
Supplies:
Gloves
Drill with small bits
Copper acrylic paint
Drop cloth or someplace to work on that can support a mess
Creative Paperclay®
Water
Sanding paper
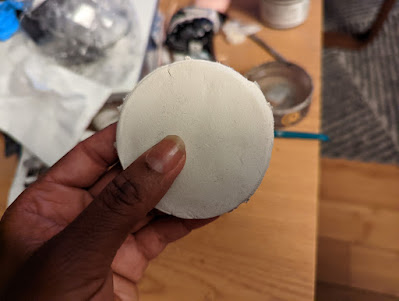
Roll and flatten out your clay. I used a lid to a container to flatten and then cut a disc out like you would with a cookie cutter.
When you get the shape just right, take your disc and set it aside to dry. Monitor the drying to make sure that the disc doesn't warp upwards. You might want to set a book on top of the clay with a piece of parchment paper in between.
When the piece dries, take your drill and drill the a hole in the top of the disk.

The nice thing about paperclay is that you can draw directly on it like paper. Draw the design that you would like to have on your piece.
Just like with paper, you can erase your drawings with a eraser. You can go back and forth with your design until you are happy with it.


Paint your piece with any type of acrylic paints that you would like to use. I choose to put gold on the side of my piece.
Use a protective coating to seal your piece. This is how it turned out.
Thank you all once again for stopping by, and I hope that you enjoyed today's tutorial! You can find Creative Paperclay® at the following retailers Creative Paperclay® Online Store, Michael's, Amazon, Joann's.
See more of my work at Melandolly.com, catch updates on
my Instagram page and here is a link to my shop!


No comments:
Post a Comment