Showing posts with label collage elements. Show all posts

Saturday, January 27, 2024

It's All About the Story

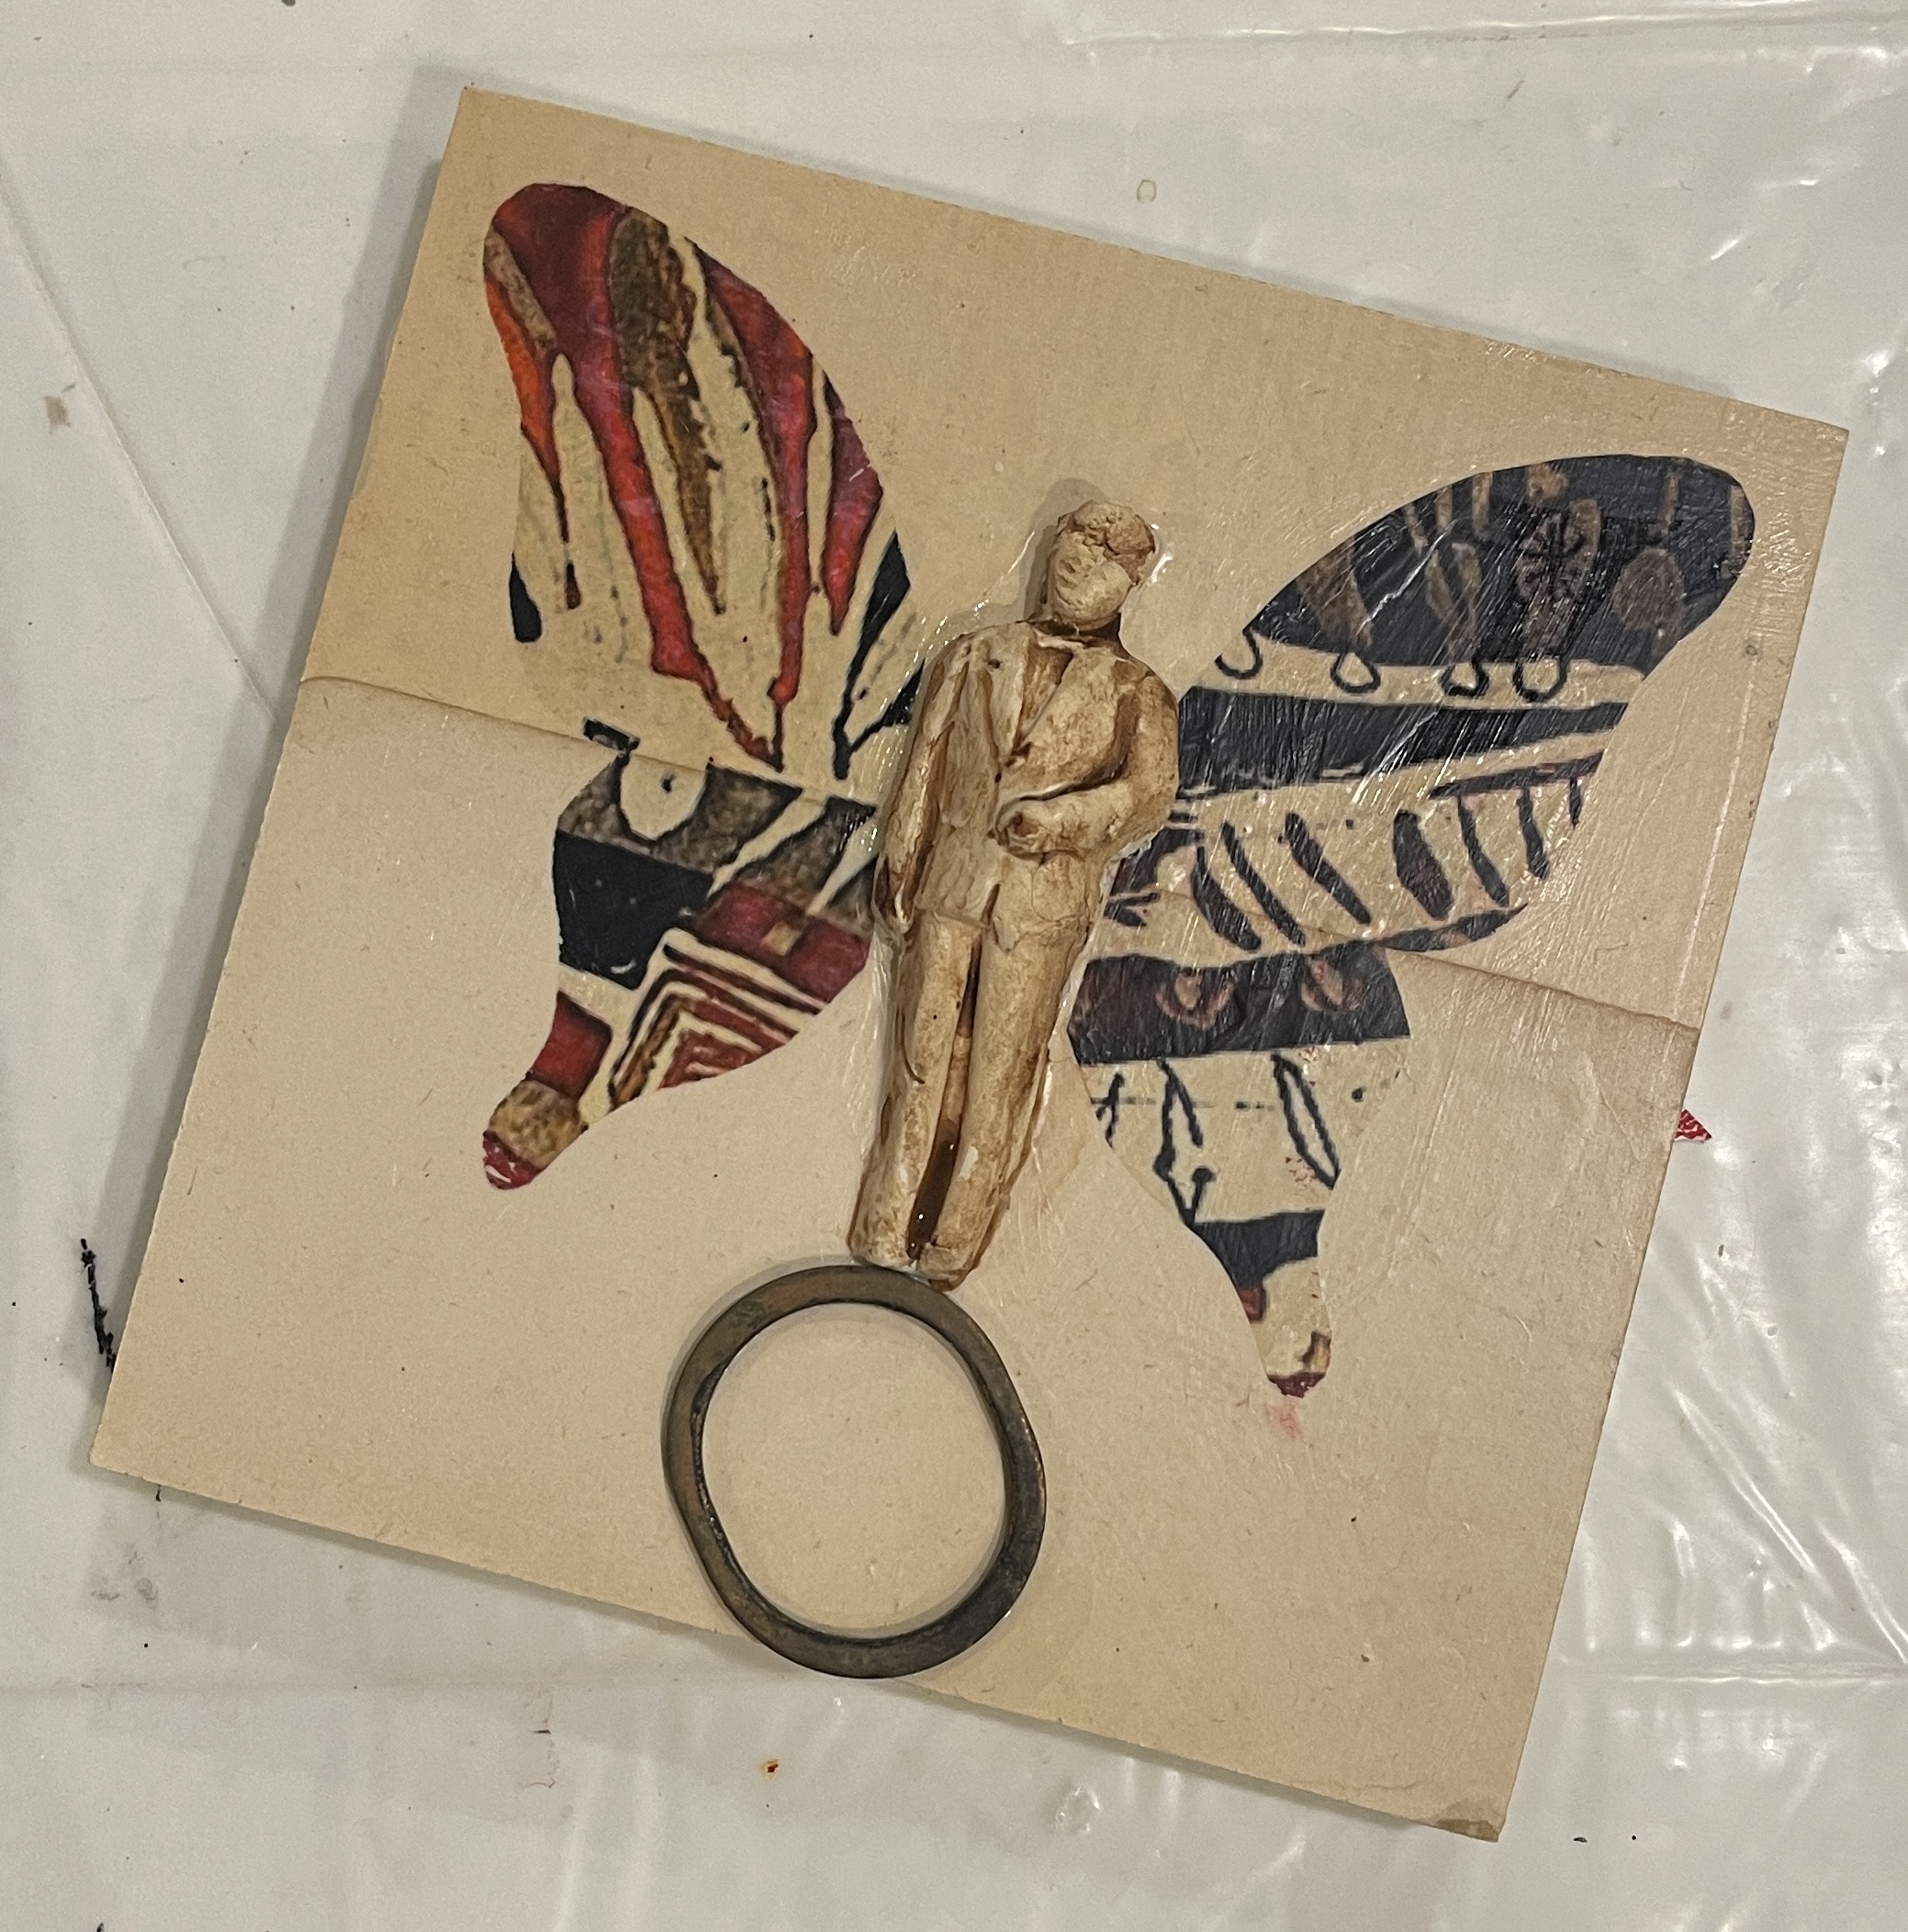
 Sometime simple is the best way to tell a story and, let's face it, all art tells a story. I just finished a big painting and had just enough time to do a small piece before I took off on vacation.

SUPPLIES

Creative Paperclay®
Waterslide Decal
Rust Metal Object
Wings
Fake Flower
Hand cut paper


I started by collaging old book pages with aged edges on my panel. Then I cast a man with Creative Paperclay®, letting it dry on the panel. Next, I gather collage elements and added the waterslide decal wings to the piece.


I wanted this piece to be about balance so the rusty metal ring was added.


After adding more collage details, I finished off the sides with a diamond pattern. This way it doesn't need to be framed.  I love doing these small simple pieces as it keeps me flexible and I never where it will lead me on my large pieces of art.

Dream in Color!

Darlene Olivia McElroy

darleneoliviamcelroy.com


Friday, October 13, 2017

Revisitation with Creative Paperclay®

I was practicing doing pours on small masonite panels and then wondered how can I use these experiments. As a mixed media artist, nothing goes to waste. Creative Paperclay® to the rescue to create a new piece out of this piece.

SUPPLIES
Creative Paperclay®
Collage elements
Acrylic Paint
Stamp


I rolled out the clay on my surface, stamped into it and trimmed off the excess with an exacto knife. I placed my objects into the clay. These were taken off and the clay allowed to dry. This leaves marks in the clay that show me where to glue and place the elements later.


I painted it and glued in the collage elements. It is going to be a present to a friend's daughter. For years I have given art to my friends children or great grand children. Starting them on their "collection". One of them took a piece I gave her to collage and now to grad school.

Dream in Color!

Darlene Olivia McElroy


Thursday, April 23, 2015

Create a Journal for You and Your Friends

Take an old book from a thrift store and turn it into a journal for yourself or for a gift. Simple and easy.

Supplies
Old book
Gesso
Paint
Creative Paperclay®
Stamps
Collage elements


I started by painting gesso on the interior pages. This adds a little weight to the pages as well as give you a great surface for journaling on. I let some of the text show through for interest.


Next, I added Creative Paperclay® on the cover of the old book and added texture and pattern by brayering stamping and stencils on the clay.


I added paint, metallic rubs and then glued on collage elements.

This is a great gift for all ages. Have fun.

—Darlene Olivia McElroy

Thursday, January 8, 2015

Add Depth to Your Painting

Starting the year with a narrative of freedom, taking flight and unlocking our personal cages in this piece, Set Me Free.  Affranchis (the letters on the bottom right) comes from the French meaning to liberate or free. The piece evolved from that concept.

Supplies
Collaged surface
Creative Paperclay®
Alphabet stamps
Cast lock
Lace
Red oxide & Burnt umber acrylic paint
Gold & Silver Rub


I started by taping off an area and laying Creative Paperclay® on to the surface. I then embossed it with lace and stamped with my alphabet stamps. I then removed the tape and the lace (which I glued back on later). 


When the first paper clay application dried I added more to make the shape and stamped with a liquid latex mold I had previously made. Then I cast a lock with the paper clay in a press mold from a previous project.

Sorry about the color changes. I took the photos at different times of day. The finished piece has accurate color.


Here is a detail of the cast vintage lock and the stamped paper clay that was painted red oxide then rubbed with both gold and silver rub.

May the new year give you wings to fly high and the key to open your heart to new experiences.

Darlene Olivia McElroy
darleneoliviamcelroy.com
darleneoliviamcelroy.comdarleneoliviamcelroy.com

Thursday, December 11, 2014

Telling Stories in Clay


I was walking by a ceramic shop and saw some wonderful plaques and thought it would be fun to do a variation on them. It would be great to do a whole wall of these in a grid!!! So I decided I would do one on all the dogs who have shared my life and are no longer here. The O's and X's are for all the love Oso and I had for each other. He was my studio dog and the heartbeat beneath my work table. The trees are for the our walks, the round beads for all the places he had to stop and enjoy.

Supply List:
Creative PaperClay®
Mark Making Tools
Image
Acrylic Paint
Embellishments


I started by rolling out the clay on a masonite panel. Then I made marks in it and added clay embellishments which I also drew on before letting the clay dry. I really love the look of the raw clay. Once upon a time I was working towards a degree in ceramics but hated the hurry up and wait aspect of the media so ended up with a degree in painting. So now I only have to wait for the clay to dry and I can still paint.


I find it is always best to coat your clay with a matte acrylic medium when it is dry. After the medium dried I covered the whole tile with a matte black paint as I wanted the black to show up in the crevices when I did the final painted finish.


I added paint and started adding small beads, gold and silver rub and a button. I finished this off with a picture of Oso under a raised clear resin button shape.

My challenge to you is to make a happy memory for those you loved and still love.

Darlene Oliva McElroy

Thursday, September 11, 2014

Creative Paperclay® Masquerade

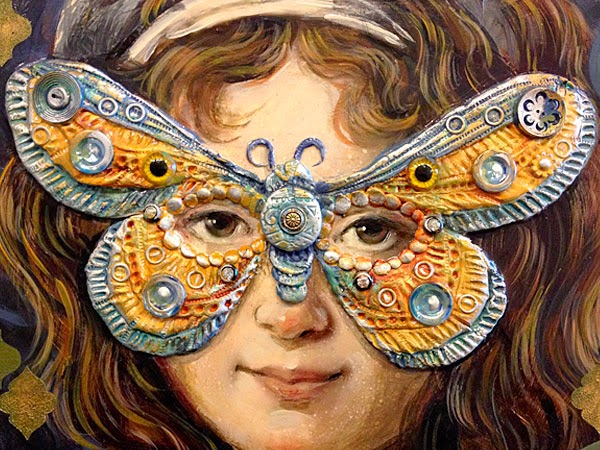
I have been invited to show my art in an invitational show, Masquerade, and decided to add a Creative Paperclay® mask and cast butterflies to my painting. I marked on my art where I wanted the mask to go with a water soluble crayon. See the light white line on the left. Then I started adding the clay.

Creative Paperclay®
Paint or metallic rub
Silicone Mold
Small Round Objects
Supplies:
Silver & Gold Rub

BTW - The name of the piece is Fly Bye and is a 12" x 36" mixed media on panel.
I completed my design and added small round objects. I thought they might pop off but they are well stuck into the clay. Then I let the clay dry.

I tend to work in very thin layers so this is a comfortable way for me to add texture and dimension to a piece. Plus it is always fun to mold something from scratch.

Once it was dry, I painted the piece then added both gold and silver rub.

Hope this added more ideas to try on your art.

— Darlene Olivia McElroy