Showing posts with label recycling. Show all posts

Tuesday, July 18, 2017

How to PAINT a Totoro Creative Paperclay® Tea light Fairy House #ArtByGloricom 3/3

Part 1
 
Part 2
 
Part  3


Hola and Hi to all my wonderful friends and followers.
 Like I promise here is the part 3 of this one of a kind tea light fairy house.
 I hope everyone enjoy the step by steps instructions and feel free to share it with all your friends.
Now in this 3rd part I will be showing you how I use a few techniques to paint this magical fairy tea light house with one of my most favorite wood spirit Totoro from the Studio Ghibli film My Neighbor Totoro. 


For this project I used some of my previous FolkArt and DecoArt Acrylic paints
Here is the color list:
FolkArt Licorice Black
FolkArt Antique Copper
FolkArt Rose Shimmer
FolkArt Champagne
FolkArt Metallic Inca Gold
FolkArt Metallic Christmas Green
FolkArt Metallic Periodot
DecoArt Festive Green
DecoArt Renaissance Brown 
 
 
I like to do a couple of coats when I paint my Creative Paperclay pieces just to make sure I have a nice coverage and protection for the final piece. Make sure you wait in between coats to make sure is all dry so the second coat adheres propertly to the clay.
Start covering the truck of the fairy house with the FolkArt Metallic Inca Gold.

 
To color the top of the house use the FolkArt Metallic Inca Gold for the stump with FolkArt Metallic Inca Gold and the base colot of the roof leaf FolkArt Metallic Periodot and make sure you use to coats for each color.
 
 
Now lets give a nice coat for the grass with the DecoArt Festive Green.
 
 
To give the roof a nice 3d effect use the FolkArt Metallic Christmas Green and apply a water down mixture very carefully. You can use a wet down paper towel to remove any excess if you think is too thick after you applied the acrylic paint down.
 
 
 Now this will only work if the paint still wet so make sure you inspect the piece carefully before you leave it to completely dry.
 
 
To create a nice accent tone door use the FolkArt Champagne has a base and give it two complete coats and let it dry.

 
The best way to bring any texture up is to apply a darker color in this case DecoArt Renaissance Brown. I have notice it works best if you water down the paint so the pigments will go down the crevices of the sculpted piece. Again dont be afraid to apply a much since you will be using a wet paper towel to remove any excess paint. this techique work best to exposure the nice sculpted texture you left behind . This really brings the rock appearance of the front door and the grain of the tree bark.

 
We also want to give the grass a nice and natural effect for that we need to add a few layers of colors. For the second layer use a nice water down mixture of the FolkArt Metallic Christmas Green. The more you water it down the easier it will pool in all those tiny little grass we previously sculpted. You can remove any excess again with a wet paper towel.
 
Tip: Always use a new Paper towel for each color you will be removing so your piece will not be stain with the older previous color you already removed.

 
It is now time to color the cute little flower and for that we will be using the FolkArt Rose Shimmer.
Feel free to apply two nice thick coats. No water downs for this step.

 
Remember to leave the window frames for last. The reason for that is you want them to be bold and clean colored. Use two thick coats of FolkArt Champagne.


Now you can see how all these steps came down nicely to create your one of a kind Tea Light Totoro Fairy house. A very lovely way to recycle any old baby food glass jar.


The little house is ready for a cute little LED tea light and it will bright your night away.
 
I hope you enjoy this full free Creative Paperclay tutorial. If you did please like and share for everyone else to enjoy. If you want to follow the previous parts of these How to tutorials i had included all the links in the top portion of the intro. 
 
Sincerely
Gloriann Irizarry
 
#Creativepaperclay #totoro #fairyHouse #artbygloricom #bygloricom  #Anime #manga #otaku #paperclay #fanart #fairygarden #ledCandle #tealightholder #studioghibli #ghibli #HayaoMiyazaki #myneighbortotoro #sprite #fairy #fairies #gallery #art #crafts #tutorial #madewithmichaels #handmadewithjoann #acmooreinspired #hobbylobbyfinds #fairylights #chateauoart

Monday, May 25, 2015

Shari's Tip of the Month

Hi!
 Thanks for stopping by to view my tip of the month.

I was cleaning out my studio and came across some packaging from some metal keys I had purchased. I was ready to put it in the recycle bin when an idea struck me. I wonder if these flimsy plastic packaging molds could be used with Creative Paperclay? The answer was YES!!

I cleaned it with soap and water just to make sure there was not any reside from shipping on them.
I packed in the paperclay leaving it clean around the edges of the mold. I  found that leaving clay in the mold till it was slightly dry made it easier to remove. (The paperclay will shrink slightly as it dries leaving a space around your piece.)Once removed I laid them on my drying table to finish drying.


This worked perfect! Now I will be looking at packaging a little differently on the products I purchase. What is even better than having a new mold? I am helping save the environment by reusing and re-purposing an item instead of just tossing or putting it in the recycle bin.

Shari

I have been creating art for as long as I can remember. I studied graphic design in Portland, Oregon before moving to Denton, Texas and putting all my focus on creating mixed media art. In addition to being on the Creative Paperclay design team, I am a contributor for the Robin's Nest Design Team, an article writer for Mixed Media Art, and an Outside Artist and blogger for DecoArt.
I strongly believe in giving back. I volunteer at Scrap Denton Creative Reuse Center where I teach workshops, art camps, and perform art demos. I am very passionate about mixed media art and enjoy helping and watching others discover their creativity.
Monday, March 9, 2015

Bunnies are Everywhere!

Good Morning!

 The stores seem to have Easter items out already. It's still a little early for my decorations to be put up at my house. To keep me happy until I start decorating, I created this cute bunny display out of Creative Paperclay®.

Look at all the eggs she has gathered to color. She looks so cute resting on a comfy pillow in her half egg shell chair ready to munch on a carrot.


Supplies
 Creative Paperclay®
Americana multi-surface paint
Makins USA® scalloped clay cutter
 Beacon 3-in-1 Adhesive®
Large paper mache' egg
Foil
Wire (20 gauge)
Recycled ribbon spool
Micro buttons
Wood Bees
Miniature doll house basket of eggs
Easter grass
Scalloped charger
Chocolate speckled eggs

Let's get started

The Egg Chair

1. Cut a large paper mache' egg in half.
2. Smooth  paperclay around one half of the egg.
3. Take your scalloped clay cutter and  trim around the open edge of the egg.
4. Let air dry or bake per manufacturers instructions.
5. When dry remove from the paper mache' form.
6. Paint your shell the color of your choice.

The Base

1. Take an empty ribbon spool and remove the cardboard from one side.
2. Paint to match your egg color.
3.Glue the painted base to the shell.


The Bunny

1. Take a piece of foil and form it into an egg shape forthe bunnies body.
2. Use foil to form an smaller egg shape for the head.
3. Cover both with paperclay and smooth.
4. Roll out a clay rope.
5. Wrap the clay rope around the bottom of the head.
6. Attach the head to the body smoothing the clay to form it into 1 piece.
7. Take two pieces of clay and attach to the head for ears.
8. Make 3 small balls 1 for the nose and 2 for the bunny cheek jowls and attach to head.
9. Cute 4 small pieces of 20 gauge wire and  insert them into the cheek jowls.


The Pillow and the Carrot

1. Take a piece of foil and shape it into a rectangle.
2. Smooth paperclay over the top and sides.
3. Let dry and paint.
4. Attach buttons to all 4 corners.
5. Turn the Pillow over and glue Easter grass to the bottom edges of the pillow.
6. Take a small ball of clay and form it into the shape of a carrot. Let dry and paint.
7. Glue the pillow into the shell, glue the bunny on and then the carrot.
8. Add any other miniatures you would like. I added the basket and the bees.


 I created an Easter scene using a scalloped edge charger, Easter grass, little fuzzy chicks, and speckled chocolate eggs.


Thanks so much for checking out my tutorial. I hope it inspires you to create a new decoration for the Easter holiday.

Shari


I have been creating art for as long as I can remember. I studied graphic design in Portland, Oregon before moving to Denton, Texas and putting all my focus on creating mixed media art. In addition to being on the Creative Paperclay design team, I am a contributor for the Robin's Nest Design Team, an article writer for Mixed Media Art, and a blogger for DecoArt.
I strongly believe in giving back. I volunteer at Scrap Denton Creative Reuse Center where I teach workshops, art camps, and perform art demos. I am very passionate about mixed media art and enjoy helping and watching others discover their creativity.


 My Altered Life's Pinterest addiction


Thursday, January 24, 2013

Upcycled Vase Made From a Honey Jar

     
DSCN1529
I love to upcycle.   Some of my favorite projects involve upcycling things, like jars, that would normally end up in the trash bin into something that is functional.
 Items used for this project:
Honey Jar
Tissue Paper
Gloss Varnish
Terri Sproul Mixers in Silver
Powdered Pigment in Pearl
DSCN1514
I covered the jar in two layers of Turquoise Tissue Paper.  Then added a layer of Terri Sproul Mixers in Silver combined with a gloss varnish.
DSCN1515
Then I added polka dots using  Creative Paperclay.  I stuck them on while the tissue paper was still a bit tacky to ensure they stayed put.
DSCN1533
To finish it off I painted the polka dots and added a few more layers  of gloss varnish mixed with a pearl pigment powder.
A quick and easy project, with awesome results.

Wednesday, November 23, 2011

It Would Take a Man 600 Years...

By Amanda Marks

If you did not get the quote you have never seen the movie Shawshank Redemption with Tim Robbins and Morgan Freeman (highly recommended if you have not seen it).  Christmas is just around the corner and I have been working frantically on Christmas gifts for friends and family which leads me to this design team project.  I can not guarantee that there won't be Shawshank quotes throughout this posts.

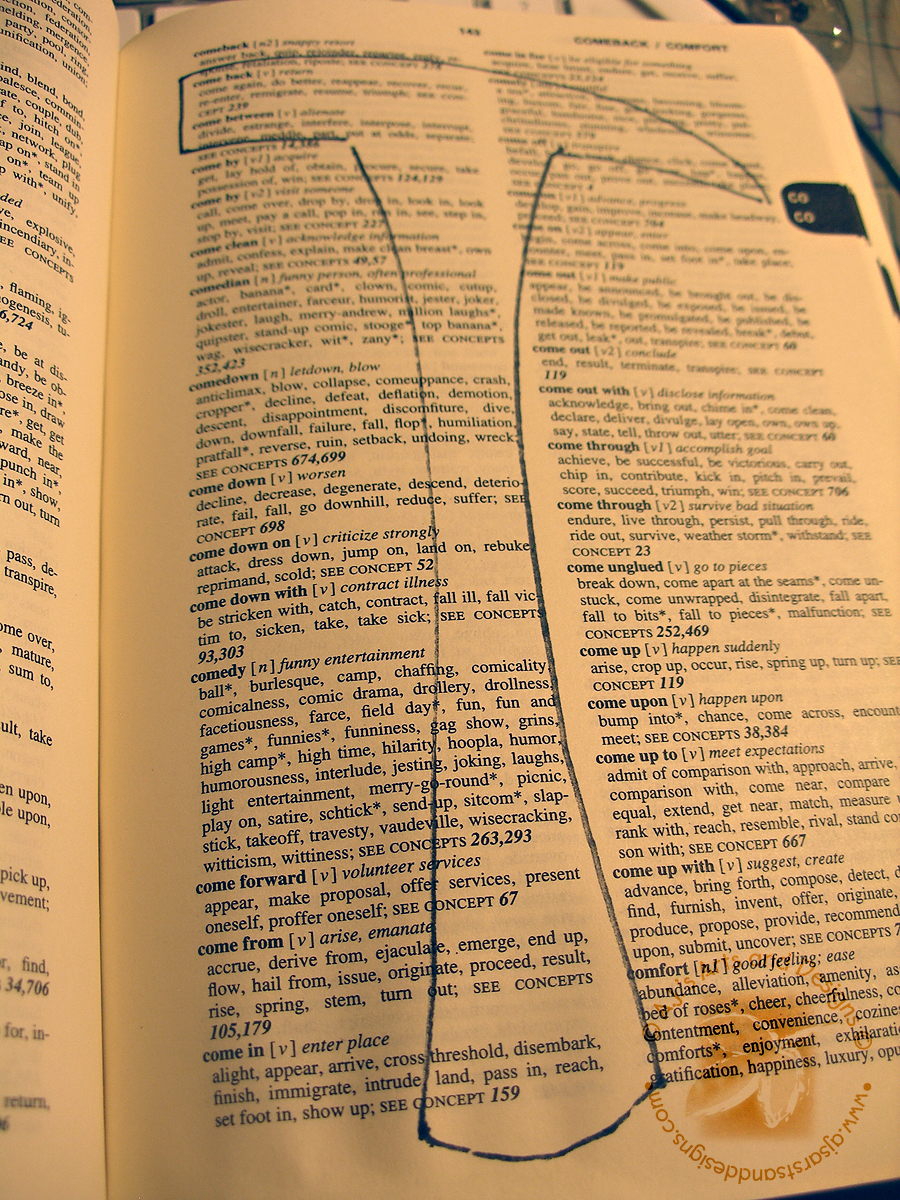
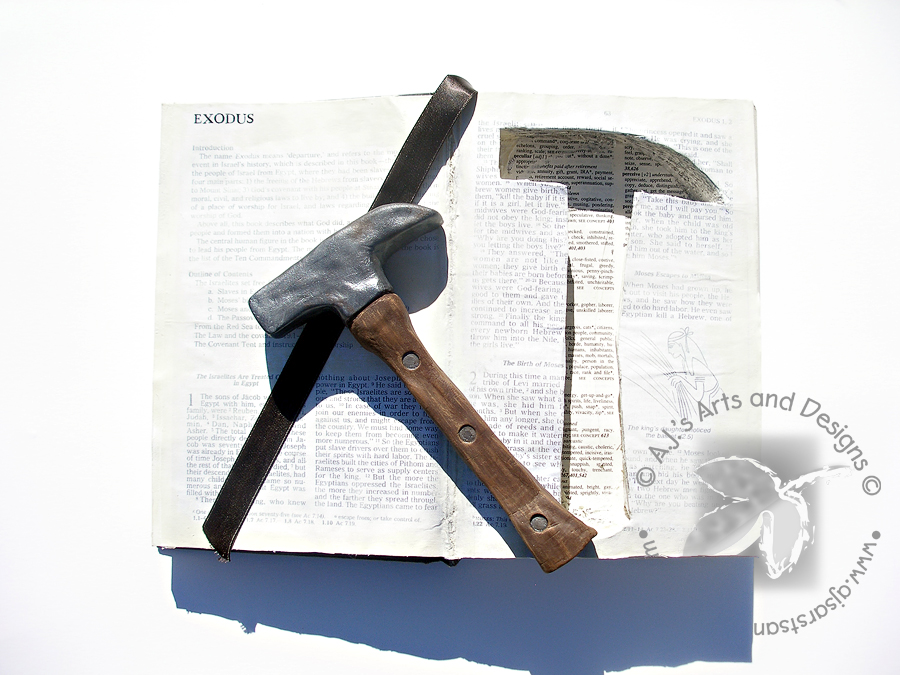
What do you get for guy friend who has everything?  My husband said it would be cool if you could replicate something from a movie.  The wheels instantly started turning because I have already made him the TIME Man of the Year Mirror from The Big Lebowski.  My husband started to quote Shawshank, which is not uncommon in my house and I knew I had to make the "Bible" with the rock hammer cut out.  Don't worry I did not cut a Bible (my husband would not let me buy a bible to cut up).  So I had to go to plan B which was taking an old Thesaurus and cutting the shape of a rock hammer into the Thesaurus.  I had no idea that cutting the same shape into repeated pages would be this time consuming (I went through 6 Exacto Knife Blades).  It took me close to 3 hours to cut all of the pages I needed.  I will say disposing of my evidence was much easier than toting it out to the yard a handful at a time.

Since the rock hammer would not work without the altered "bible" the pictures of the "Faux" Bible are first.
Not mine but what I wanted mine to look like.
 The Thesaurus as you can see I spilled coffee on it when I was in college so it was well used.


 Three hours worth of work and a huge mess.

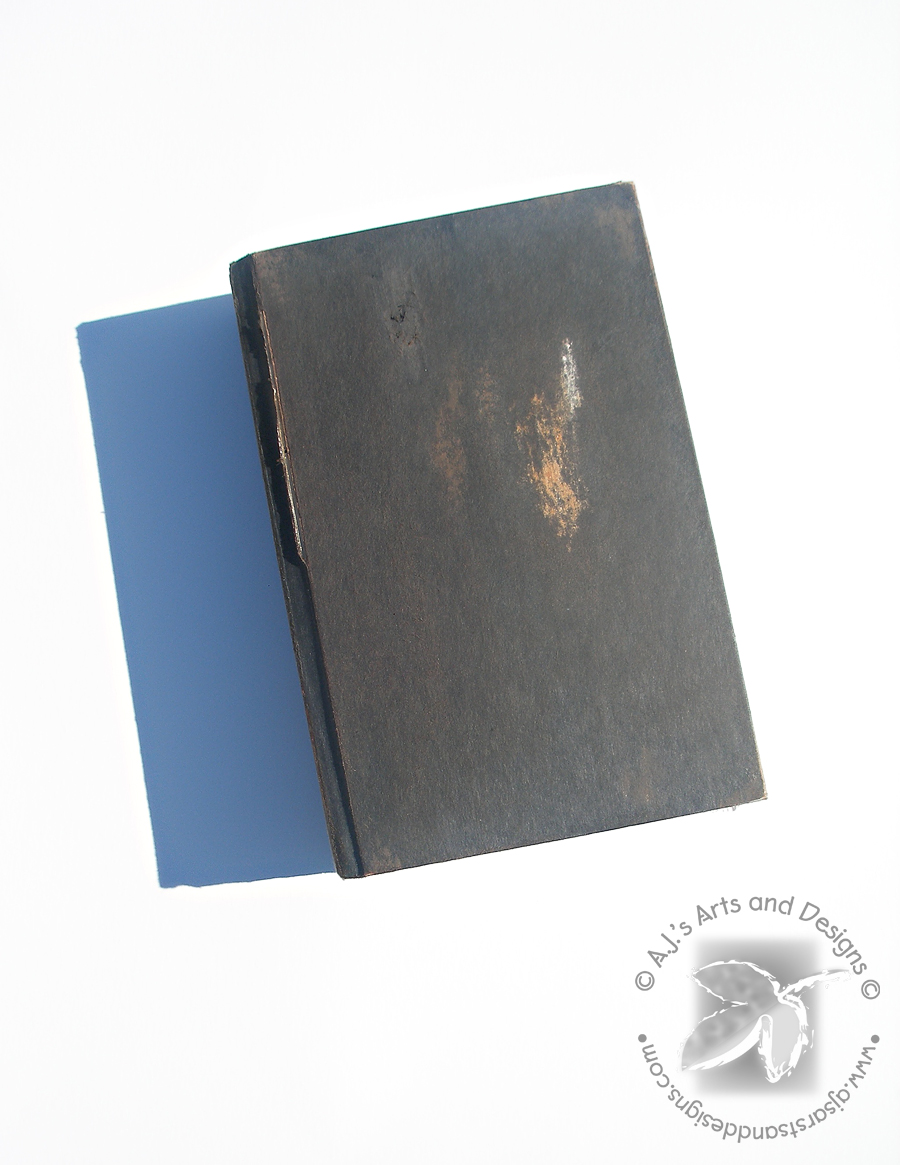
I distressed the book with sand paper and paint.  I added a little Tim Holtz Tea Dye Ink to the outside to really age the book cover.

I needed a rock hammer to go on the inside of the book and removable but not change the weight of the book.    What better way to show off the versatility of Creative Paperclay® Modeling Material than to make a rock hammer for my book (I am hoping the people at Creative Paperclay® are Shawshank fans).  The rock hammer was actually really easy took more time to dry than to create and paint.  I also forged the inside message Andy wrote to the Warden (I am actually quite proud of that) because honestly it would not work with out that message.
Once again not mine but my inspiration

Materials:
Styrofoam (I used flower Styrofoam)
Dowel Rod
Exacto Knife
Sharpie® Marker
Aluminum Foil
Creative Paperclay® Modeling Material
Fondant Roller
Sculpting Tool
End of an unsharpened pencil
Paint
1.  Cut foam in shape of a rock hammer.  If you use the template for the book keep in mind the foam should be at least 1/4" smaller than the template.

2.  Cut dowel to fit in book and also have about 1" inside the foam.  Push dowel inside the foam.

3.  Cover the foam and dowel with tinfoil.  This will help adhere the clay to the base without seperation.
4.  Roll out clay.  Cover the base with clay.  Refine add detail - to recreate the nails in the rock hammer take an unsharpened pencil end and push down, repeat on the other side trying to line up as closely as possible.  Allow to dry for 24 hours.


5.  Paint rock hammer to resemble the rock hammer in the movie. 


I guess really you do need one of these in order for it to work...