Showing posts with label Clay Jewelry. Show all posts

Sunday, October 3, 2021


Autumn Inspired Fall Marbled Earrings

Today I am going to show you how to create your own marbled pair of earrings.

Let's get started!


Required supplies:

Creative Paperclay

Wax paper or parchment paper

Rolling Pin

Acrylic paint (I used red, orange, and yellow for a fall look)

Knife for mixing (can be plastic)

Awl/Needle (Something that you can use to make a hole in your earrings)

Modge Podge Outdoor

Spray Clear Coat

Earring hooks x2

Jump Rings x4

Sandpaper


Let’s Create!

Once you have gathered your supplies, lay out a sheet of parchment or wax paper to protect your workspace and prevent the Creative Paperclay from sticking.


Now rip up the clay into small pieces to prep it for coloring.  Next add in you first (darkest) color by drizzling a little on top. 

Now use your knife and cut into the clay while mixing it around to distribute the color.  One at a time add in the orange and yellow paints and cut them into the clay with your knife.  There should still be some white showing as you mix too.

Once you are satisfied with the color, squish the pieces all together to create a ball and let dry for about 10-15 mins, otherwise the paint makes it too sticky and it will stick to everything.  Next flatten the ball with the palm of your hand and then roll out into a thin sheet!  You can also substitute a cup for the rolling pin.  If the clay is still too sticky when you go to roll it out then wait a little longer until you are able to get a smooth surface on the clay.

Roll it out a few times and flip it over to the other side also one side roll then pull it up from the surface to keep it from being too hard to pick up.

Once it has been thinly rolled out use a small glass or other round container to cut around.  I used the bottom of a small terra cotta pot.

Note:Be sure to keep your knife vertical as possible when cutting so the edges don’t taper.

Lift the clay away to reveal your cut out shapes (Feel free to cut out more than just two and try finding other shaped containers to use!) 

Next use a needle or awl to create a hole in the top of your earring.   

Now they need to dry.  To dry place heavy books or something on top when the earrings start to warp.   But be sure to remove the book every so often for quicker and even drying. 

Once they are dry, sand out any imperfections, especially on the edges.

Now let’s seal them!   I coat mine with outdoor modge podge and once it is dry go over with a spray clear coat, otherwise modge podge is very sticky.


Get Creative!

Pair 2 different shapes together or add a charm or beads for some added flair!


I hope you enjoyed creating your own pair of earrings with me today!  


Thanks for joining and Have fun and share what you create with us below!

Find your Joy!


Kelly


Instagram: https://www.Instagram.com/PaperHibiscus

Monday, September 25, 2017

Make Jewelry Charms with Creative Paperclay®

Hi Friends:  Creative Paperclay® can be used to make great lightweight charms for your home-made jewelry pieces.  Just roll the clay, stamp into it with your favorite stamp sets, then cut with cookie cutters or metal clay cutters to create charms / pendants to use on necklaces, earrings, or bracelets. Once dry, you can paint them to match your favorite outfits or to give as gifts.

Here are some pictures of the jewelry pieces that I made using Creative Paperclay® charms:


The beads on this last one didn't photograph very well - they are lovely iridescent purple/blue beads that really work well with the purple in the charms.

Please see my video tutorial for full instructions for this project:


Supply List:
Creative Paperclay® Modeling Material
Prima Marketing Art Alchemy Acrylic Paint, Opal Magic Yellow-Blue (Amazon)
PrimaMarketing Art Alchemy Acrylic Paint, Opal Magic Violet-Green (Amazon)
Prima Marketing Art Alchemy-Sparks-Fairy Wings (Amazon)
Prima Marketing Art Alchemy-Sparks-Iris Potion  (Amazon) 
Prima Marketing Art Alchemy-Sparks-Magical Pond  (Amazon)
Prima Marketing Art Alchemy-Sparks-Mermaid Sparkle (Amazon)
Prima Marketing Art Alchemy - Metallique Wax - White Gold (SSS)
PrimaMarketing Art Alchemy-Metallique Wax-Brushed Iron (Amazon)
PrimaMarketing Art Alchemy-Metallique Wax-Old Silver (Amazon)
Prima Marketing Art Alchemy-Metallique Wax-Vintage Gold (Amazon)
Liquitex Gesso - White (Amazon)
Prima Marketing Art Alchemy-Metallique Wax-Aged Brass (Amazon)
Studio 71 Black Gesso (JoAnn)Darice 1MM Black Leather Cord (Amazon)
Darice Necklace Kit 1MM Light Brown (Amazon)
Darice 1 inch Silver Fish Hook Earrings (Amazon)
Darice 1 inch Gold Fish Hook Earrings (Amazon)
Beadalon Stringing Wire 19-Strand .015-Inch (Amazon)
Bead Landing 9MM Silver Jump Rings (Michaels)
Bead Landing Assorted Gold Jump Rings (Michaels)
Premo Diamond Metal Cutters (Sculpey)
Premo Circle Metal Cutters (Sculpey)
Faber-Castell Glaze (Amazon)
Versamark Ink Pad (SSS)
Blue Moon Metal Bead Strands - Gold and Silver
Vintage Rose Garden background stamp from Quick Cards Made Easy
Stampendous Tiled Quad Cube stamp
Other:  misc. beads and jewelry findings from my stash


I hope you enjoyed my projects and learned some new ways to use Creative Paperclay® to make charms for your jewelry creations. Thank you so much for stopping by the blog today. Have a great, creative day! -Patti

Monday, August 7, 2017

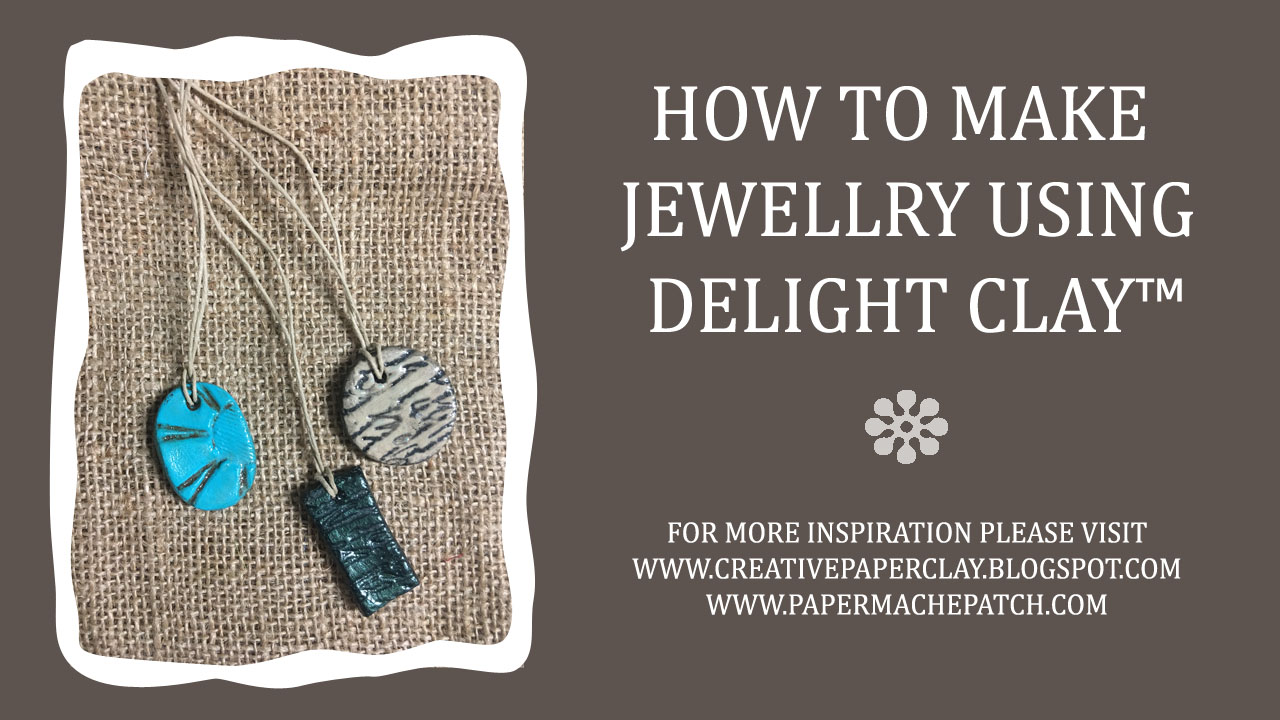
Making Jewellry with Delight™ Clay


Delight™ Clay is so light it's great for making jewellry! Today I will show you how to make these wonderful pendants using Delight™ Clay and a few other supplies you should have laying around the house. Let's get started!

Supplies needed:
Rubber Stamps
Clay or Cookie Cutters
Craft Knife
Craft Sticks and glue
Baby Powder
Paint Brush
Acrylic Paint


Step 1:

Glue two sets of craft sticks together. These will act as a guide for rolling out clay more uniformly.

Roll out the clay between the craft sticks. 


Step 2:
Press your rubber stamps into clay.


Step 3:
Use you clay/cookie cutters to cut out shapes.


Step 4:
Use the end of a paint brush to poke a hole at the top.


Step 5:
Leave to dry.

Step 6:
Apply a coat of gesso and put aside to dry.


Step 7:
Paint with acrylic paint and let dry.


Step 8:
Paint with a contrasting color and immediately wipe off with a paper towel. Alternatively you can brush with a mica powder. See video for demonstration.


Step 9:
Varnish and set aside to dry.

Step 10:
Add your favorite beading cord or string.


Follow along in this short video to learn how to make these fabulous pendants using Delight™ Clay.


Thank you for stopping by! Please be sure to visit me at www.papermachepatch.com for more inspiration and great tutorials!

Happy Crafting!
Suzette