Showing posts with label free tutorial. Show all posts

Monday, June 3, 2019

A Starfish Wall Hanging Made with Delight Clay™

Hello and welcome to the Creative Paperclay Blog! I have decided to start an under the sea theme as beach days are upon us, so my next few tutorials will be all based on something from under the sea; corals,  fish, sea creatures, etc. Today I will share with you how to make a starfish. We will be using Delight Clay™.


The supplies you will need are:

Follow along in the video below:


Here are more pictures.


You can share your creations with us on our Facebook page. We would love to see them! For more inspiration have a look around the blog. There are tutorials for many levels using Creative Paperclay®. You can also visit my blog www.papermachepatch.com.

You can find Creative Paperclay® online at Creative Paperclay Co and also at Michaels, Hobby Lobby, Dickblick, and Amazon. 

Thanks for stopping by!

Suzette


Tuesday, August 8, 2017

Owl creative paperclay tutorial

Hi! This time we are going to sculpting a beatiful owl with Creative paper clay.
¡Lets have fun!.
Materials needed :
-Creative Paperclay
-Alumine foil
-Acrilyc paints
-250 sand paper
-Masking tape
-Wire
1-Make a roll with alumin foil and cover it with a masking tape


2-Then cover it with the paperclay

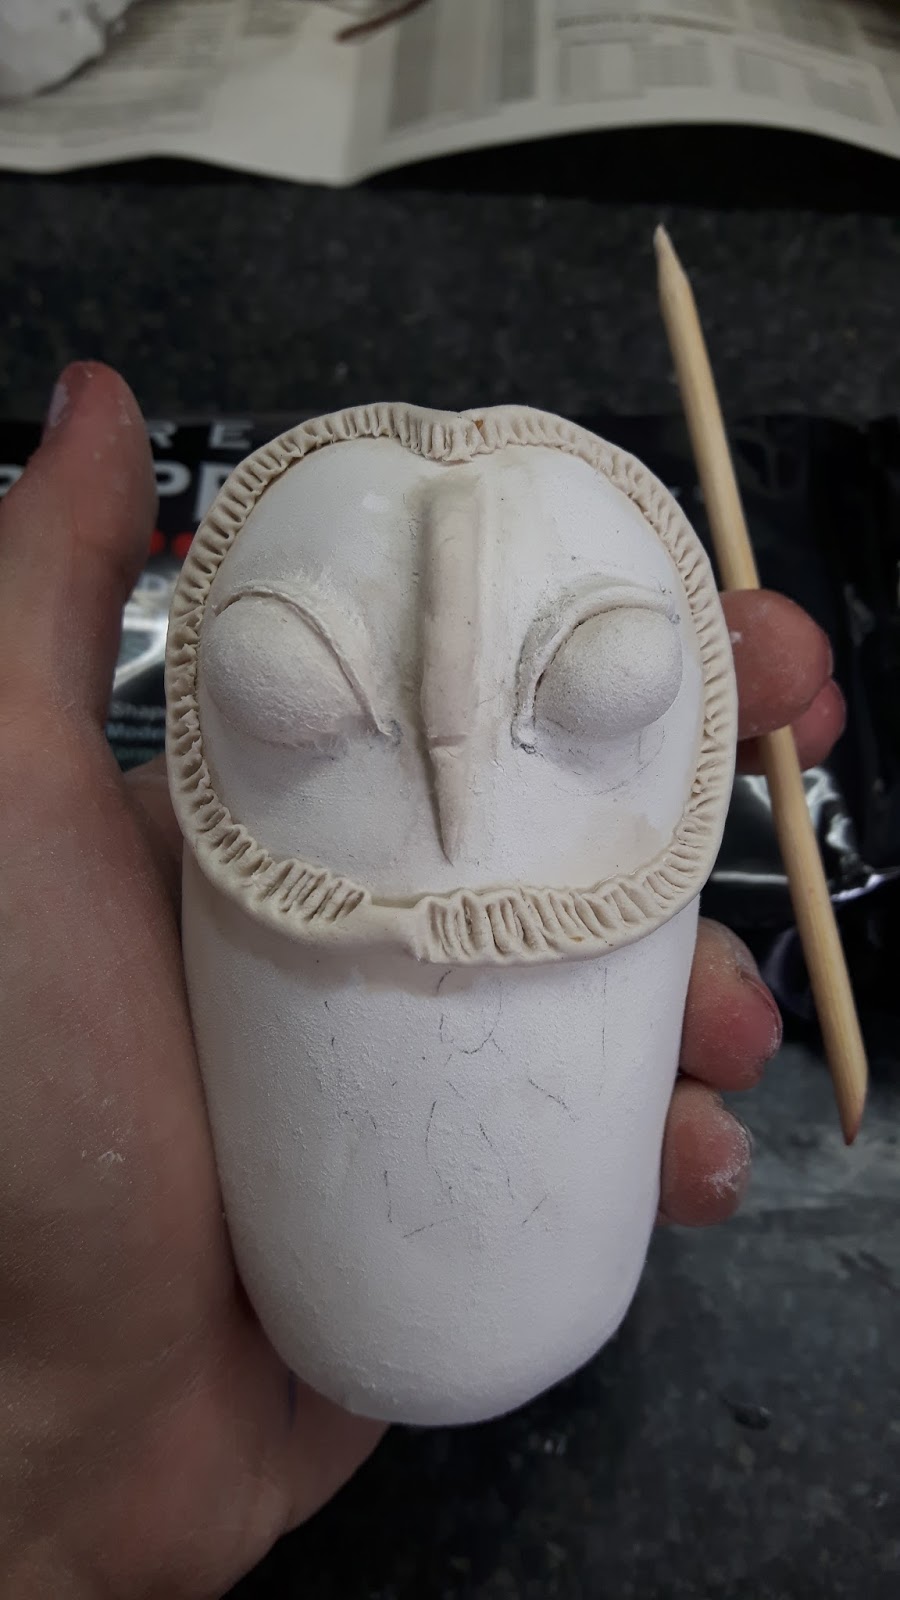
3-Draw the next pattern:
4-Start with making tiny rolls and put them over the eyes.
5-Make some balls and put htem in the place.
6-Make ther nose with a roll
7-Put some big roll around the head.
8-Make the texture with a wood pencil
9-Put some rolls under the eyes.
10-Start to make the lace


11-Start making the Owl's feet with the wire in two sections like this:
12-Make this pattern for the wings

13-Now cover the Owl's feet with paper clay and  paste the wings to the body with some water

And now you can paint it like you want,here is mine!


Monday, August 7, 2017

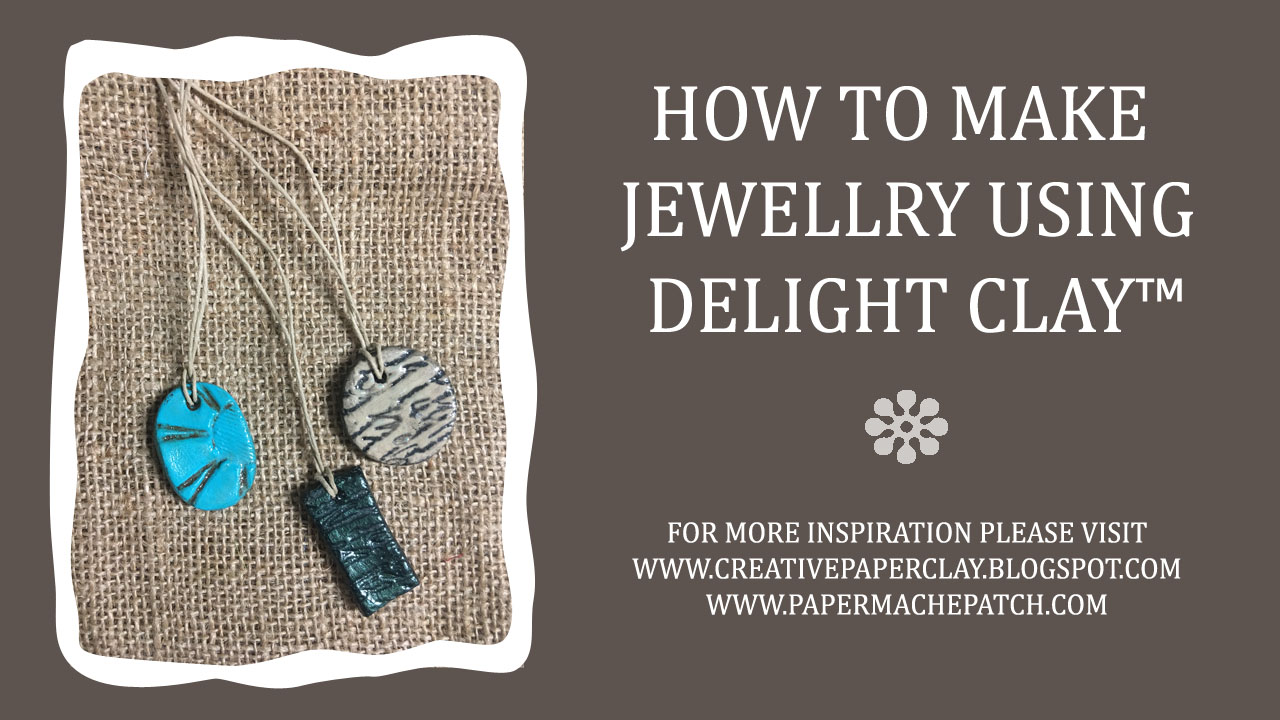
Making Jewellry with Delight™ Clay


Delight™ Clay is so light it's great for making jewellry! Today I will show you how to make these wonderful pendants using Delight™ Clay and a few other supplies you should have laying around the house. Let's get started!

Supplies needed:
Rubber Stamps
Clay or Cookie Cutters
Craft Knife
Craft Sticks and glue
Baby Powder
Paint Brush
Acrylic Paint


Step 1:

Glue two sets of craft sticks together. These will act as a guide for rolling out clay more uniformly.

Roll out the clay between the craft sticks. 


Step 2:
Press your rubber stamps into clay.


Step 3:
Use you clay/cookie cutters to cut out shapes.


Step 4:
Use the end of a paint brush to poke a hole at the top.


Step 5:
Leave to dry.

Step 6:
Apply a coat of gesso and put aside to dry.


Step 7:
Paint with acrylic paint and let dry.


Step 8:
Paint with a contrasting color and immediately wipe off with a paper towel. Alternatively you can brush with a mica powder. See video for demonstration.


Step 9:
Varnish and set aside to dry.

Step 10:
Add your favorite beading cord or string.


Follow along in this short video to learn how to make these fabulous pendants using Delight™ Clay.


Thank you for stopping by! Please be sure to visit me at www.papermachepatch.com for more inspiration and great tutorials!

Happy Crafting!
Suzette


Tuesday, June 27, 2017

Prince Light Switch Tutorial made with Creative Paperclay by Juliana Vélez

Hi!!
If you like to give a unique present for a child this is you oportunity!!

Here are my tutorial for a made a Light Switch.
List of materials:
Creative Paperclay

roller
Pastels
pencils
dimensional paint
cutter
cotton
gloss varnish
ligth switch
Enjoy:
 First made a layer  of  creative paperclay with a roller and put on top of the Switch .


 Feets

 Hands


With red pastel and the cotton put in his cheeks
 After that with a black pencil made the line of his mounth
 Now his eyes
 Put some yellow to the background

 Now orange in a degradee

 Some gloss in his eyes
 More pints to the background
 Finally!!