Showing posts with label accessories. Show all posts

Monday, August 7, 2017

Making Jewellry with Delight™ Clay


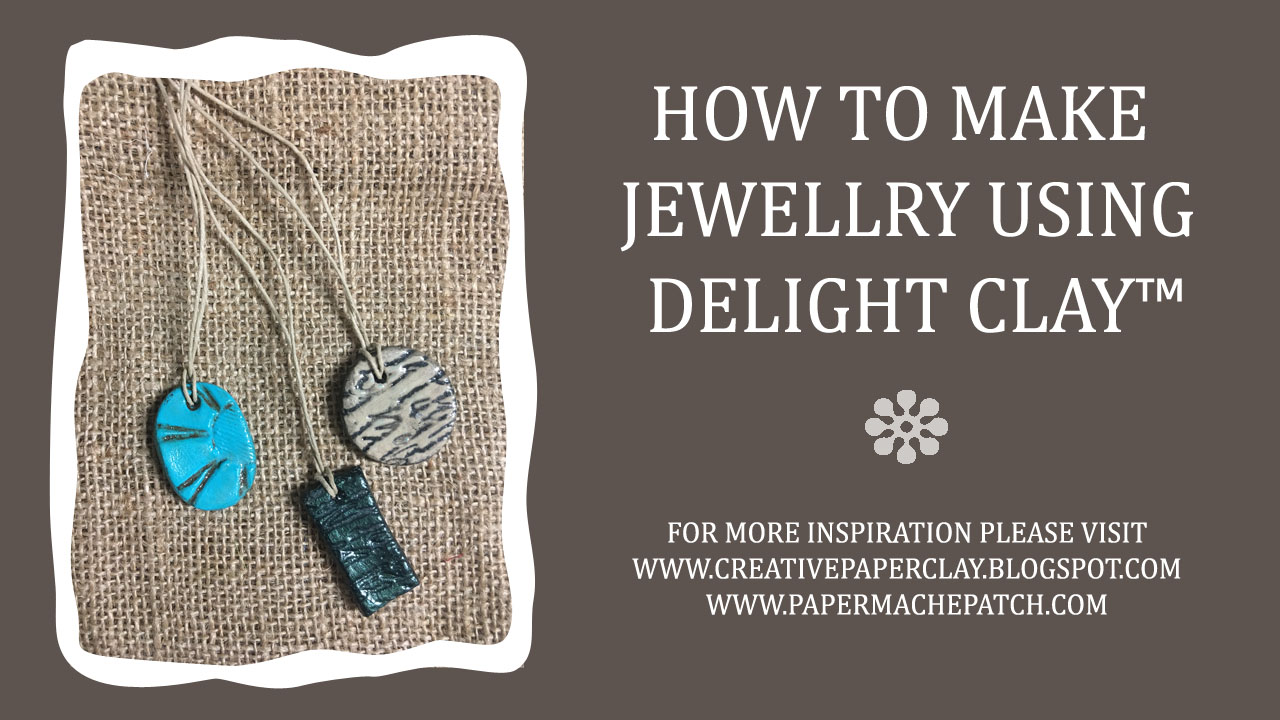
Delight™ Clay is so light it's great for making jewellry! Today I will show you how to make these wonderful pendants using Delight™ Clay and a few other supplies you should have laying around the house. Let's get started!

Supplies needed:
Rubber Stamps
Clay or Cookie Cutters
Craft Knife
Craft Sticks and glue
Baby Powder
Paint Brush
Acrylic Paint


Step 1:

Glue two sets of craft sticks together. These will act as a guide for rolling out clay more uniformly.

Roll out the clay between the craft sticks. 


Step 2:
Press your rubber stamps into clay.


Step 3:
Use you clay/cookie cutters to cut out shapes.


Step 4:
Use the end of a paint brush to poke a hole at the top.


Step 5:
Leave to dry.

Step 6:
Apply a coat of gesso and put aside to dry.


Step 7:
Paint with acrylic paint and let dry.


Step 8:
Paint with a contrasting color and immediately wipe off with a paper towel. Alternatively you can brush with a mica powder. See video for demonstration.


Step 9:
Varnish and set aside to dry.

Step 10:
Add your favorite beading cord or string.


Follow along in this short video to learn how to make these fabulous pendants using Delight™ Clay.


Thank you for stopping by! Please be sure to visit me at www.papermachepatch.com for more inspiration and great tutorials!

Happy Crafting!
Suzette


Tuesday, October 21, 2014

Creating a LPS Phantom of the opera Creative Paperclay® Mask by Gloriann Irizarry

 
Happy Halloween!!!!
 
Soon my friends it will the time were little kids come running from door to door laughing, singing and having fun.
Now for that reason I wanted to make this project a kid friendly one and per suggestion of my own little Rayray we decided to dressed her favorite Littlest Pet shop Raccoon LPS toy has an iconic Masquerade character. Any guess?
 
Yes, it is the Phantom of the Opera.
 
Is so easy to make and all it takes is
 
Creative Paperclay® Material
A roller
Plastic sheet
Your favorite Littlest Pet Shop LPS toy
White Acrylic paint


Grab your Littlest Pet Shop toy collection and  
chose your favorite animal LPS toy.
 
 
We choose the raccoon to be out Phantom Of The Opera character.
 

Choose your favorite Phantom Of The Opera mask design so you can recreated it.
There is many styles to choose from.


Start by rolling a little clay to about 1/4 thickest or less.
 
 
Apply a little spray oil with over the side of the toy head for the mask.
Lay the clay flat over the little toys head. Make sure to cover one ear it will help the mask in place with out the help of any straps.


While the clay still soft use a piece of cloth, fabric or lace and click to learn how to use this fabric stamping technique  it will give the mask some great texture.
 
Let it dry overnight. Once is all dry you can pull it off the toy.
 
Paint the mask the traditional white or feel free to make it your own by making  designs of any kind and let the paint dry.
 
Now you can play pretend Phantom of the Opera with your favorite LPS toy.
Now  imagine the countless stories you can play with your new little friend. The possibilities
 are now endless. My little Rayray can't stop playing with her new one of a kind
Phantom Of the Opera Littlest Petshop  LPS Raccoon toy.
 
 
Thank you kindly for staying tune and feel free to use this technique on any toy you will like
 Zelfs, Trolls, Barbies, Bratz, Monsters High dolls, Ever After High doll and many more .


Have fun creating
 
Sincerely


Feel free to write your comments below or email me any questions.
Have a bless day.

Monday, July 7, 2014

Animal Tassels July Project with LuLu Lancaster


Hello! This is LuLu with a cute animal project.
I love red foxes and thought adding some around my home would be an adorable whimsical touch. You can create these tassels with any sort of animal head you can think of. :)

For this project you will need 
Creative PaperClay®
assorted ribbons
wire 
craft glue
 1 small paint brush and acrylic paints

Start by sculpting a small head.
These are easy about the size of a pingpong ball. 
The features are in the paint so a rough head is fine :)
Make a ball and with wet fingers pull up ears and shape.
Pull out the nose and two points below for the "fur"

Take a small section of wire and create a loop.
insert the loop into the top of the clay.
Let dry :)


using orange acrylic paint cover the fox head ;)
create two eyes with dots of black and a crescent shape black nose.
with white paint create some fur at the nose ears and bottom "tufts of fur"


take lengths of assorted ribbons simply glue to the bottom of the fox head

Now you have an adorable little animal head tassel!

Thank you so much for reading along. I hope I have inspired you to create your own animal tassels just think of the mini zoo you can make <3

LuLu


Thursday, November 15, 2012

Jess B's Fall Jewlery

Hello Everyone
My name is Jess B. and excited to be a part of the new design team here at
 Creative Paperclay®
I can only say is this stuff is amazing!
Easy to work with and light as a feather.
Decided to make some fall jewelry
Although all autumn colors are
rich in reds, browns, and golds
I had to add my little twist of colors to the mix.

FALL JEWELRY


 This embossing press rocks
I  had extra Creative Paperclay® in my hands
so I just filled the rest for a future project

 I love that mine are not always smooth and clear details
but you can see the splits and missed filled parts - gives it character
 Although I did not take pictures
of all the painting that went into this project
 I encourage you to use any all paints and mixers your heart desires
Loving Terri Sproul's Mixers


INGREDIENTS
Lisa Pavelka Embossing Cutters - Ivy Leaf
Jaquard Lumiere Acrylic Paints - burnt orange, metallic rust, citrine
Chain - Joann's or Michael's

Thanks for stopping by
see you in a couples of weeks
enjoy your holiday

Give Thanks Everyday!

Jess B.