
But as they say the show must go on....LOL
Today this tutorial is inspired by nature. A few months ago my family and I went to the Butterfly Conservatory here in Niagara Falls. (If you ever get a chance to go to a Butterfly exhibit please do so, its truly magical)
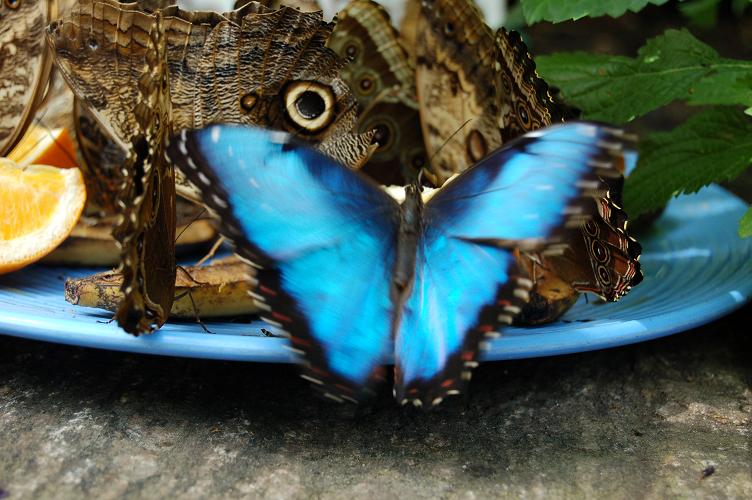
Here are a few gorgeous pictures that inspired me and perhaps inspire you.


Today I am working with "Delight - AirDry Modeling Clay" Its abit different than "Creative PaperClay" ,
1. The color is snow white and it dries white.
2. Its is very lightweight.
Its also similar!
1. It's an airdry clay. No firing, no baking is needed!
2. Takes paint, any paint, very well!

Begin to mold it into a bowl. I took one of my old bowls to help me mold my clay around the bowl so that I could get the size right.
Once I got the size i wanted I took my favorite rubber stamp of a butterfly and stamp directly into the clay to leave an impression. I then painted it completely black.

I gathered a few fun supplies, some mica pearl ex powders , an old paintbrush. and some acrylic meadium.

****Sidenote - Acrylic medium can really be anything: elmers glue, golden gel medium, mod podge. Mica powders need something to make them stick to whatever you are painting them on, and if you can't afford Mica powders - Use your old eye shadows! Create your own Mica Powders by mixing them with a little glitter!*****
When doing this kind of layering you either have to work fast or wait for each layer to dry!


I initially made this for my workstation to put paperclips in it, to remind me of the beauty of nature, the grace of a butterfly and to remind me Mother Nature never lies! (grins) My mom had other ideas.....she took it home with her. LOL
Art on my friends,
ANg
No comments:
Post a Comment