
Architectural Queen Bee Amulet

This pendant makes a statement. The architectural elements are very shrine like and reminiscent of old world buildings.
Supplies:
Creative Paperclay
Black Gesso
Acrylic paint (I used DecoArt Metallics)
Composition Metal Leaf
Pewter Beads - TierraCast
Accent Beads
Accent Beads
5 Eye Pins
Fine Wire (30-36 ga.)
3 Headpins
Rubber Stamps and Texture sheets (by: Victoria James Real Textures)
Cotton Cording or Other Stringing Materials

Start by rolling out a piece of Creative Paperclay. About 1/4 of an inch is good.

Be sure to work on a non stick surface.
If you don't have an acrylic rod or brayer, use a glass or jar.

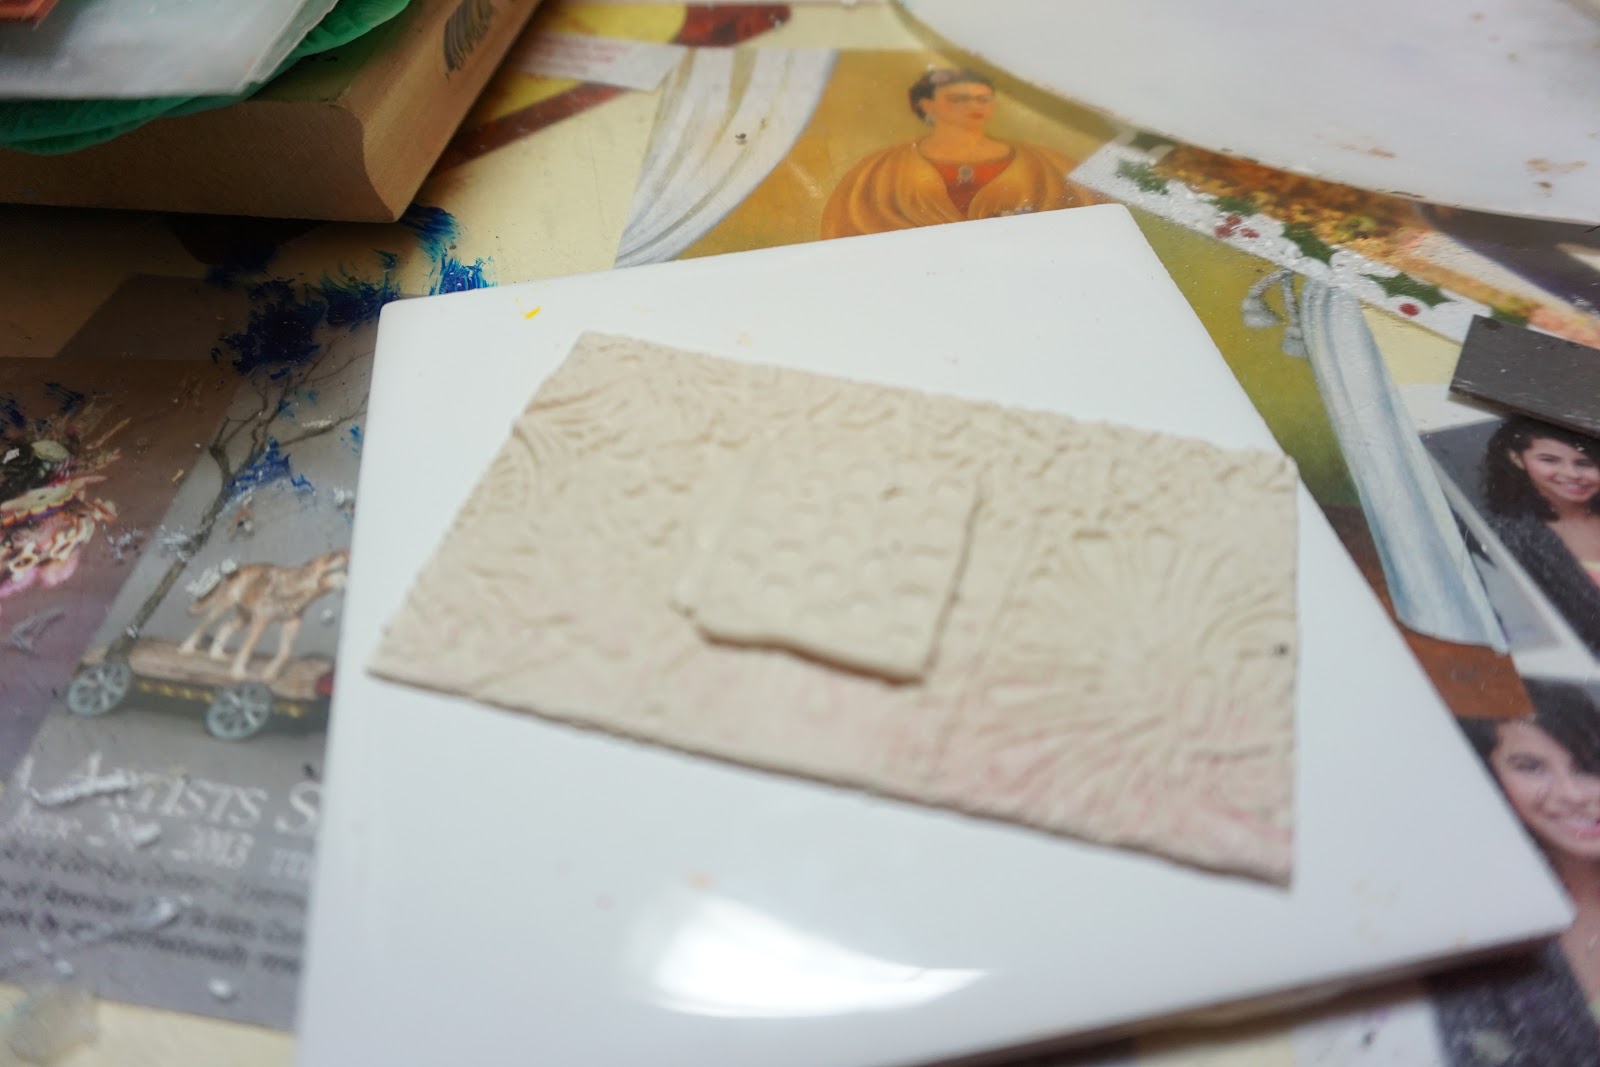
Texture your Creative Paperclay with a variety of rubber stamps and texture sheets.
Use a bit of oil or WD40 as a release agent.

Keep texturing until the full sheet is covered.

Cut out a rectangle or any shape you like.
I chose to us a standard business card. I like this size and shape.
That;s my cute little abulelita chillin' on her hammock.

Roll out an texture another piece of Creative Paperclay. I used a honeycomb pattern.
This will be your centerpiece. Cut out a square that frames your focal bead nicely.

Decide on the placement of your focal tile.

Put a blob of Creative Paperclay and water made into a paste.

Place Focal center in desired place on background sheet.

Frame out the focal tile with more textured pieces.

Add eyepins and wired bead accents wherever you ant a bit of bling.

I added a flat back crystal. I should have added more. Attach your focal bead with wire. Like a staple. You just want the holes at this point. We will add it after painting the piece.

Decide on your final embellishments. Cut any loose wires and inset them into the wet clay.
Make holes for your stringing materials.
Let it dry thoroughly.

Coat with black gesso. Paint with acrylic paints.
I chose purple and gold metallic because it's regal!
Add focal bead with wire staple.
Add dangly bits and cording.
If you decide to make your own please be sure to share a few photos with me!
I hope that you have enjoyed this project as much as I have! I'll be back with more "What's On My Workbench Wednesday" fun on the first Wednesday of each month.
Until then, stay cool and don’t forget the sun screen!
Fin - The End
I hope that you have enjoyed this project as much as I have! I'll be back with more "What's On My Workbench Wednesday" fun on the first Wednesday of each month.
Until then, stay cool and don’t forget the sun screen!
Fin - The End

Chau!
LaLa
Instagram: https://www.instagram.com/redwoodcoastcreativearts/
Pinterest:
YouTube: https://www.youtube.com/user/babylalamermaid1
No comments:
Post a Comment