

Hello everyone, today I am going to show you how I made
this ghost like skull. With Halloween quickly approaching,
I figured I'd make a small companion for my dolls.
I will walk you through the steps that I took below.
Supplies:
Creative Paperclay®
Masking tape
Scrap Paper,Cardboard or foil
Sand paper
Acrylic paint

I began by taking a piece of paper and rolling it up into a ball and taping
it in place with masking tape. When you are good the the shape,
begin to cover it with the clay.

When you have your ball nicely formed, set it aside and let it dry.
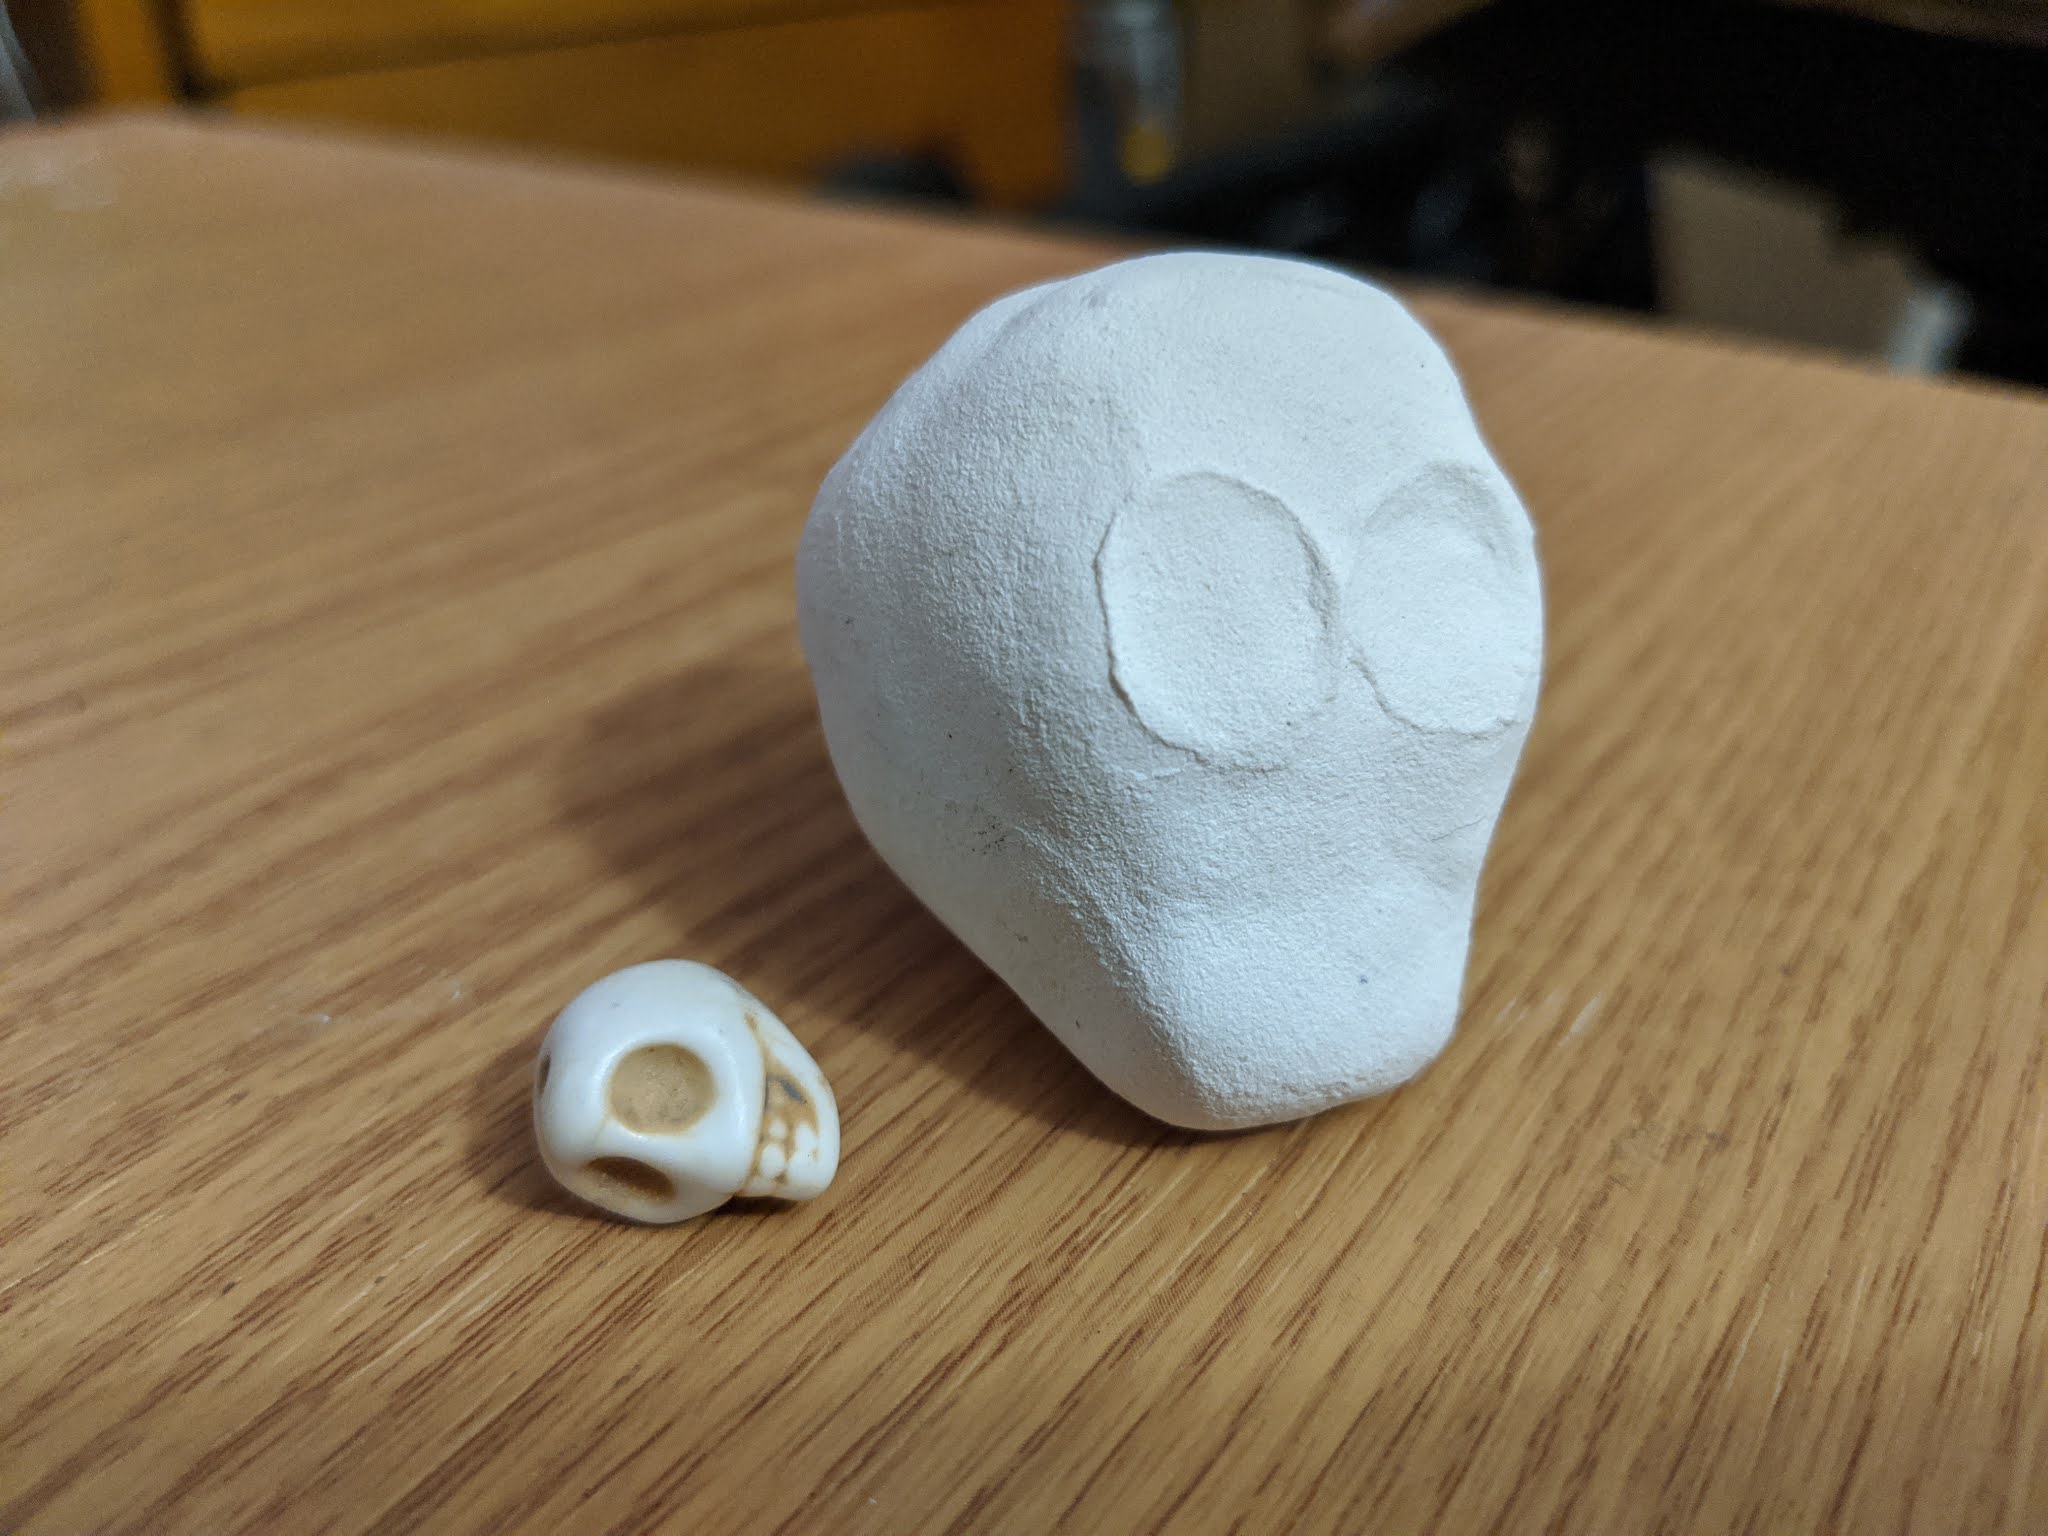
After letting the ball dry, begin filling out the jaw and the eye sockets.

I usually have a reference that I use when I am sculpting.
I had this skull and the smaller one shown above that I
used while trying to create this piece.
I had this skull and the smaller one shown above that I
used while trying to create this piece.

Here I am filling out the sides trying to find my way around
the piece. It takes a few passes, so you need to have patience.
It took me a while to work this piece up to where I liked it.

I am building up the front of the skull. You need to
emphasize the empty eye sockets when creating a skull.
I set this piece aside so that I could come back and
work on it to build it up again when it dries.

Here is the next phase of me building up the front of the skull.

Here you can see that I am getting much closer in form
of the skull. Keep building up until you are satisfied with
the form of your skull as well.

This is the stage that I felt satisfied at. I did a very light
sanding here so that I could keep it a bit rough.

I am painting the sockets and mouth black. This makes
these areas of the skull look like they are empty and hollow

It kind of looks like the mask from Scream, but I am happy with it!

Thank you all once again for stopping by, and I hope that you enjoyed today's tutorial! You can find Creative Paperclay® at the following retailers Creative Paperclay® Online Store, Michael's, Amazon, Joann's.

No comments:
Post a Comment