Wednesday, June 8, 2011

Decorative Pens

Hi- it's almost father's day, so I thought I'd do something relatively simple, as well as functional that the kids can get involved in. I've done a lot of ink pens covered in polymer clay over the years, and thought 'why not do some in Creative Paperclay '. And I like the results that I got.


Use any pen you'd like that has an area that can be covered in clay. A cheap one like mine, or one that clicks. They won't be exposed to the oven, like polymer is, so the pen can stay intact, too. Just don't cover any working parts, like the clicker.

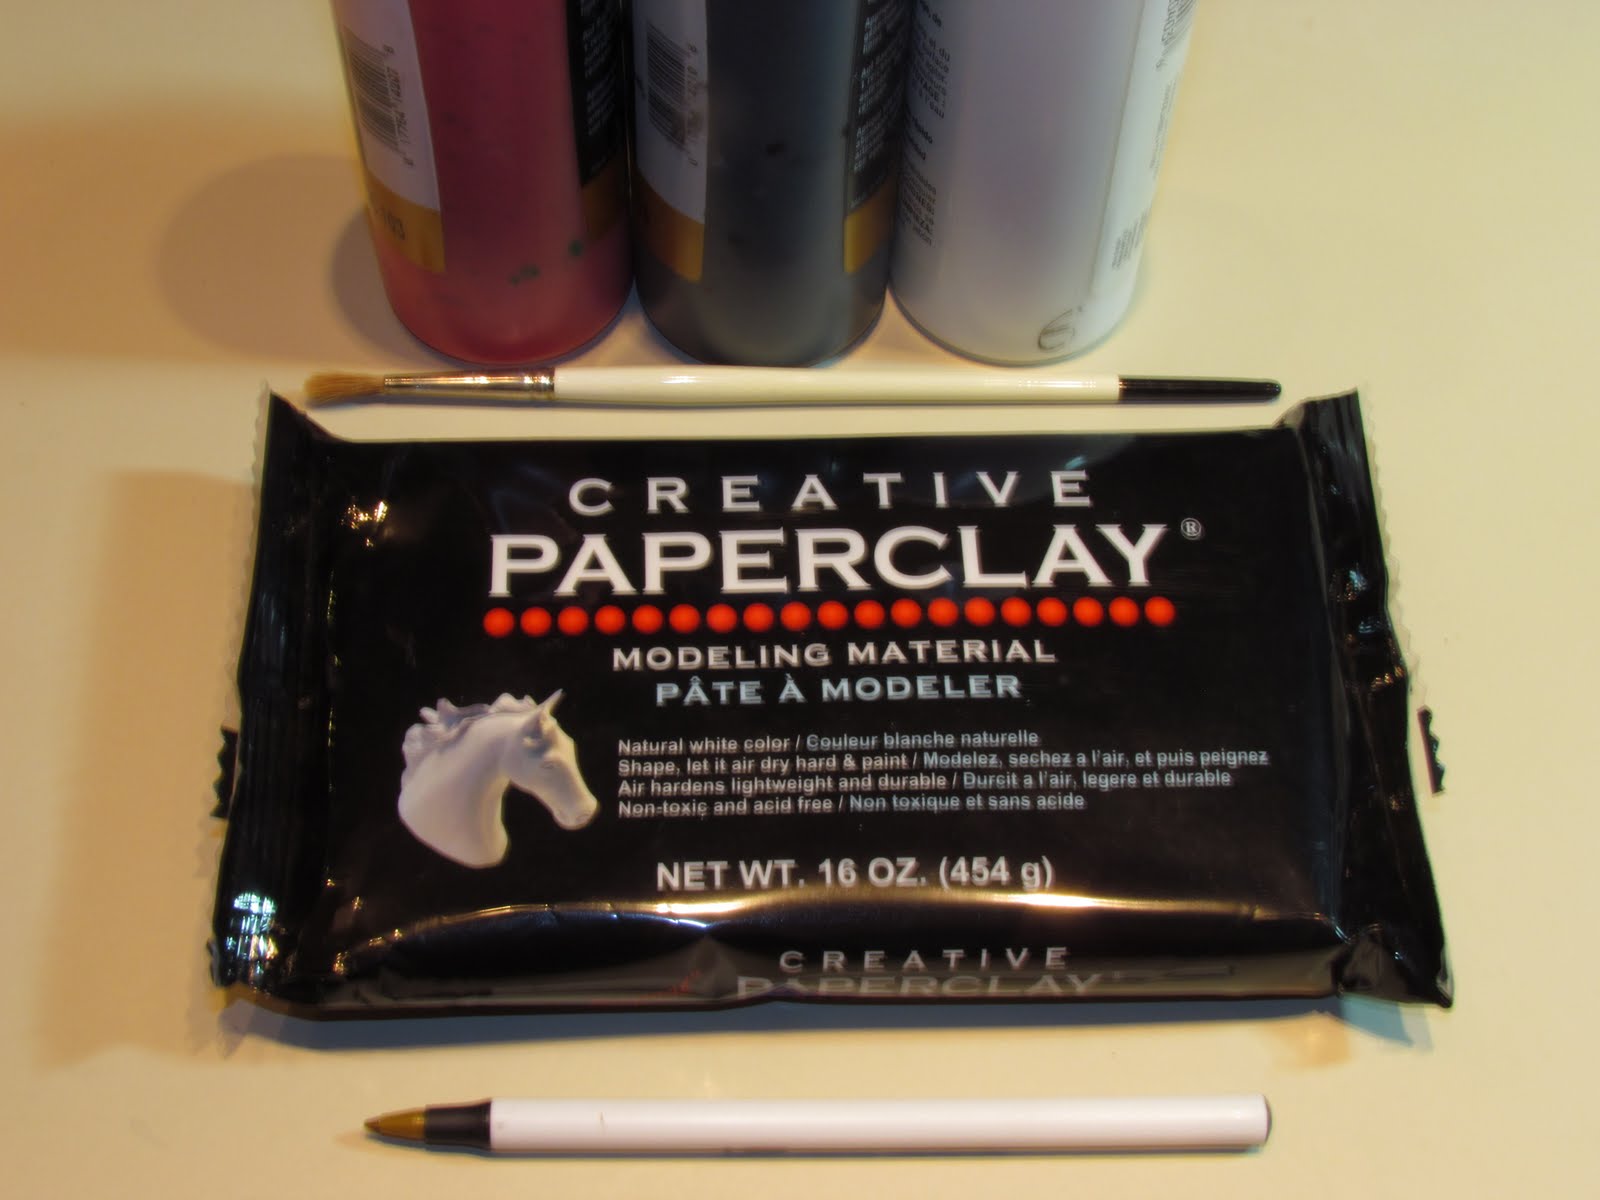
So, the supply list is short, consisting of only a pen, paint, a brush, some white glue, and of course Creative Paperclay.


The first thing you want to do is to roll out a thin sheet of clay the size of the part of the pen you are covering. I pinched the clay to make it thin, then cut a rectangle out the approximate size that I needed.

Cover the part of the pen that will be covered with a thin layer of white glue, and let it dry a bit to get tacky. This will assure that the clay will stick. It sticks to itself well, but you need a bit of help when applying it to another surface.

In the next three pictures you will see my 13 year old son demonstrating how to roll the clay on the pen. His was a bit lumpy and too thick when first put on, and he wanted it thinner, so I told him to press his fingers down on the clay as he moved his hands straight ahead, so it would even out the clay, and (this is important) remove any air that is trapped under the clay.


By moving your hands directly away from you, and pressing down, the trapped air will be pushed out to the edges, and remove bubbles. Don't press too hard. The glue is a big help with this step, so the clay stays tight against the pen as you roll. Trial and error, folks.


See how he keeps his hand in the same position? This pen does not have clay on it, I took these pics as an afterthought, and my son was nice enough to help.

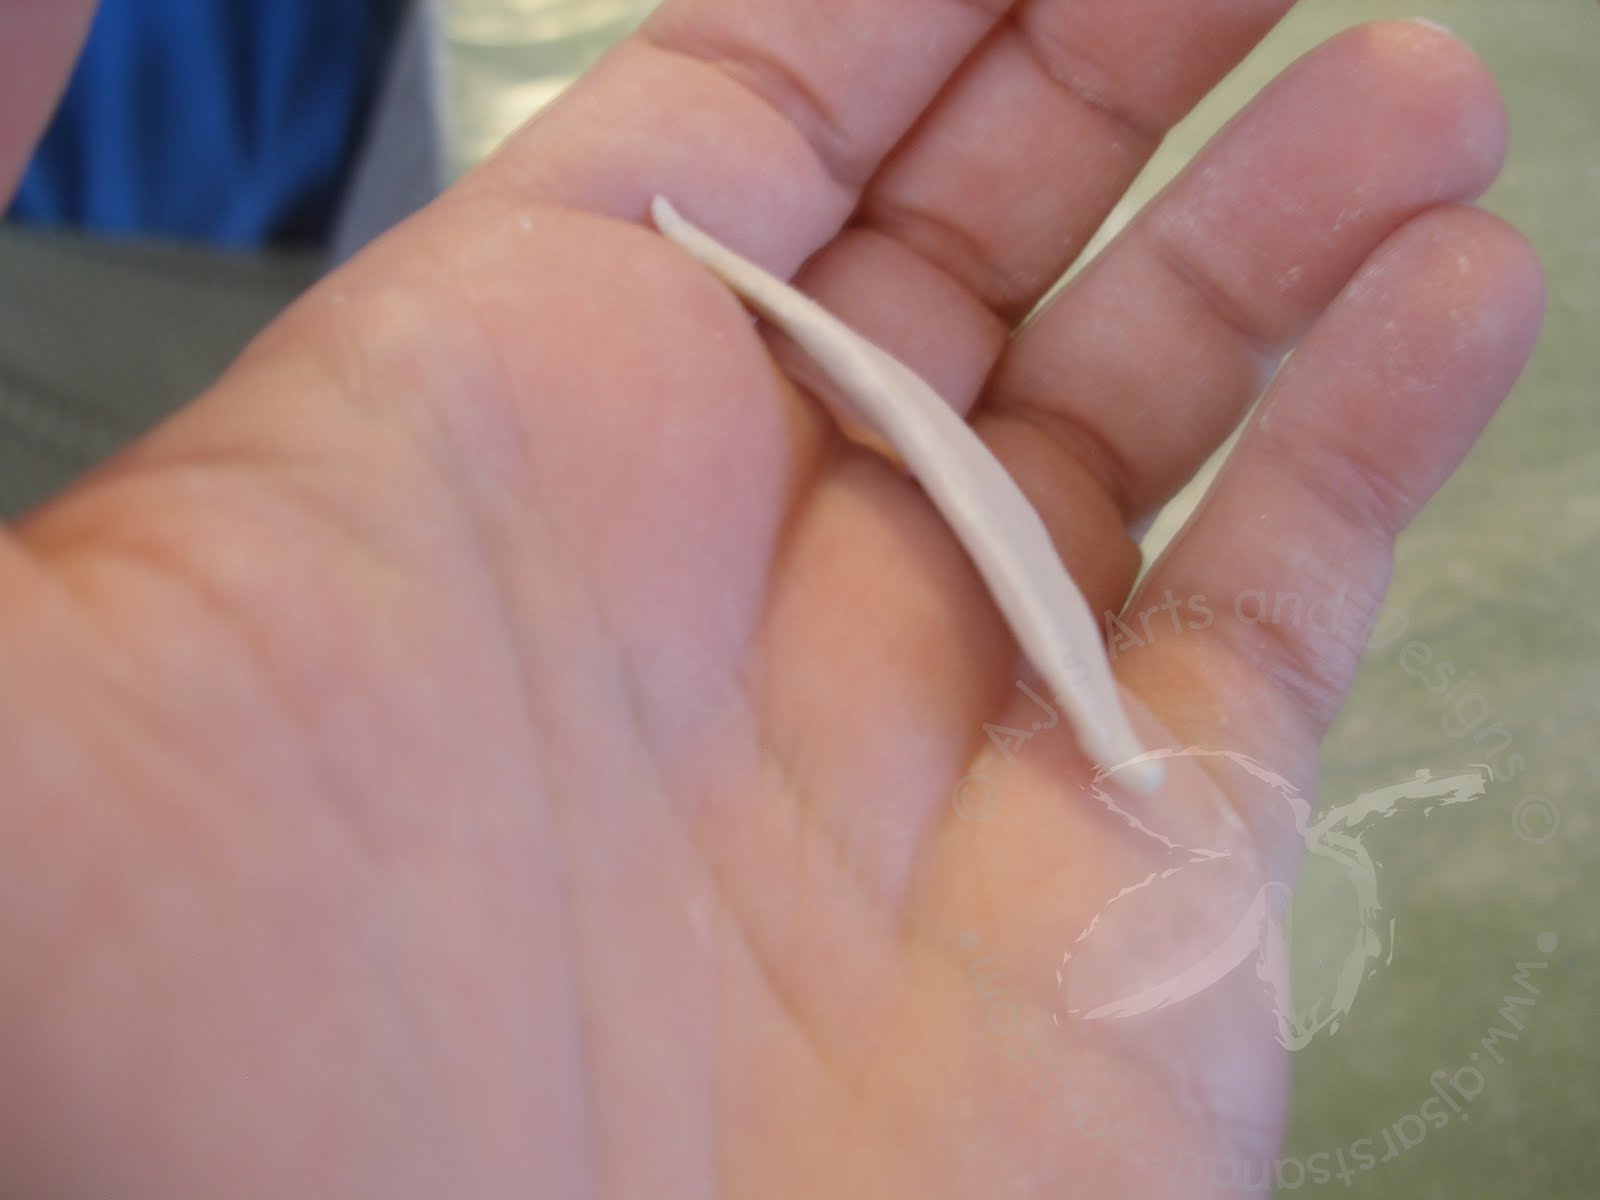
You will find that the extra clay will need to be removed from either end, after you roll the clay on, since it will stretch longer than the pen, most likely. No big deal, just use your fingernails if you want, or a dull blade.


The pen on the top belongs to my son. He left it to dry, so that it would be easier to work with when he added the designs.

The one in the middle was rolled on a large rubber stamp to make a pattern.

The one on the bottom has a starfish and octopus added, then left to dry.
Here's how they turned out after my son finished his and we painted them. He made his for his dad for Father's Day. He duplicated his dad's favorite guitar, and amp, complete with power cord.
I think they turned out nicely. I am going to put a coat of paste wax on them, so they will be resistant to sweat and oils from human hands. Eww... gross, I know. The good thing about these pens is that if the ink runs out, we can pull out the ink chamber and replace it. Cheap, and fun.

If you can't find the clay at Michael's or Hobby Lobby, you can always get it at:


Visit my personal blog at:


My Facebook art page:

Monday, June 6, 2011

Gourd and Paperclay Apple Tree

I really hope that all you folks really like the "Apple Tree" that I've made! I've had this idea for awhile but haven't taken the time to make it until now. Well for starters, I have several spindles cause I purchased a whole box of them at a Habitat for Humanity thrift store about three years ago. So.... I attached the spindle to a wooden base that I had purchased at Hobby Lobby. ( You don't have to use a spindle, you can use a piece of broom handle or big dowel rod). Then the spindle was attached to a very large apple gourd which I had picked out and been hanging on to for just this purpose:


Pretty neat huh? I used glue to attach them and let it set overnight. Once all that was started I used dye to color the gourd ( I used red and cordovan) and sealed the dye. I then used aluminum foil to make a base trunk for the tree. I also used a candy mold to put paperclay into for the leaves and let them set overnight to dry. This is the beginning:

Doesn't that color on the apple look real? Looked like a red delicious to me. Once the ground work was done I got to have the real fun! "Creative Paperclay" to the ready.... I then covered the base, trunk, and made the limbs of my "Apple Tree". To me it looked pretty neat even without the paint. I then glued my leaves on after sanding the edges of them to make them look good and also made a little gnome door on the front and left my project overnight to dry.

I was just so excited after I got the project this far. Now that everything was dry I painted my "Apple Tree" and then sealed it well so that it would last a very long time.


So tell me, what do you think? I love it and don't think the picture really does it justice. I can certainly tell you that working with Creative Paperclay is fun, fun, fun!!! You can purchase Creative Paperclay at a lot of hobby and craft stores like, Michaels and Hobby Lobby to name a few or from the creator of Creative Paperclay, Amaco. I hope you purchase some and try a project or two yourself, I know you'll like it.

Barbara


Friday, June 3, 2011

Wall Hanger....


Welcome to the Creative PaperClay Blog with Me - Terri Sproul, I am so happy to show you this wall hanging I made out of all paperclay... This was so fun to make and paint...

Here is how this was made..

1) I roll out a large piece of paperclay - I use my teflon sheet to roll my clay out on and use a PVC pipe as my rolling pin...
2) I have lots of molds I like to use. I admit that I am NOT very good an mold clay into things, jut NOT me. BUT I love molds, I have lots of mold from a company called Sweetbrier Studio - they went out of business - sad to say, but when you are out and about, look at everything - anything can be a paperclay mold. Check out cookie cutter, candy molds, etc....
I mold up all the flower, hummingbird, and leave.

3) I roll out the paperclay again and cut out the letter by hand...

4) Set aside to dry

5) Once all was dry, I started to paint.
6) the background I paint with a "latte" color acrylic and then when around the edges with a darker brown acrylic paint. Looks like a piece of wood. very happy...
7) Now the fun part. I painted all the letter, flowers, ect with Twinkling H2O's.

Then I just adhered all my piece on the background, I used "Elmer's Glue-All" it works great and you just need a little glue to adhere them down...

Thanks for stopping by here - did you know the Design team puts a new project here on Tuesday, Thursday and Saturdays? Tell all your friends to visit us... top right corner of this blog has a link for you to purchase your paperclay and play with us...

Thursday, June 2, 2011

Waffle Cone Earrings

By Amanda Marks

Need a cute pair of dangle ice cream cone earring for the month of July (National Ice Cream Month)?  Here is an easy 10 step tutorial using Creative Paper Clay.


Materials Needed:
Creative Paperclay
Fondant Roller
1" Square Clay Cutter
Water
(2) Loop Head Pin
Sculpting Tool
Exacto Knife
Paint (acrylic craft paint, assorted colors)
Brush
(2) Fish Hook Earrings
Pliers
1.)  Take some Paperclay and flatten it with the Fondant Roller.  You want this a uniform thickness it will be approximately 1/8" thick.

2.)  Take the square clay cutter and cut a square.

3.)  Take an Exact-O Knife and cut it diagonally to create two triangles.  Wrap one in a wet paper towel and put it in a plastic baggie (this will keep it from drying out).

4.)  Work the edges of the triangle to a thin edge by squeezing the edges with your fingers.  You may need to add water to help it from drying out.

5.)  Take the triangle and wrap it into a cone.  Add water to the edge and smooth with your favorite sculpting tool.
6.)  Take more Paperclay and roll out a thin snake.  Take the snake and dip it in water.  Once it has been removed from the water, place one end into the cone and swirl it around.  The water will act as "glue" so you will not need to do much sculpting to the ice cream.

7.)  Add your loop head pin.  I inserted the non loop end into the ice cream and poke it all the way through the cone.  If you hit the side it is okay just pull it up and try it again.  You can easily fix the Paperclay with water and a sculpting tool.


8.)  Take your favorite sculpting tool and do a criss cross pattern on the cone.  This pattern will will mimic the look of a waffle cone.  Once this is finished let the cones dry 24 hours.


9.)  Paint the ice cream cones your favorite flavors (above photo:  the right cone is what it should look like dried).  Add the fish hook earrings (you may need pliers to open the loop).  Trim any excess wire or add beads to the bottom of the cone.


10.)  Now you have a beautiful, light set of dangle earrings.

Saturday, May 28, 2011

Snail Magnet Tutorial

These little refrigerator buddies are fun and easy to make for you and the kids! (To make it safer for the kiddies, use pipe cleaners for antennae.)

What You Need
Creative Paperclay
Non-stick craft mat or wax paper
Cup with water 
22 gauge wire or pipe cleaners
Wire cutters or scissors
Needle nose jeweler's pliars
Pottery sharp tool or butter knife
Acrylic Paint
Paint Brushes
Paint Pallette or paper plate
Paper towel
Superglue or strong craft glue
Small round magnets


What To Do
1. Take out a good-sized lump of Creative Paperclay.
2.  Roll the lump out into a long snake.
3. Using your butter knife or sharp tool, cut the snake into three pieces. I like to make a Mommy Snail, Daddy Snail, and Baby Snail. So my snakes are 5, 6, and 7 inches long and about 1/2 inch thick.

4. Keep your snakes moist with water...not wet, just a little moist. This will help you to roll the snakes into snails (if that makes sense) and prevent the paperclay from cracking.
5. Pinch the tail end of the snake so it comes to a point.
6. Roll your snake's tail inward and anchor it in front.

7.  Continue to roll the snake into a snail, but make sure you leave room for the head.


8.  Paperclay adheres to itself pretty well, but it may be helped by adding a couple drops of water (especially where the neck meets the shell.
9.  Time to cut your antennae! 1/4 inch to 1/2 inch antennae are ideal, but feel free to play around with this part to give your snails personalities of their own. 

10. Once you have cut your antennae, insert them into your snail's heads to make the holes where they will eventually sit. Remove antennae and set aside. It is now time to bake!
11. Place your snails into a toaster oven at 220 degrees for 15 minutes. Flip and bake for an additional 10 minutes. (It might be best to make a test snail to see how long it takes your toaster oven to bake paperclay. All ovens are different.) 
12. Once the snails are baked, use acrylic paint and some teeny paintbrushes to decorate them. Make sure you paint both sides and allow them to dry completely. Give them eyes and little smiles with some black paint!

13.  Once they are dry, add a drop of Superglue or craft glue to the tops of their heads where the antennae holes are. Insert antennae and allow to dry.

14.  Take your round magnets and add some glue to it. Adhere one snail to each magnet. Allow to dry completely.
15.  Once dry, clear some space on your crowded fridge (like I have) and adorn your To-Do-List with your new little snail family!!!

Hope you enjoyed this tutorial! For more of my projects, check the Creative Paperclay blog, http://creativepaperclay.blogspot.com/ and my blog, http://marissartdolls.blogspot.com/. My blog will also be available for Kindle users soon! Stay tuned and thanks for reading!!!

Thursday, May 26, 2011

Dry Erase Board, or Picture Frame Tutorial


This is a dry-erase board made from re-purposed materials and a little Creative Paperclay and paint. You can make this into a regular photo frame if you prefer. I wanted to make a dry-erase board that looks better than the ones in office supply stores, and that would fit my style better. For this example, I will be doing one that reflects the outdoor world, and thoughts of summer. It is suitable for Father's Day, and can be customized for that. You could make the tree section into a golf bag for example, or add a fishing pole. Maybe a bar bell, or a can of Dad's favorite beverage, hmmm? To get started, gather the following supplies:


Creative Paperclay

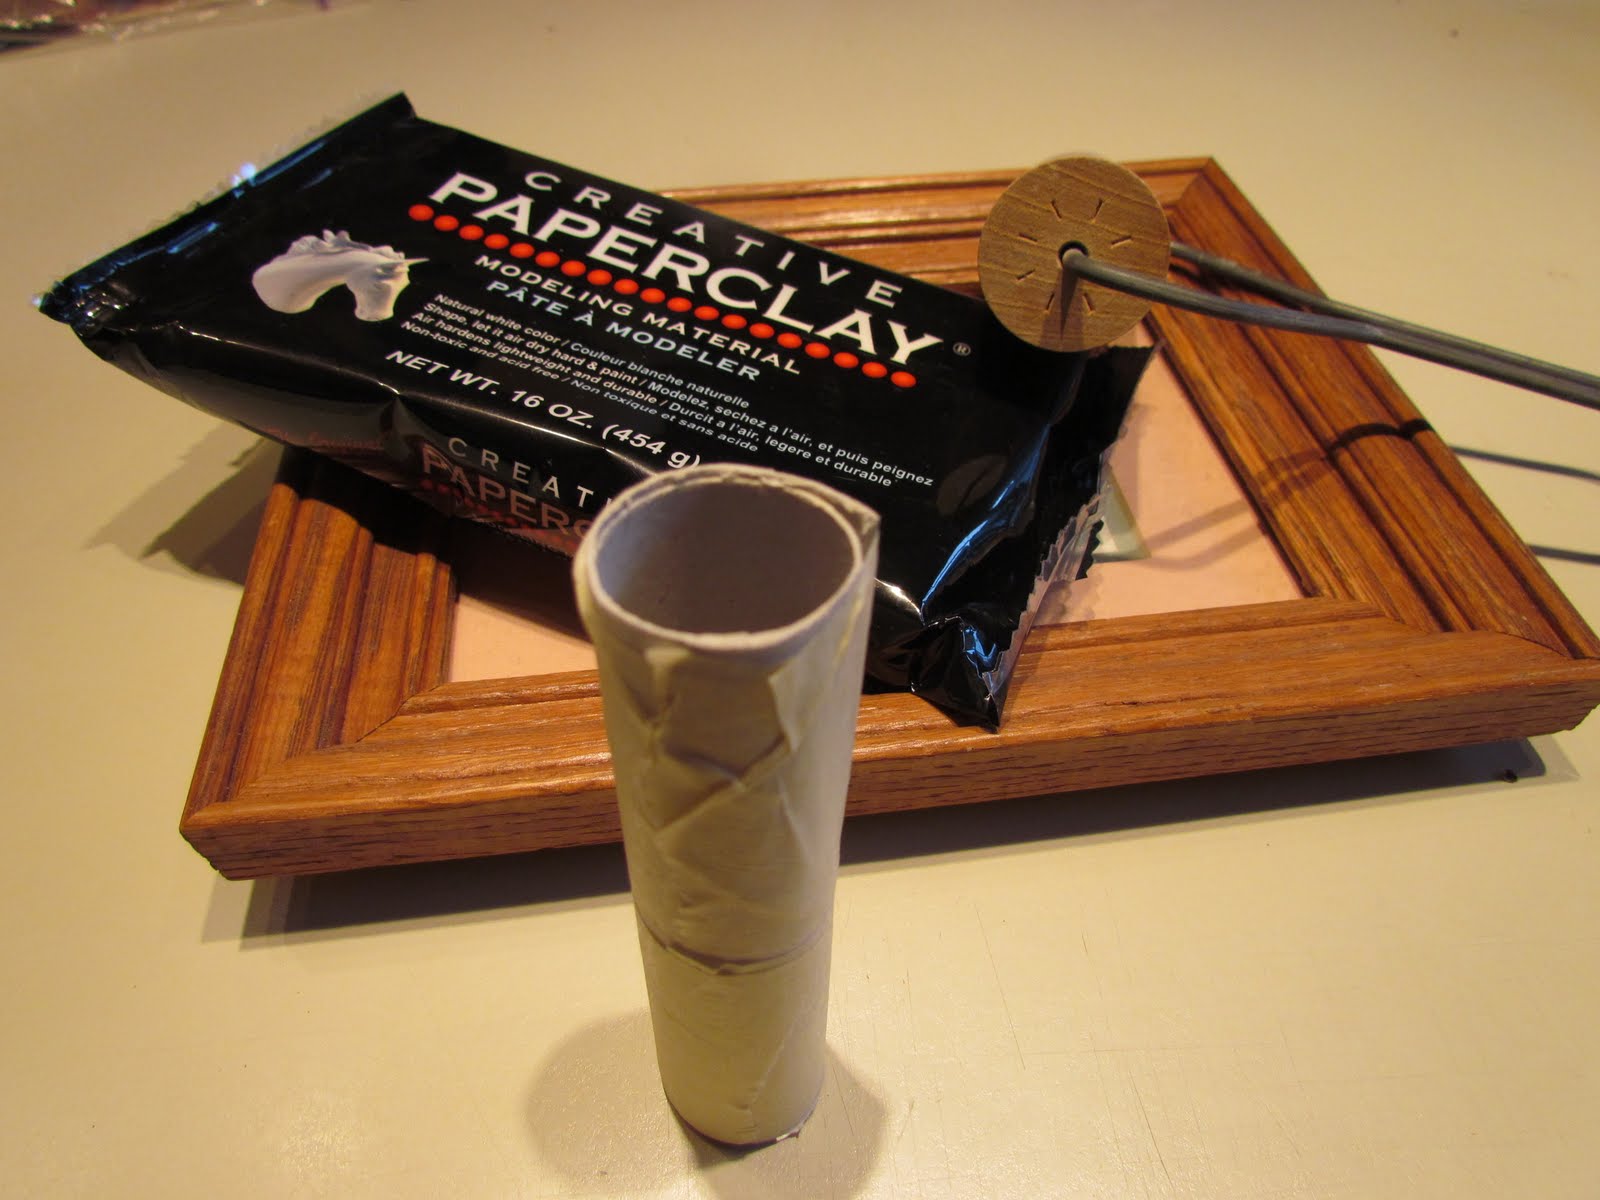
I get mine at Michael's and have seen it at Hobby Lobby. If there are no stores near you that carry it, click the link to go directly to the site. http://www.paperclay.com/.

You will also need:
Small or medium sized frame. (I used a wood frame that is
7" x 9 "with a stand on the back)
Toilet tissue tube
Clean used foil
Tape
White glue
Acrylic paints
Metal hanger for the back if you want to hang the frame
White or light colored card stock to fit the frame where the picture
would be
Dry-erase marker in your choice of colors
Rolling pin or brayer
Other tools to create impressions in the clay. Toothpicks can work in a pinch.


First step is to decide whether you are going to hang it,
or use the frame on a table. If you need to add a metal hanger to the back, do it first.
Then make the tree or whatever design you choose, as a holder for
the dry-erase marker. Cut open the tissue tube down one side,
and form it into a smaller tube by taping it shut. It should be large
enough to hold the marker, so check that before you tape.
Mine was not quite an inch wide.
Then you need to cover it with a flat sheet of clay. It doesn't have to be very thick.
I like to smear a thin layer of glue on the tube before applying the clay.
Plug the bottom of the tube with a disc of clay, to create a bottom in the tube.
You can use tape to make the bottom first if you want, then cover it.

Make your designs in the clay at this time, then just glue it to the side of the frame to dry, unless the
frame won't cradle the tube as it dries. In that case, let it dry completely, then when you glue it to the
frame, hold it in place with a piece of tape temporarily until it stays on its own.

At that time you will build up the lower area to create a scene. I wadded up some clean used foil, and glued it on. I applied the glue rather thickly, and let it dry in two layers, but you can use a glue gun for faster results. Just make sure to get glue into the nooks and crannies ij the foil, so it will hold.


Once the 'ground' part of the scene was in place, I
spread the regular old fashioned white glue over the entire frame. I could have sanded it first, but this frame was already aged for appearance. If you use a plastic, or slickly varnished frame, you should rough up the surface with a light sanding before adding anything to it. The purpose of the glue is for later, when painting, the paint will adhere to the frame better. As will the additional clay pieces. Let it dry, then when you make your sun, rocks, cattails, or whatever you decide to add, use a little more glue to stick them down.


After you get your picture the way you want it, let it dry thoroughly. With all the rain, humidity and windows open at my house, I was glad that it wasn't really hot out, because I turned my
oven on to 180º and left the door open. The frame was able to dry in one afternoon on a tray in the warm oven, but I left it until the next day before painting. Regular acrylic paints really pop when used on Creative Paperclay, without the need for gesso, or base-coating.


I made the detail in the bark by making grooves down the sides with a toothpick, then used the end of a very small screwdriver to make horizontal marks down each line, leaving what made
the bark look like small uneven squares. When I painted, I did the colors darker, then dry-brushed lighter shades over the top to show the textures and details.


The sun I did free-hand, but you could always use a mold that has been lightly dusted with talc or cornstarch to prevent sticking. Creative Paperclay is usually not sticky, but best not to risk it tearing as you remove it from a mold.

After the paint has dried, cut a piece of card stock to fit in the frame. It will serve as the area where you writ your message, so don't use a color that is darker than the ink in the marker. I think that I'm going to change mine to a blue, to look like the sky for my frame.

Put the glass back in the frame first. If you don't have glass, you can cover the card stock with clear plastic that is self-adhesive. I don't want to mention name brands, but the plastic I mean is used as a contact covering in drawers a lot. Or you might be able to find some clear plastic from a take-out box that will fit. The first thing in the frame needs to be the slick surface that will be written on. Then you can add the card stock, and any inserts that came out of the frame in the first place.


You can see in this dark picture, the 3-D effect of the clay, as well as the highlights that I painted on to make it look like the sun was shining on the tree and other parts of the scene. The tree has my marker in it, and my dry-erase board is now ready to hang up and enjoy. I'm going to add some hooks in the bottom for keys, since my frame is wide enough.

Thanks for looking. You can also find me at:


Tuesday, May 24, 2011

Making Your Own Embellishments by Brenda

Good morning

It's so much fun to create your own embellishments for your scrapbooking or card making and using Creative Paperclay is exactly what you need to do it.  It's lightweight and very easy to use. 

I needed some banner style embellishments for a card I am making for my dad for father's day.  I know you can buy stickers and chipboard items, but why buy them when you can make your own.  Again, this was so much fun to make and I already have a few more ideas for next time.

Okay, so this is how I started:
I used a cookie cutter I got from Michaels in a multi pack and cut the triangles out. 
Kinda reminds me of making sugar cookies...hmmm, nummy.

I forgot to take a picture of piercing the holes in the corners of the triangles. 
I used an awl, but you could use a pin or a paperpiercer also.  Just make sure you make the
holes big enough for whatever you are going to insert into them. 
Then I used a damp towel and gave the clay pieces a little texture. 
I want these pieces to look a bit antiqued.

I used some walnut ink to antique the paperclay pieces once they were dry. 
It took about 2 days for them to dry, but I blame that on the humidity we are having here.

I just dabbed it directly onto the paperclay piece and then used a rag to wipe it off a bit.

See, already looking antiqued

Here is a closeup of one of the paperclay pieces.
See how it looks like leather?

I inserted copper colored brads into the holes and snipped the ends off,
because the extended past the edges.
I added some dimensional letter stickers to the paperclay and
there are my very own embellishments for a card.

I hope you liked my tutorial and can't wait to see you here again in about 3 weeks for another Creative Paperclay idea.  Remember, you can purchase Creative Paperclay at Michaels, Joanne's or even online here.
You can view some of my other Creative Paperclay projects on my blog.

As always, have a great day and God Bless.
Brenda