
Good Day all crafties,

I didn't have any 4th of July embellishments, but I knew I could make some with my paper clay. I used my cookie cutters to cut out the stars,

the 4th and a larger star.

Then I used the stars to make my embellishments for the paperclips. The stars were a bit small for my paperclips,

so I squashed them a bit

put the paperclip between them and smoothed out the edges.


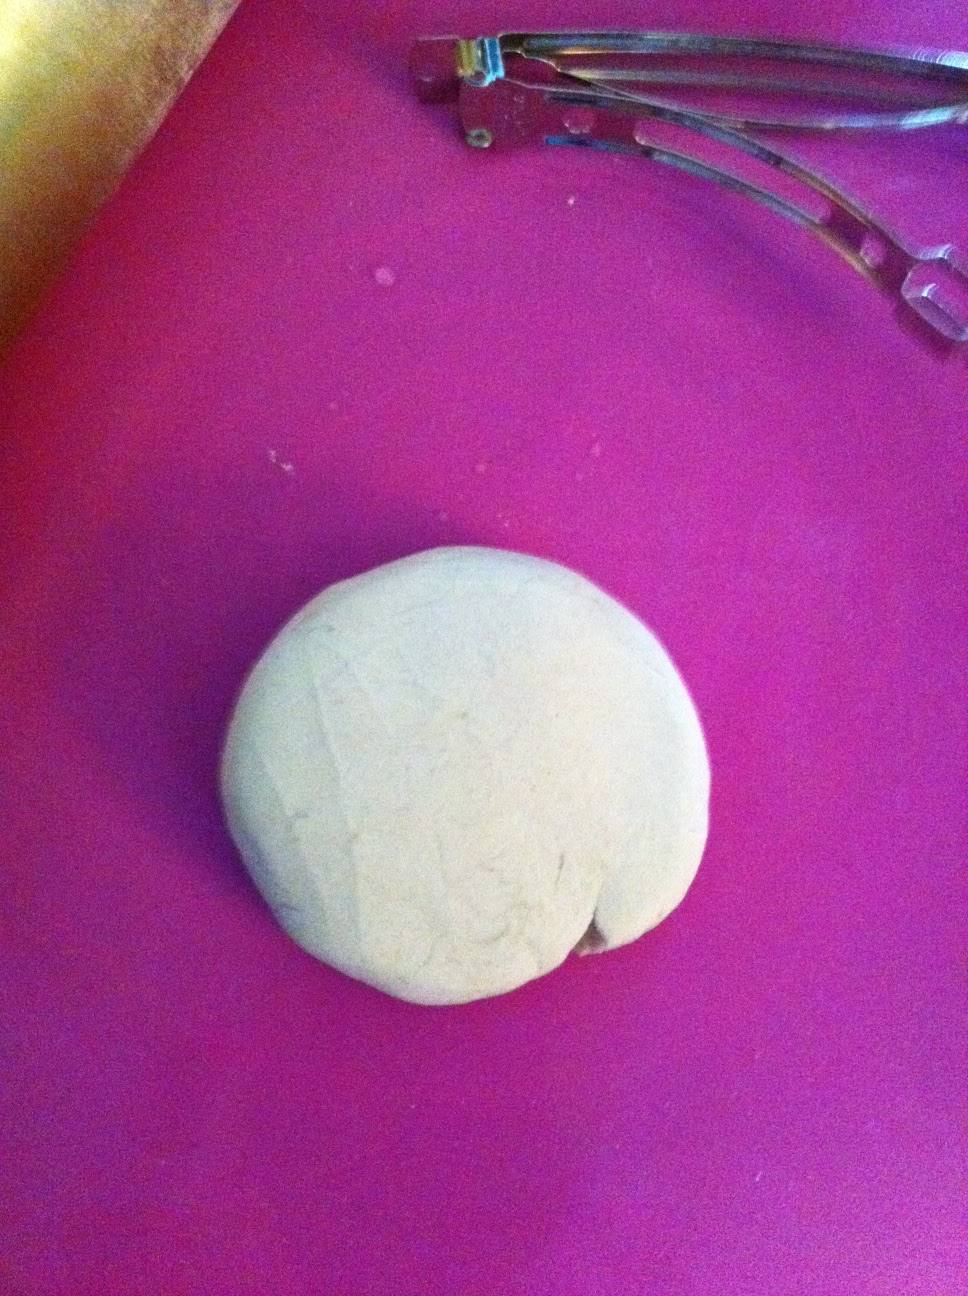
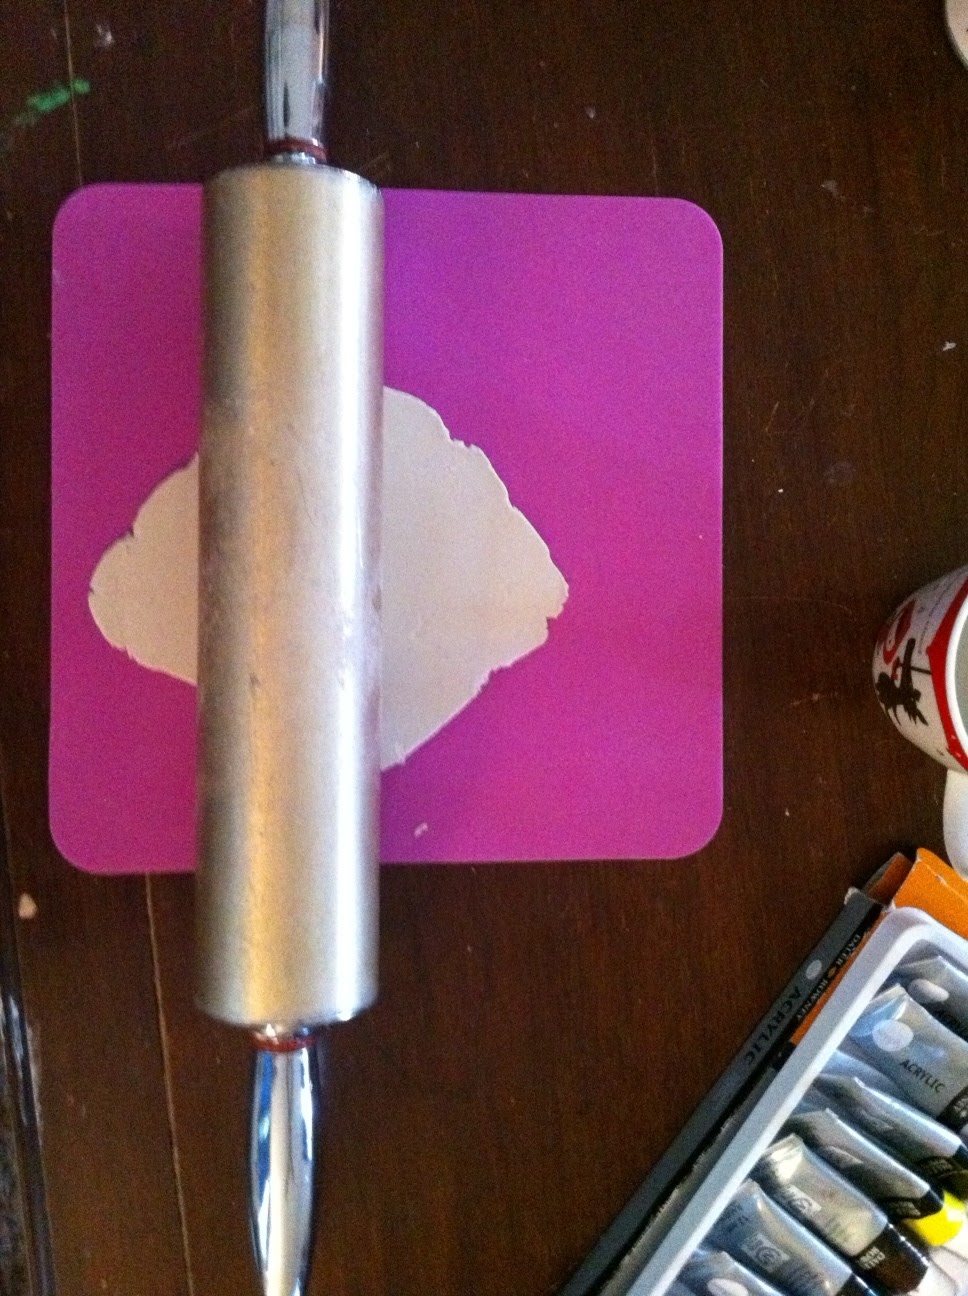
Then I made my own fireworks...this was a challenge. First I rolled out some clay pretty thin and cut strips

then I twisted the strips

and layered them to create a firework

Pretty neat, huh?
Here are the pictures when everything was painted
I added some glitter to the fireworks and a star bling to the center...looked better this way.


I faux stitched around the number and letters and added another paperclay star to each.

Here is the closeup shot of one of the paperclips. Not too bad...

I stamped the word July onto a paperclay star after I painted it white and faux stitched around it also.

So I hope you like my paperclay project this time around. I know I had a blast making the embellishments and what a money savor it can be. Next time you need that certain special embellishment, go buy some Creative Paperclay and make your own. I hope I've inspired you to create your own pendant using some Creative Paperclay. You can purchase Creative Paperclay here or you can even get it at Hobby Lobby or Michaels.


 The first thing is to cover at least one end of the stick in
  Add your face, either by sculpting or using a mold, then use a bit of white glue to make sure it will stay attached well. Let it dry.
 Then you can paint it in the colors of your choice.
  Then unless you used a lot more clay to pad out the body, you will need to build some volume here with yarn or strips of cloth. I used some regular yarn, and saved the natural fibers for the outside. You could also use fiberfill to pad the body out, if you cover it well. Glue the ends down, as you go from one yarn or cloth to the next, and wrap your doll with a variety of materials and colors.
  You can add a pin back to make her a fashion accessory, keep her in your pocket for good luck, hang her from a rear-view mirror (She will fade quickly if the dyes are natural), or attach her to a package when giving a gift. Think of the variety you can create with these dolls. I am going to make more of them in the next few days and add the pics here, so that you can see them. I'm going to do a personal one with a few strands of my kids' hair, torn strips from some favorite old clothing, tuck in a few small personal items that my kids have made, and whatever else I think of to make it have special meaning to me. I will also do some with charms, strings of beads, and perhaps vintage buttons. Only your imagination limits you. Have fun! You can visit my blog at:




 For this project, you will need:
 First, you will cover the sides of the can with the clay, then you will make leaves by rolling a small teardrop shape, placing it on the can, then making indentations for leaves with the handle of the paintbrush. Let that dry completely, then paint it. I used a shade to match my cloth, then lightened it a bit with white paint to do the highlights.
 And yes, I used the can for a paint palette, since it wouldn't need to be washed out. I'm lazy that way.
  Now comes the tricky part. I don't really like hot glue, but for this project, it is the easiest method. If you want to take the time to baste around the edge of the cloth circle, to gather it and make the gluing job easier, I would recommend it. I was in a hurry as usual, so I just glued the cloth to the inside upper rim of the can, about one inch at a time, gathering and tucking as I went, to make it fit. I only burned my fingers a little, no big deal. I left a gap about an inch wide as an opening to stuff the fiberfill in. When you stuff it, it's best to use a trick that doll-makers use. Tear your filling into small balls first, and stuff them in one at a time, so that your finished work is smooth. Trying to stuff a huge piece into the small opening on your can might also cause the glue to pull away from the metal, so be patient. When you think that you have stuffed all the fiberfill into the can that it can hold, stuff in a few more handsful. You want firmness.
 Then tuck the cloth down into the can for the last bit. Don't try to glue it before the cloth is tucked or that's when you'll really get a burn. Once it's tucked down, use the nozzle of the glue gun to get the glue where you need it, inside the can, then hold the top down firmly until you're sure the glue is cool. Once it's cool, you can add your flowers. I used colorful buttons, but you could cut flowers from felt, use artificial flowers, or come up with another idea.