
What You'll Need
Creative Paperclay
Metal Clip Barrette (available at Michael's and Jo-Ann's)
Non-stick craft mat or wax paper
Rolling pin
Cup of warm water (for sculpting and paintbrush wash)
Sharp pottery tool
Acrylic paint
Glue gun
What To Do
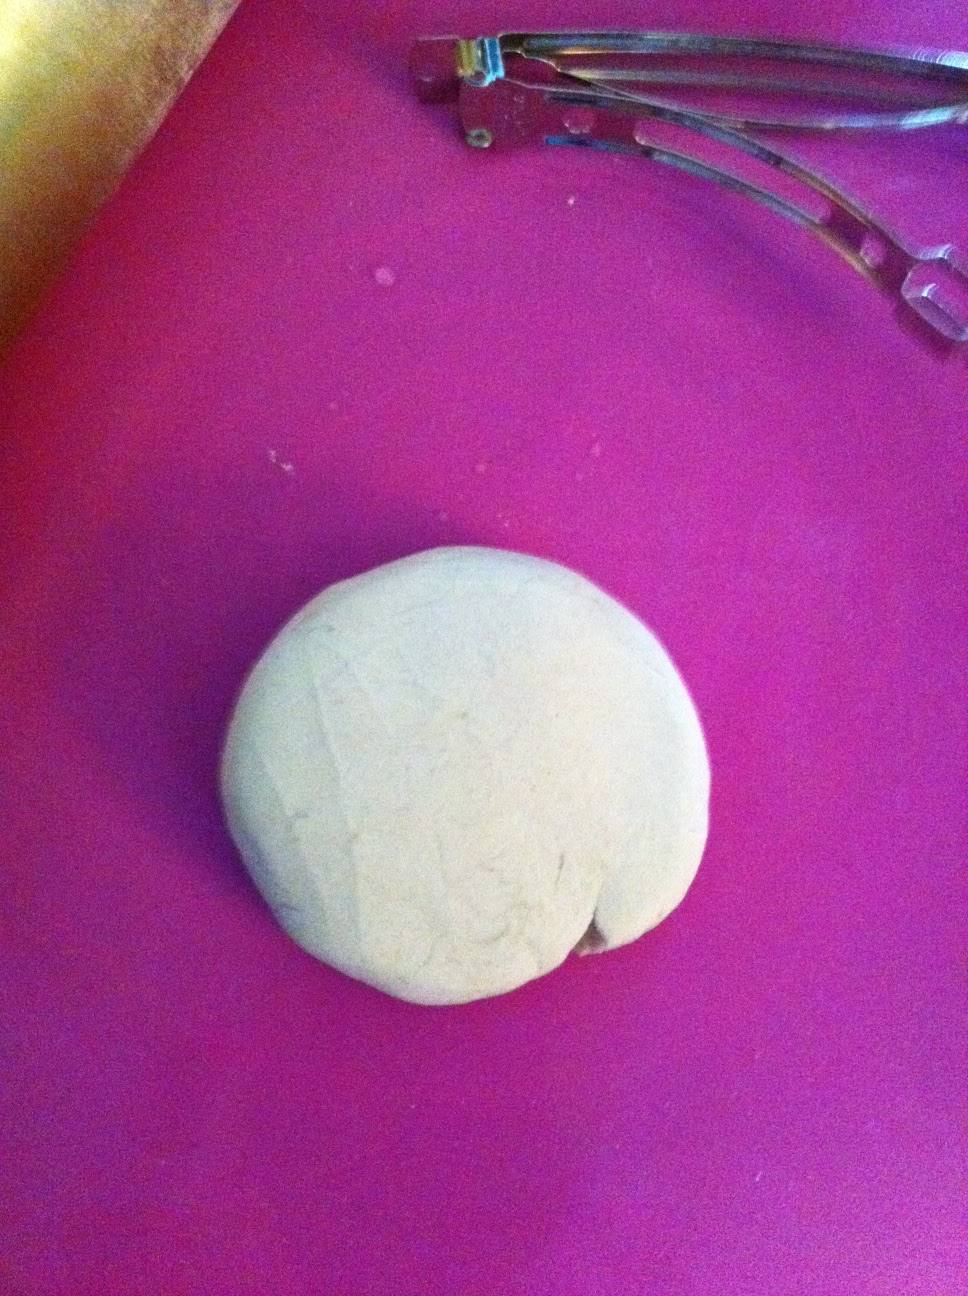
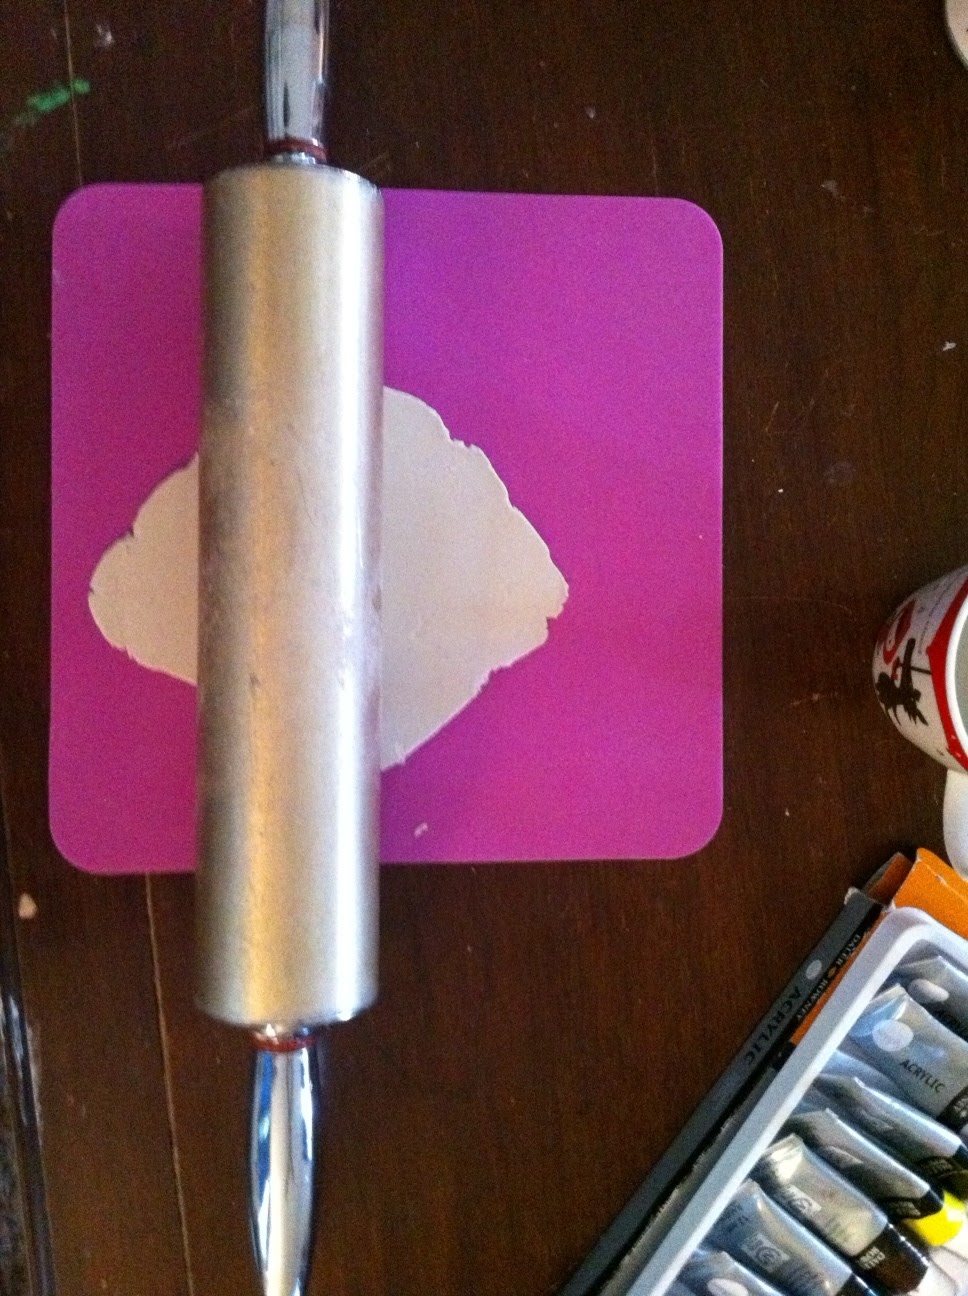
1. Roll out a lump of paperclay to about a 1/4" thick.

3. Cut around barrette with sharp pottery tool or butter knife. Feel free to make an oval shape, round shape, or angled shape to your liking.
4. Smooth edges with water and make sure there is an impression of the barrette in the clay. .
. 5. Place paperclay on top of the barrette. Make sure the clay takes the shape you desire and will glue flush to the barrette. Bake in your toaster oven at 250 degrees for 10-15 minutes.

7. Flip over and bake for an additional 10 minutes. Once dry, allow to cool.
8. Time to paint! You have complete creative control, so have fun with it!

9. Paint both sides. Allow to dry. Finish with varnish. Allow to dry.
10. Glue the flat part of the barrette to the back of your creation. Allow glue to dry and then go style your hair!
Here is another barrette I did a while back...a complete one! The one above is still drying! Can't wait to wear it though!

Feel free to sculpt your barrette too! I am sorry the picture quality is not better. On this barrette, I sculpted grape bunches, leaves, and fashioned vines out of small gauge jewelry wire. Also feel free to glue flat beads, use glitter, decoupage, etc. The possibilities are truly endless with this project! Have fun!
1 comment:
Nice barrette! Might have to make some for myself :)
Post a Comment