
Hello again! I hope you are having a wonderful Holiday Season!
This is my last tutorial and I want to thank everyone who has checked out all of the tutorials on the blog.
Supplies:
Creative Paperclay®
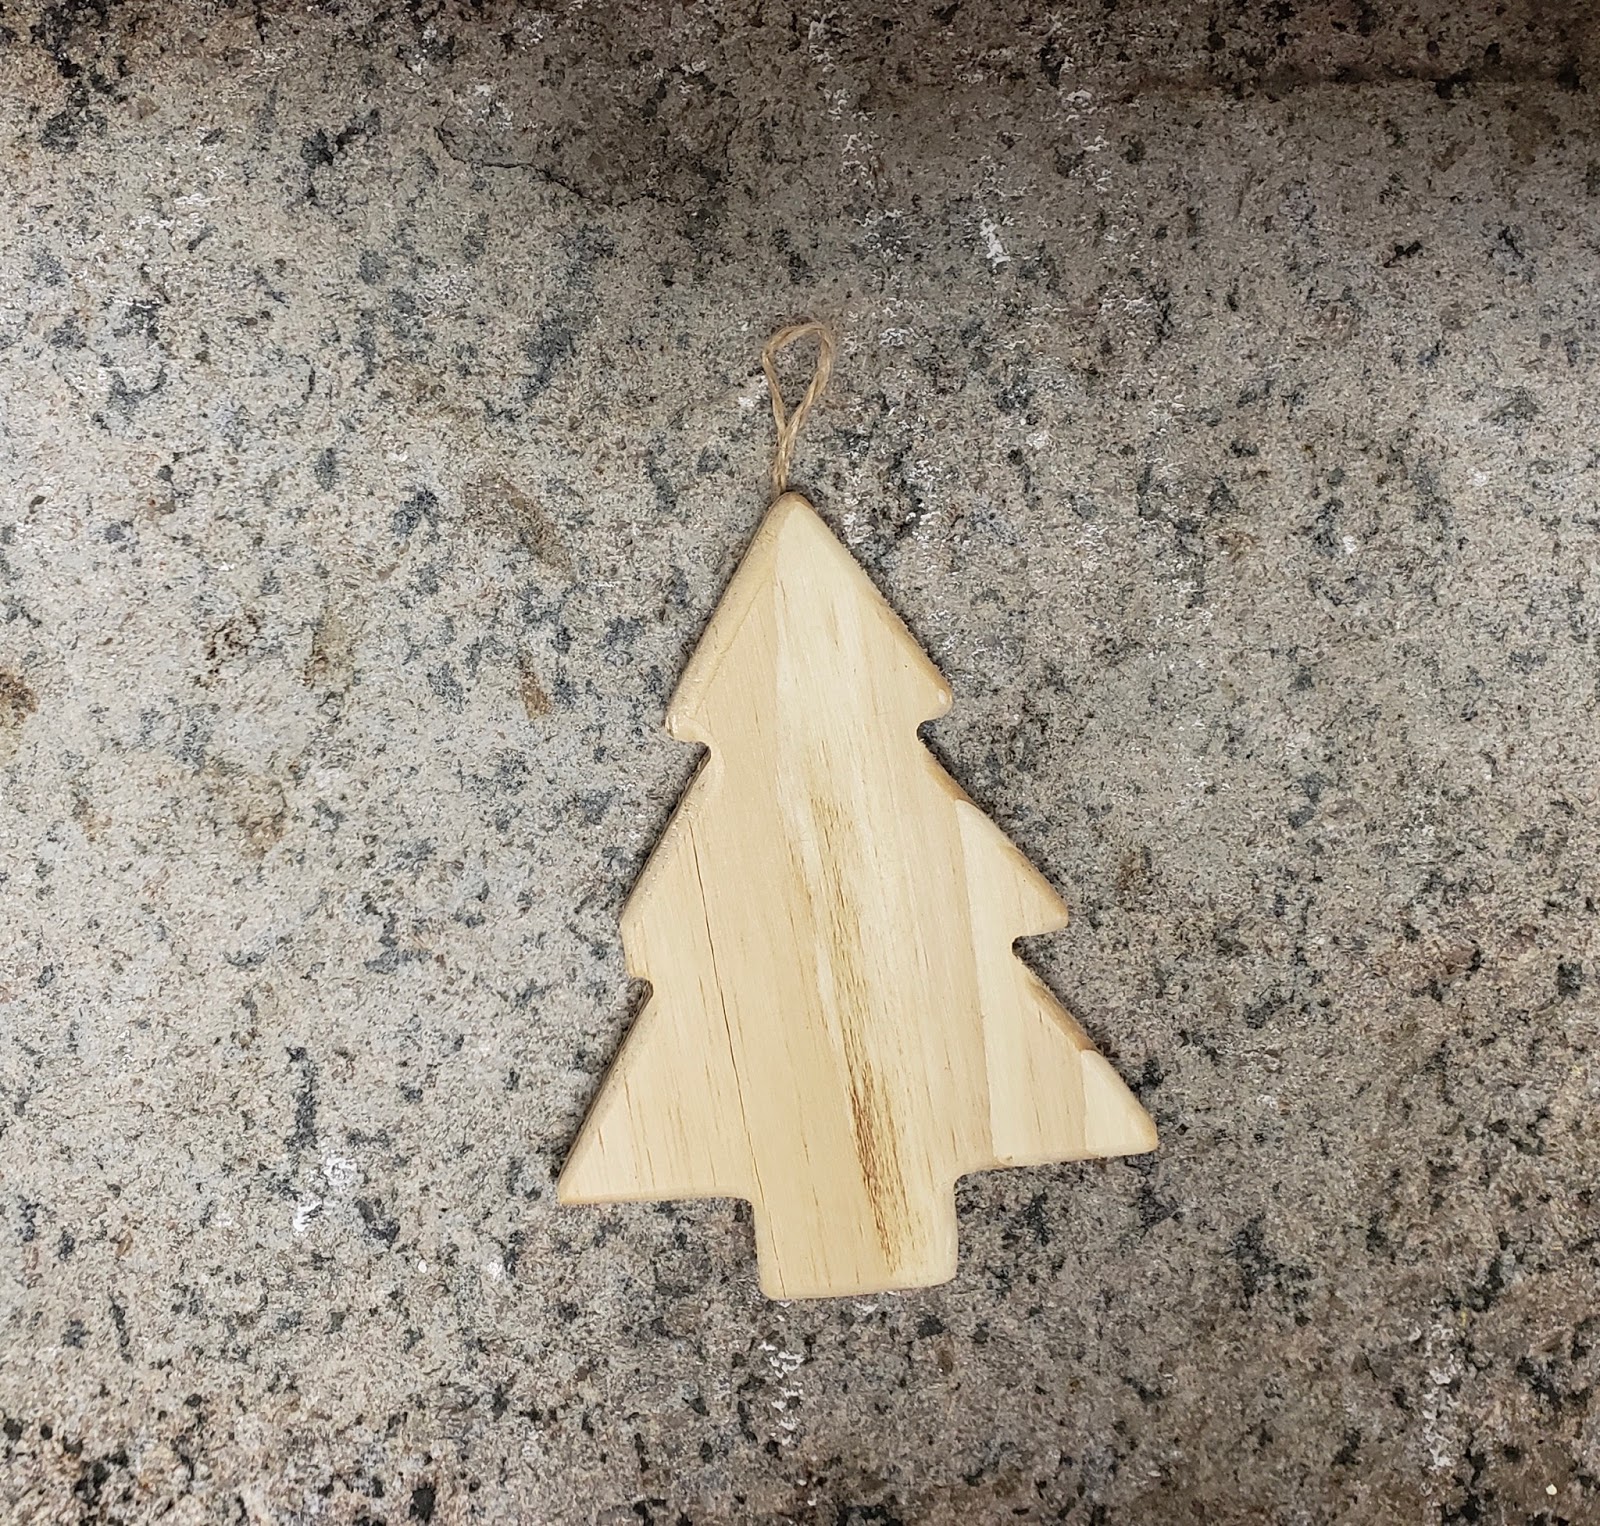
Wooden tree
Green acrylic paint
Textured snow
White glue
White Gesso
White glitter

Step 1; Make small triangle pieces with Creative Paperclay® and attach to the tree for branches. Sometimes it helps to paint the area with a little bit of glue so the clay will stick better.

Step 2; draw lines on each branch to look like the needles on the branches. After you get one side finished you can let it dry so it's easier to do the other side with out smashing your work. You can do just one side and write the date on the opposite side to make it even easier.


Step 3; After the tree is completely dry paint the tree with white Gesso and let it dry then paint with green acrylic paint. Mine looks a little neon but it's really not. Let dry

Step 4; Take the texture snow and paint as much snow as you want on each branch. I put a lot more at the top of the tree and down the edges so it didn't look too flat. You can even add a little glitter before the snow dries.


Now you have a Creative Paperclay® tree ornament.
Thank you again for checking out all of my blogs and have fun sculpting!
Creative Paperclay®
https://www.paperclay.com
Hobby Lobby, Michaels, Joann, Amazon
No comments:
Post a Comment