
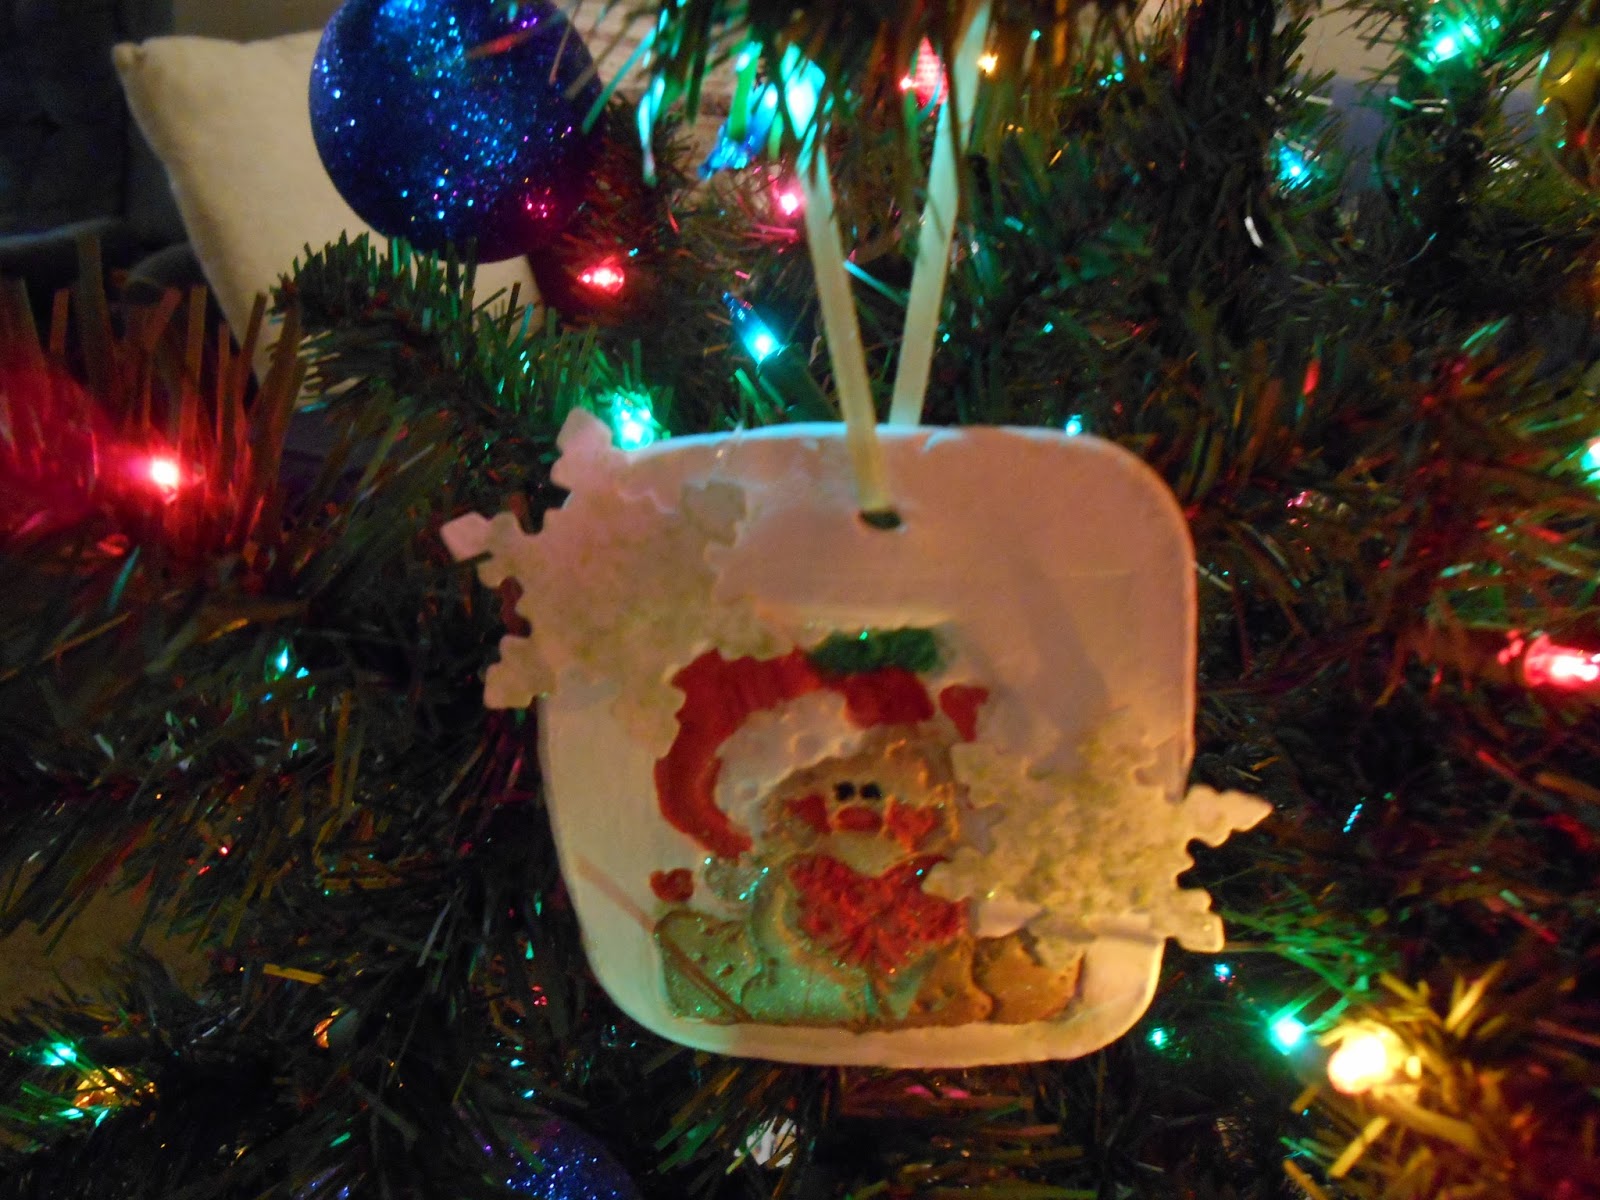
Angel With Wild Hair Ornament

Let's have some fun with an angel with wild hair and fiery colors!
SUPPLIES:
Creative Paperclay
Mod Pogde or other glossy sealer
Alcohol Inks ( I used Jacquard Piñata Inks)
Pan Pastels or chalk pastels
Gold Acrylic Paint
E600 or other strong glue
about 10" of 16 or 18 ga. wire
Rubber Stamp Ink Pads (I got the best results with StazOn)
TOOLS:
Rubber Stamps & Texture Sheets
Rolling Pin or Jar
Craft Knife
Needle Tool
Pliers & Wire Cutters

Start by rolling out 2 - 12 x 5 inch pieces of Creative PaperClay to abour 1/8

Add texture with rubber stamps, texture sheets, tools, and other items you have on hand.

Find your most pleasing textures and cut out your body and wing shapes with a craft knife.

Roll out your scraps. You may need to add a few drops of water. This piece should be very smooth and clean for the rubber stamped face and embellishments.

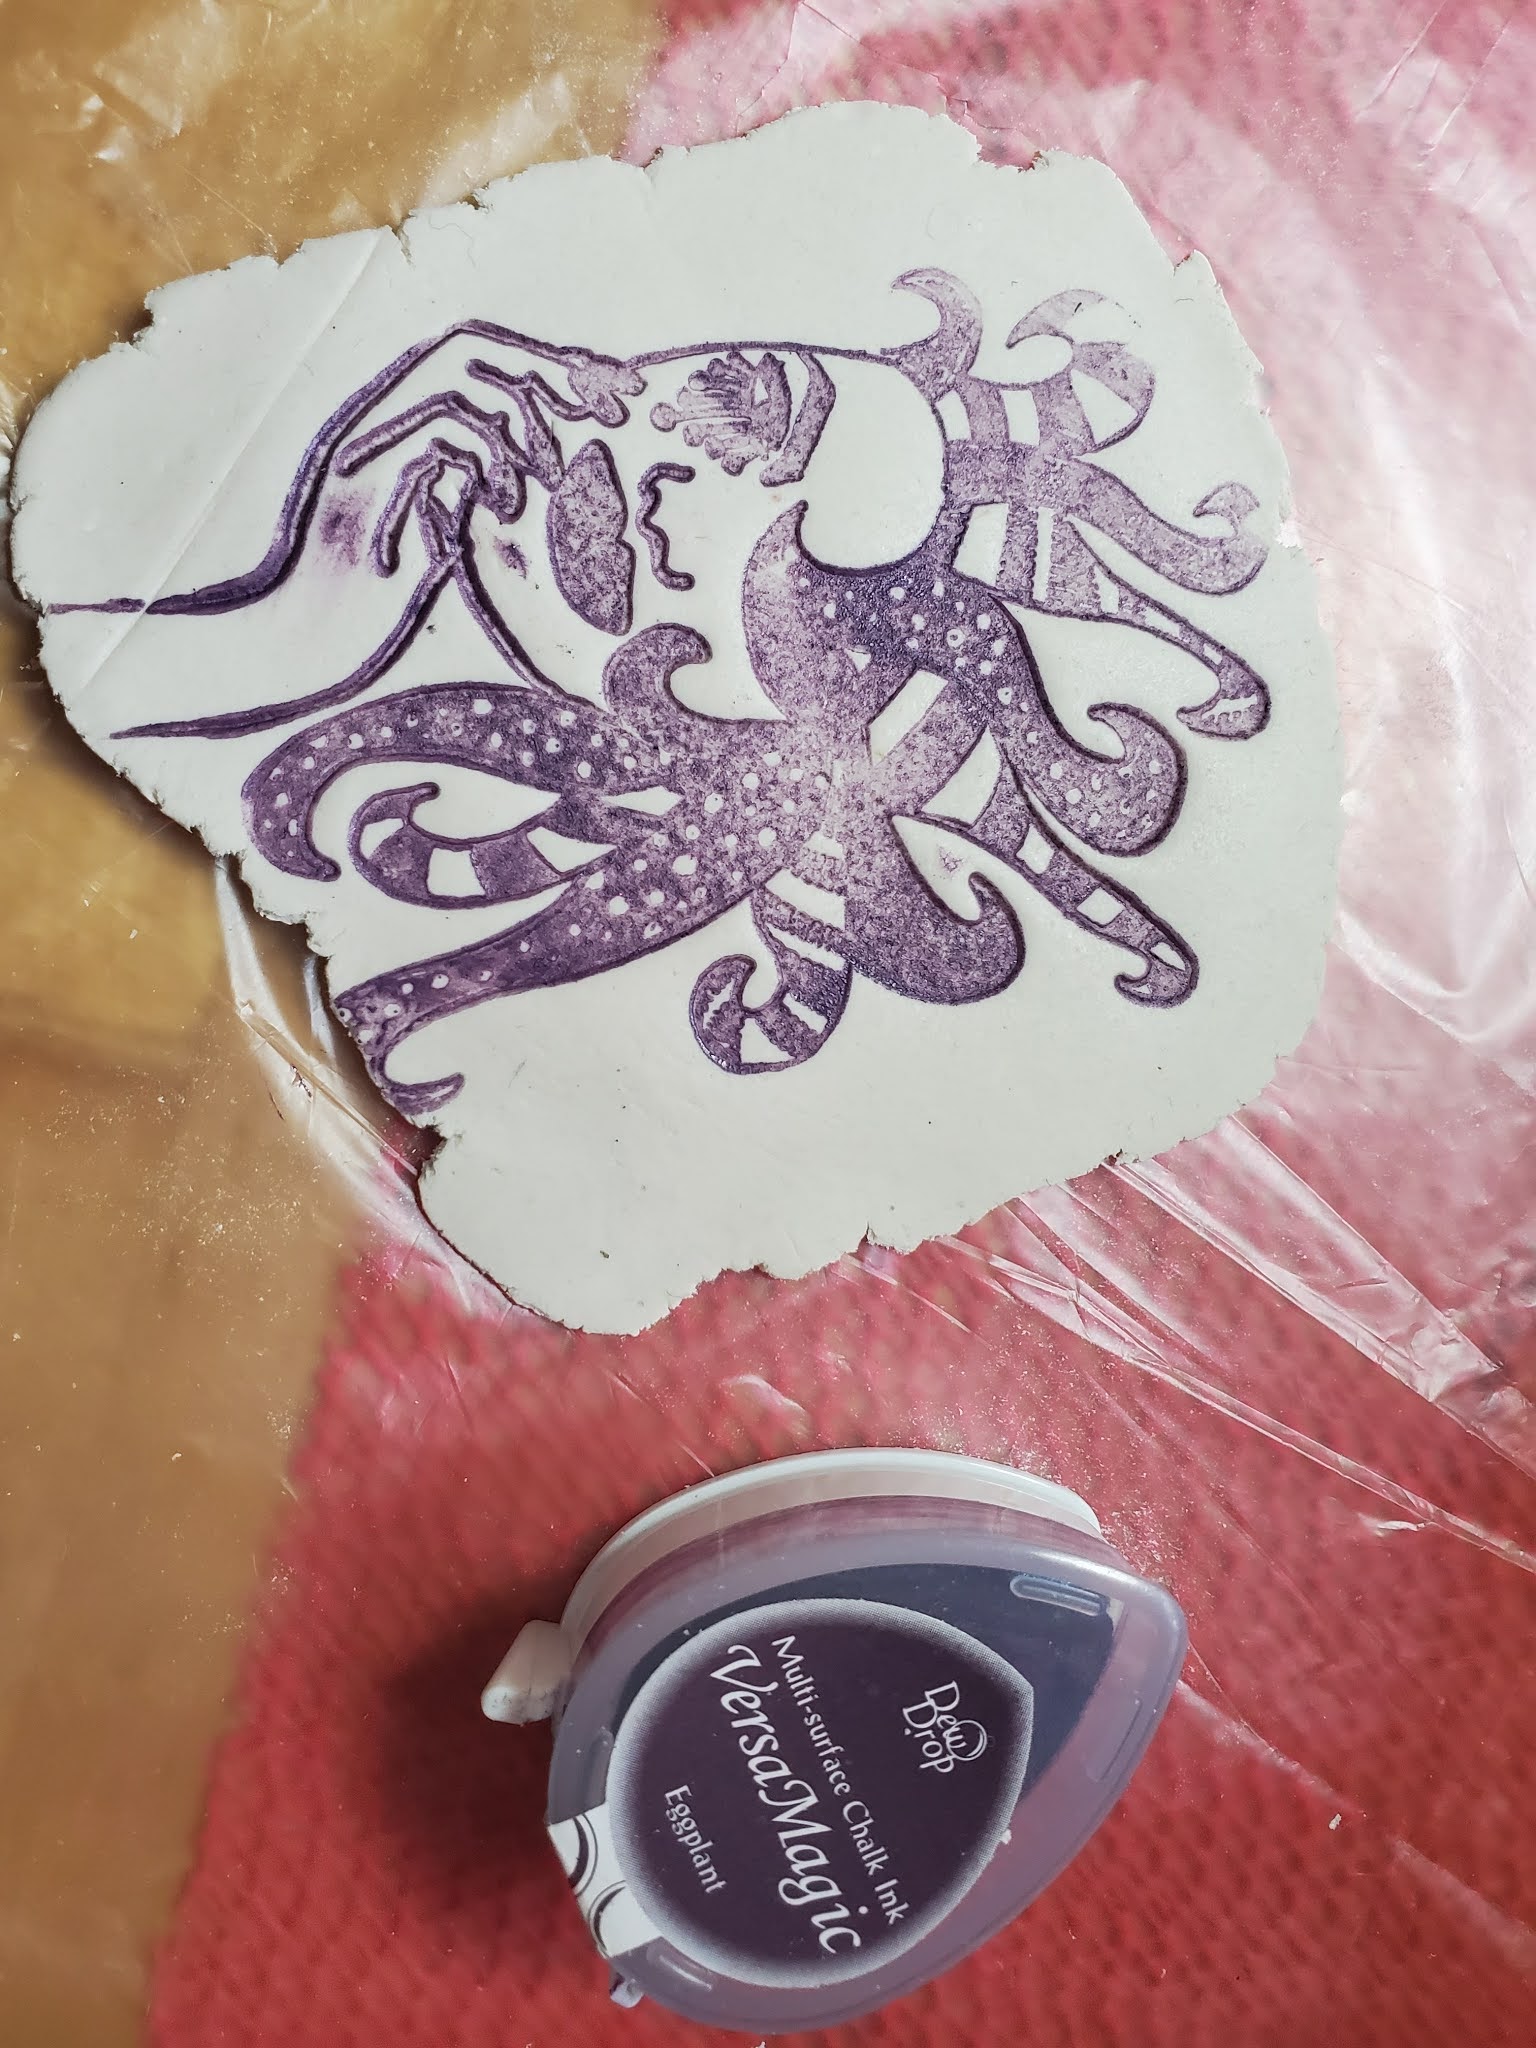
I used these stamps by Ranger. Any face images you like will do.

It took me several tries to get a good impression. Don't be discouraged.

I liked the black best. What's your favorite?


This StayzOn ink pad gave me the best impressions.

I really wanted to love the purple but, it was not pronounced enough.

Add some blush with pan pastels.

Cut out your faces and embellishments with a craft knife.

Add holes in the wings with the needle tool. Don't get too close to the tips.
Allow all of your pieces to dry overnight. After about an hour put a heavy book on top to prevent curling.
After all of the pieces are completely dry. Seal them with Mod Podge or other sealer. once it dries, add color with alcohol inks. Start with light colors first, let some blend together before they dry.
After all of the pieces are completely dry. Seal them with Mod Podge or other sealer. once it dries, add color with alcohol inks. Start with light colors first, let some blend together before they dry.
Once the inks dry, create a finished edge with gold acrylic paint. Then seal with another coat of Mod Podge or other sealer.
Once this last coat of mod Podge dries Glue all 3 parts together. Allow it to dry again.
Add wire in a loop through holes in the wings.
Until then, stay cool and don’t forget the sun screen!
Fin - The End

Pinterest:


