
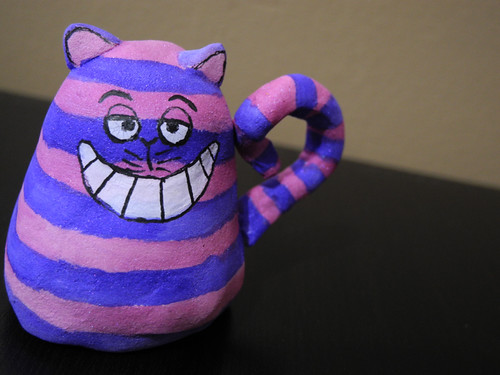
Meet...the Cheshire Cat!

I created him by starting with a foam ball split in half for the base and then built up with foil from that to create the basic shape I was looking for.

From there, I covered the foil with Creative Paperclay® and formed the tail portion over a length of wire pushed into the base of the cat. I allowed this to dry for two days before proceeding.

I sanded gently before painting. I first applied the stripes using Luminarte Twinkly H2O's. This gives the Cheshire Cat a wonderful shimmer!

The final step was to add the distinctive toothy grin and spirited eyes using white paint (Sharpie paint pen) and black marker.
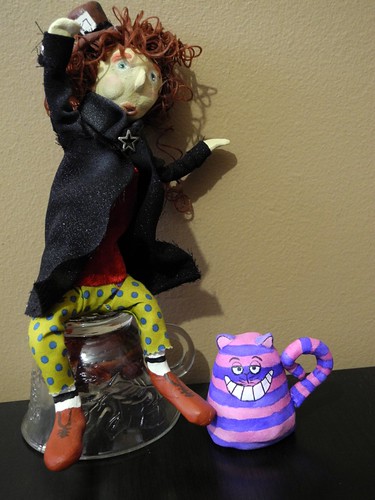
I just love the way he turned out! And he sits quite happily along side his friend, The Mad Hatter!
Thanks for stopping by and please remember to leave your comments! We love your comments! You can see more of my work at Just Jingle, my blog! Thanks, and have a super happy day!
6 comments:
Oh he's just so cute Jen! So is your Mad Hatter! Wonderful job and tutorial!
Hugs XX
Barbara
Oh, I'm in love with this fellow! He's awesome!
Awesome!
Both are just AWESOME !
Great Cheshire Cat!!!! Love the colors!!!
this is just adorable
Post a Comment