
Many Drying tips and techniques for different armatures and cores.
Drying times can be affected by altitude, weather, humidity and armature type used.
Have in mind the best way for your clay sculpture to be strong is by having the clay dry evenly.
This will reduced the amount of cracking on your piece.

If you use Styrofoam you should never place it in the oven to dry your sculpt.
Styrofoam when it melts it will produced toxic gases. This is not safe to be exposed to.
Also if you try to rush the drying process with ovens or heaters the clay will not dry evenly. Drying the clay with heaters or ovens will produce more cracks and opening that will need to be repair and cover up .
.jpg)
But Styrofoam ball are great to use. I like them because they reduce the amount of clay consumption.
It will allow you to sculpt more with the less clay. I like to used them on my Ball Joint Dolls heads. Is very nice because it will give you a great base to work and you can easily cut it in half to add the other details to the piece. I allow the piece to dry normally.
If you want to lower the drying time with out hurting your pieces. Specially on those high humidity places. I can recommend a homemade Creative Paperclay® drying booth method I use.
Is very easy to make and it will help your pieces to dry properly.
Materials:
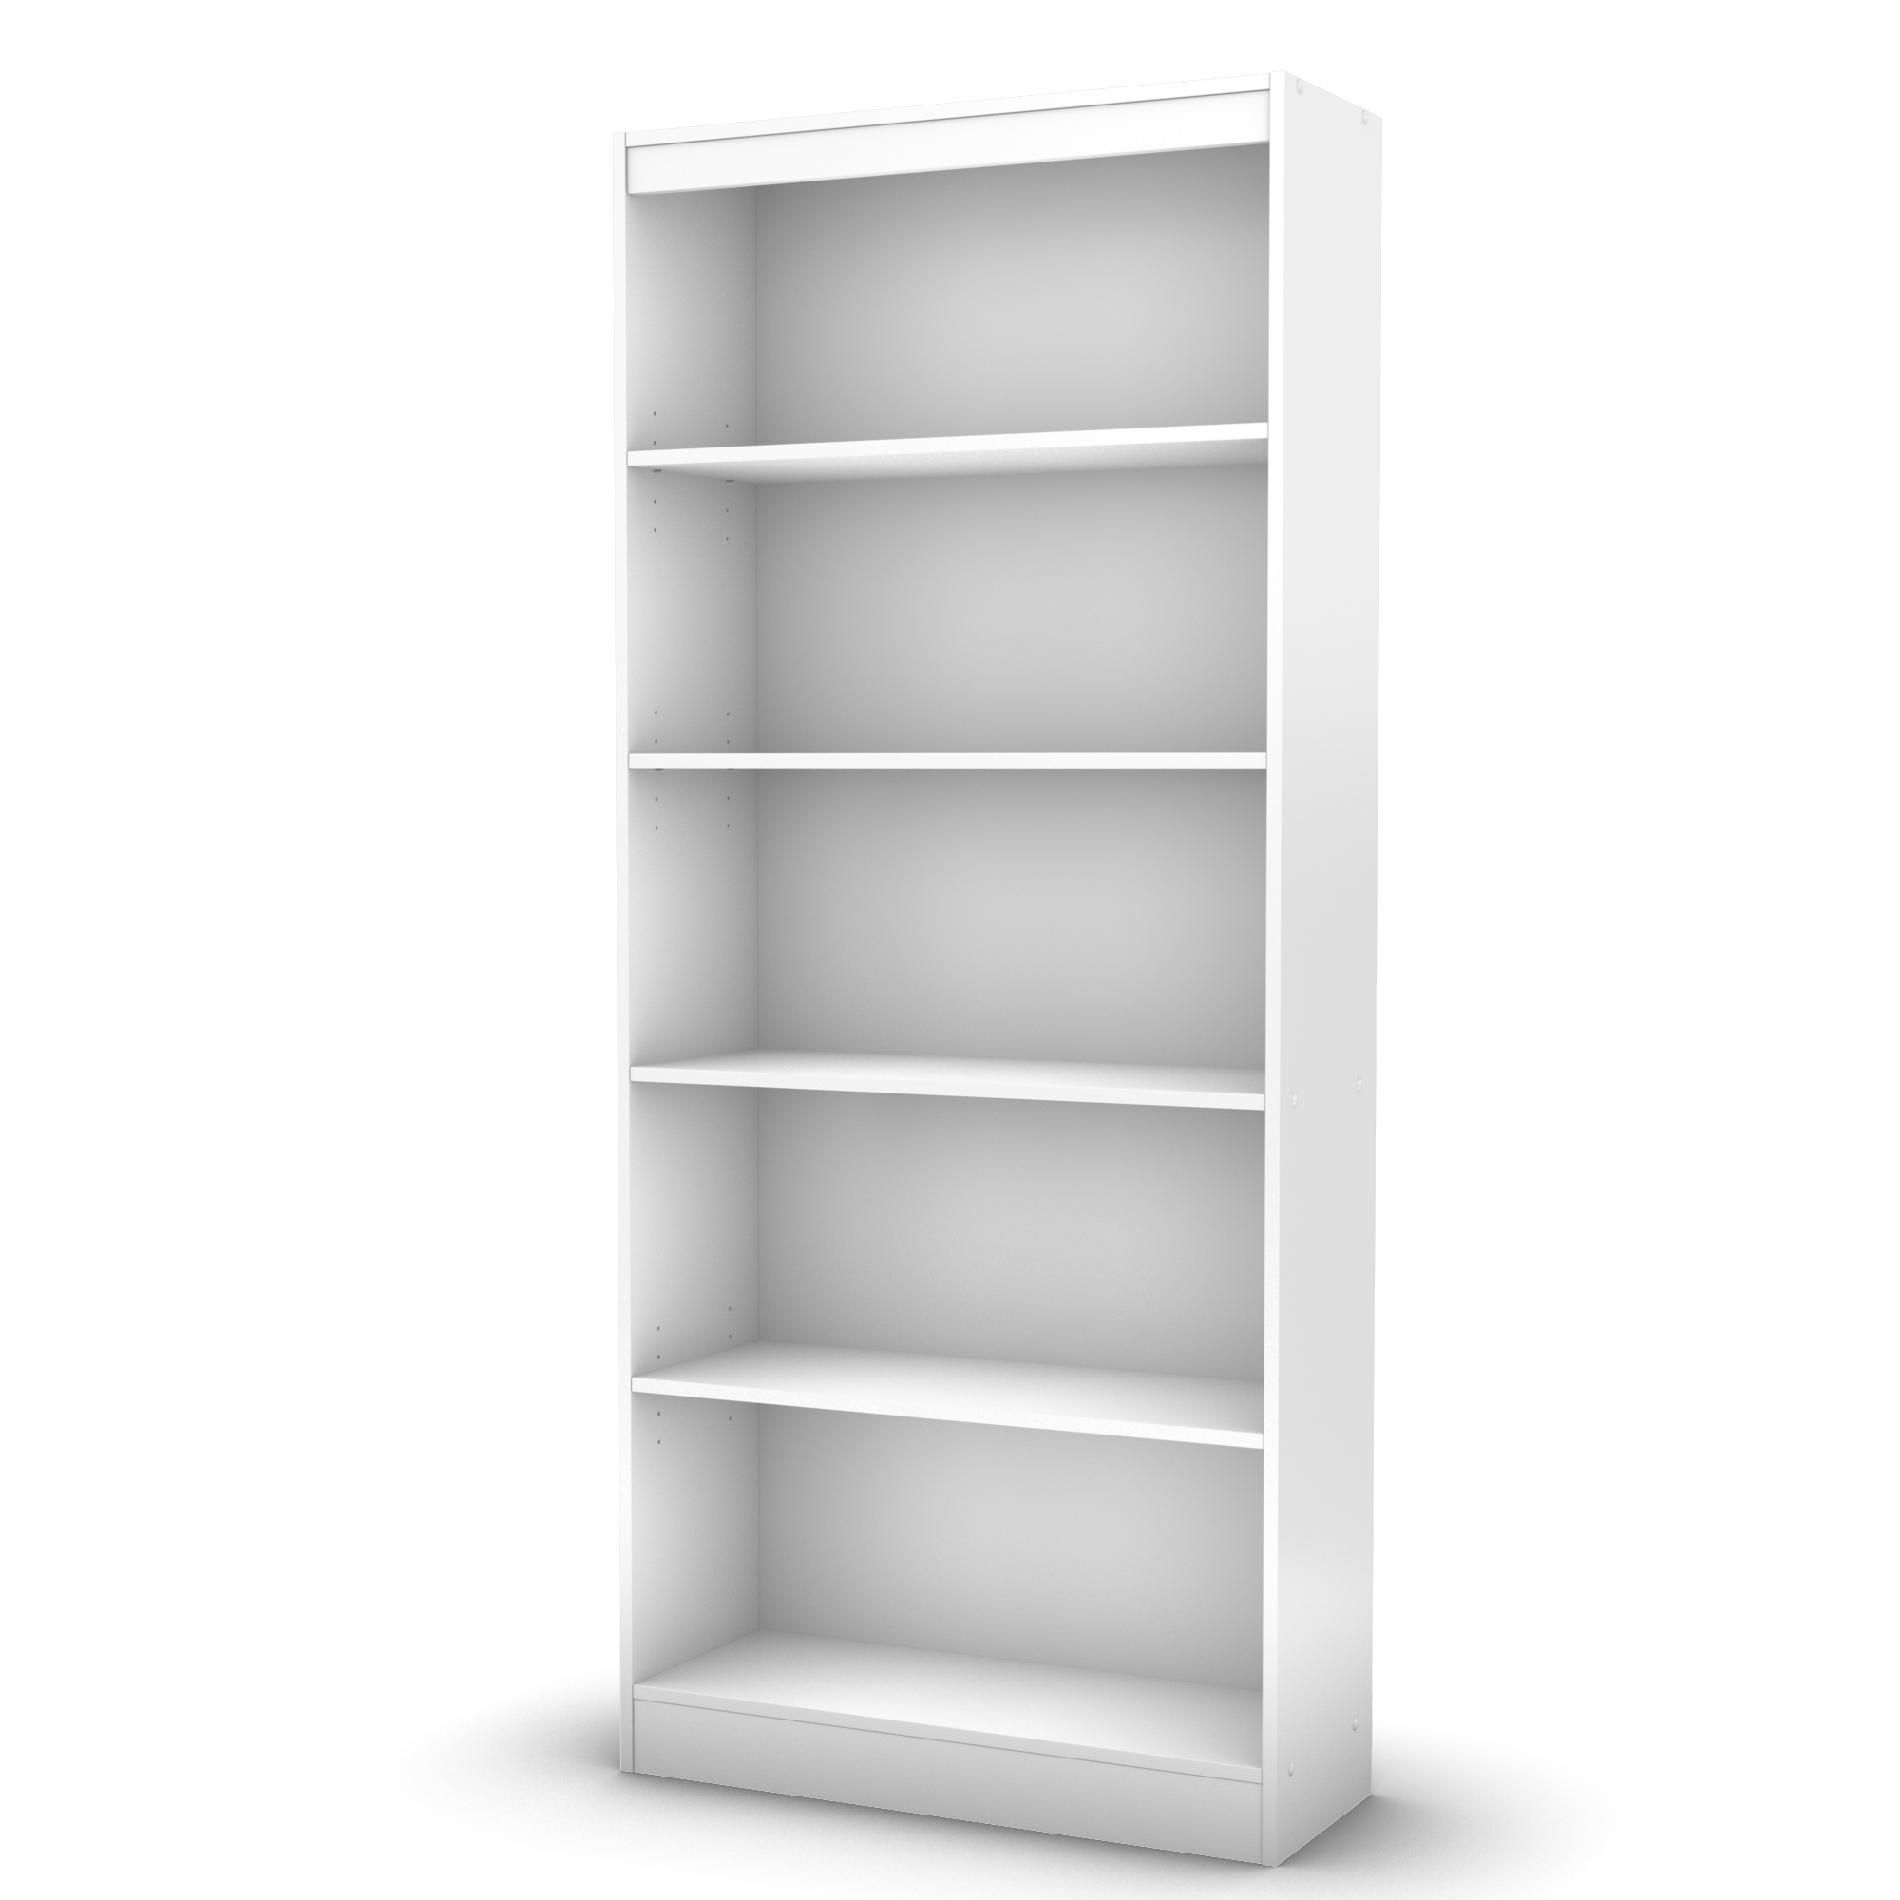
Book shelf unit.You can use a old bookshelf unit.
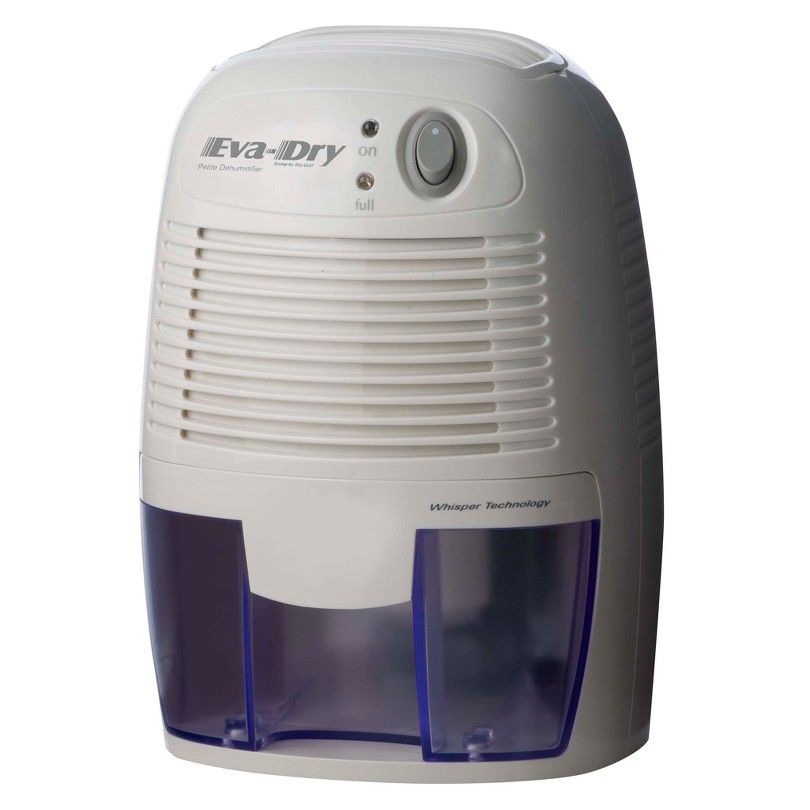
A portable or small dehumidifier unit.
I can be a use one, garage bought or check your thrift store. All you need it to make sure it works safely. The one on the photo is from Target Eva-Dry Electric Petite Dehumidifier (EDV-1100)

Painter's plastic sheets
Painter's plastic sheets
DuckTape
Instructions:
Seal the painters sheet to the book shelf using the duck tape.
Make sure you place the dehumidifier next to the book shelf and cover it with the painters plastic sheets.
Create a door opening for you to load your sculpt and pieces to dry.
See the drawing for build reference.

More armatures and safe drying techniques I like to use is the wires, foil and masking tape.
I favor this method for non moving parts Art Dolls Sculptures.
If your sculpting big pieces I strongly recommend it to be sculpt in layers and make sure the are fully dry before a new one layer is added. Doing this not only will ensure the project is properly dry but it will also be a lot stronger sculpt.


Built your armature with wires. Cover with aluminum foil and secure it with masking tape.

Start Layers one and wait to be completely dry.

Layer two and wait to completely dry.

Layer three and keep doing this until your satisfy.
Between each step I place the sculpt in the homemade drying unit to get all the humidity out of the piece.
It works great, you will love how much even and faster your projects will dry.
I hope you like these quick drying tips. More to come shortly so please stay tune .

Any questions feel free to email me at
Gloriann@byglori.com
Sincerely,
Gloriann Irizarry

1 comment:
Thanks for the wonderful tips on drying! These are great!! LeeAnn
Post a Comment