

For the base of my card I start with a white "linen" piece of 12"x12" from Recollections®. I cut it to 9"x12", folded it in half, and used a corner punch to curve the corners. The edges were rubbed along a black stamp pad to add an extra touch (NOTE: Be carefully when rubbing...less is more in this case).
For Annie's love of music I chose another Recollections® paper "Music Notes". I cut it down to 6"x6" and then carefully tore the edges. It is glued in place on top of the white...perfect so far.
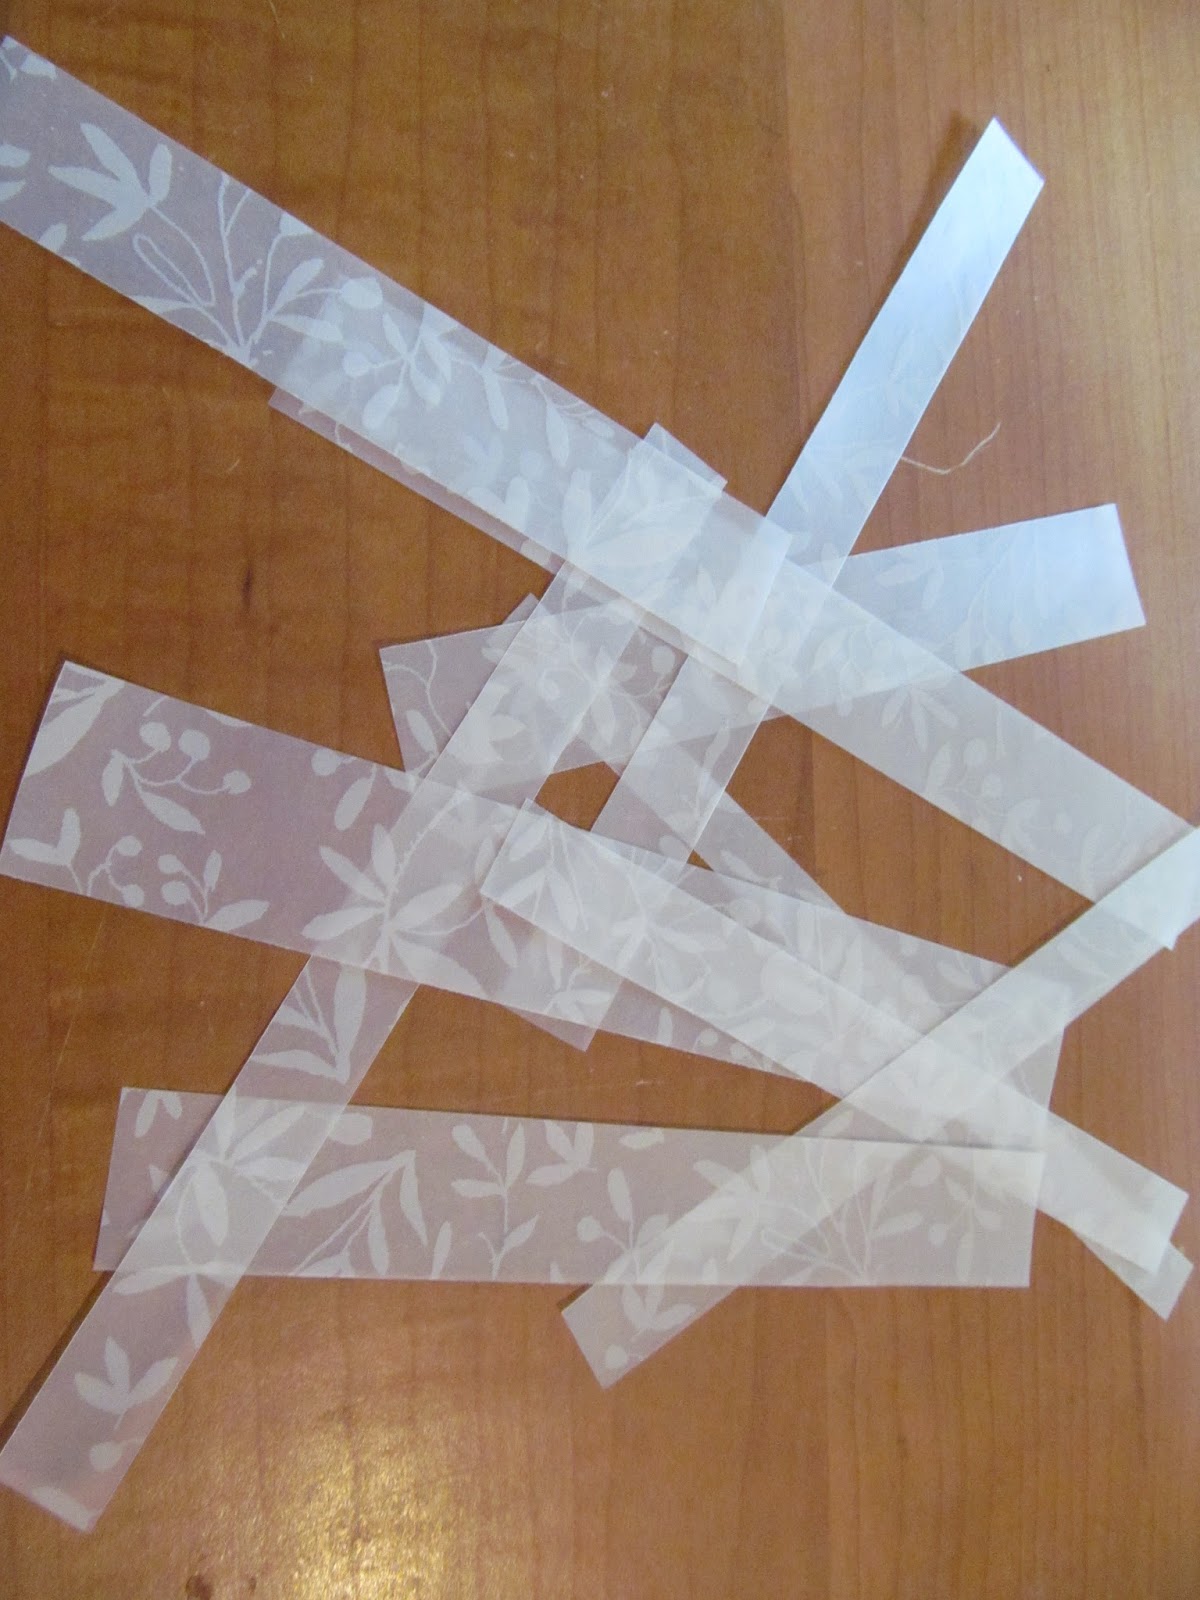
I found vellum paper strips on my table from a previous project. I wove them together ("Our lives are forever woven together")...nice.


Not to be deterred, I went to my stash of paints and pulled out a few Twinkling H2Os (Pretty Peridot, African Jade, Sapphire on Ice, & Boysenberry) from ColourArte (http://www.colourarte.com/). I quickly learned that Vellum doesn't like water and curls,


Time to pull out the Creative Paperclay®. I worked a bit in my hands, then rolled it through my pasta machine to flatten it (NOTE: clay can also be flattened with a rolling pin or acrylic roller). I like rough edges rather than clean cut straight edges, so I tore the edges (towards me). I am not patient enough to wait for the clay to air dry, so into the oven it goes (275* for 15-20 min.) with a piece of glass on top to keep it flat.
Once cooled, the piece is stamped with a beautiful scrolled cross (Rubber Stampede© #0403)


It needs a little something else. I found this saying in my stamp box. PERFECT for the occasion! Stamped on a piece of the leftover white cardstock, edges torn, and rubbed over the ink pad. Glued in place...exactly what it needed!
One final touch. A shimmery ribbon and a couple of appropriate charms (Bead Landing™)


1 comment:
very neat techniques, thanks for sharing.
Post a Comment