
Easy Bat Ornaments

If you are anything like me you are always behind in decorating for holidays.
So today I am going to be showing you how to create some cute, quick, &
easy bat ornaments to hang around your house for Halloween fun!
All you need is:
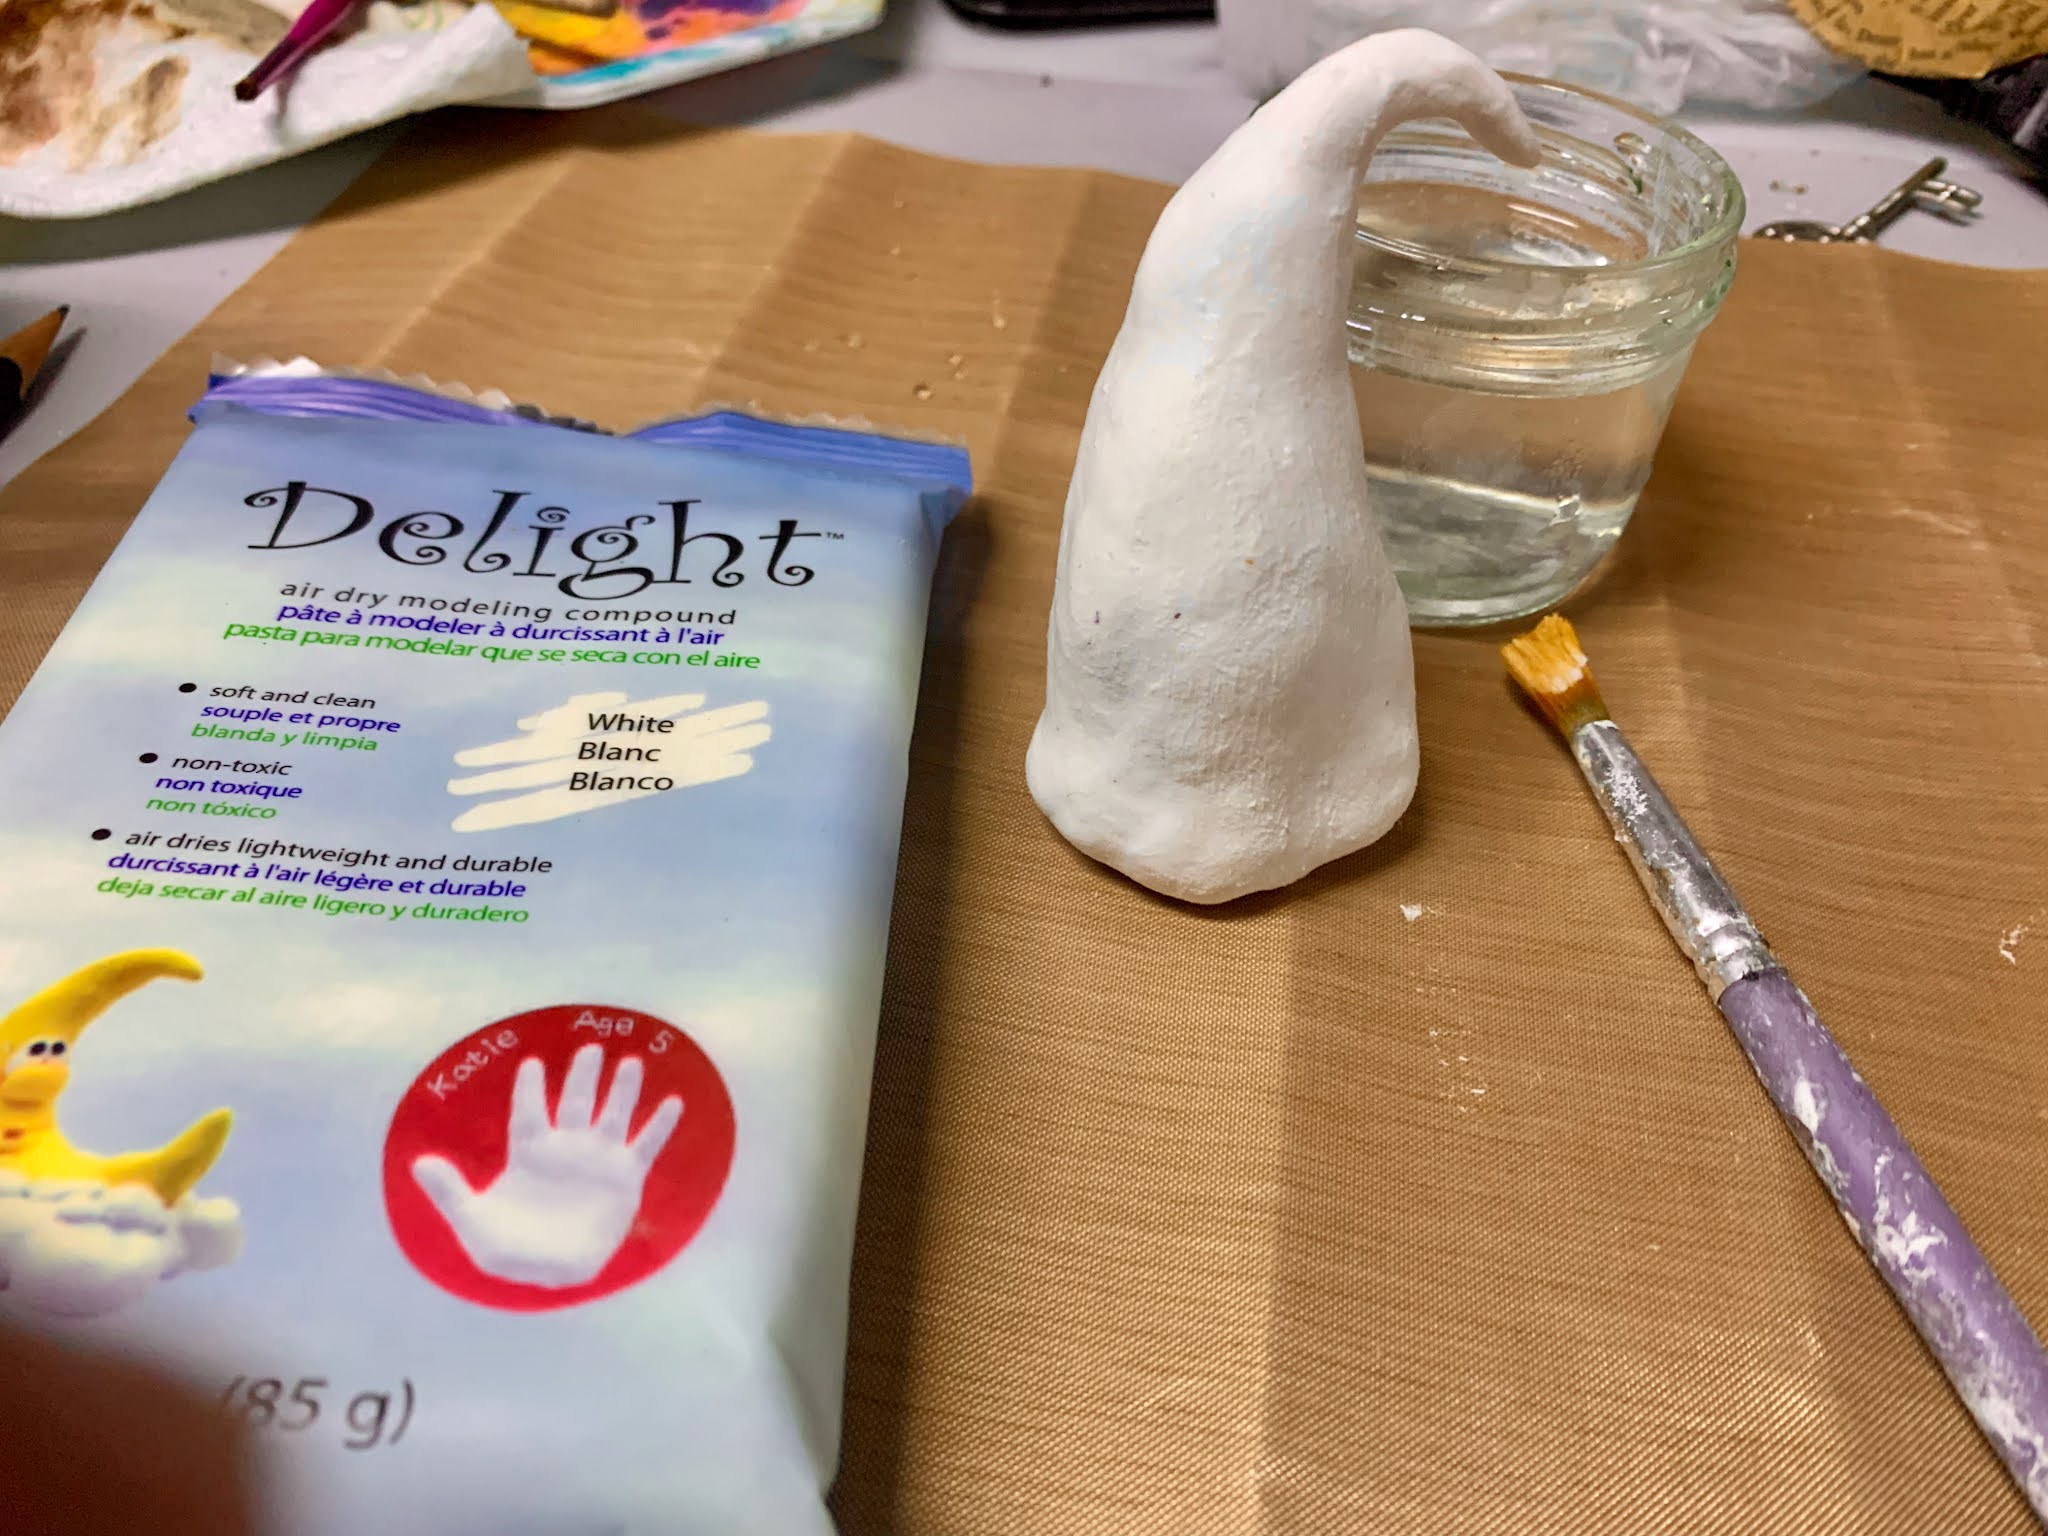
Creative Paperclay
Acrylic paint - black and white
Knife
Rolling pin
Bat template or cookie cutter
Take about ¼ of a package of Creative Paperclay and using your rolling pin
(You can substitute a drinking glass if you don’t have a craft rolling pin)
\flatten out the clay.
Once the clay is flattened as thick as you would like your ornament to be
use either a bat shaped cookie cutter or bat template (I’m crafty so I drew a
bat but you can also easily search for one online to use. Mix up a couple
different ones for variety too!) to cut out your bats. Go for one or make a
whole family of bats!

After cutting the bats out smooth out the edges using your fingers and
a wet paper towel. Put one or two holes in your bats using a pencil or needle.
One hole if you want them to hang down and two for a more realistic flying bat.
Let them dry out for a day or two!
To really give the bats character dry them over your rolling pin for a flying bat.

Now let’s paint!
Go for plain black or get creative and add a little shading.

Time to hang them. Put a little string or yarn through the holes and hang
them up next to a window or make a bat corner.
Thanks for joining and Have fun and share what you create with us below!
We would love to see where you hang your bats!
Find your Joy!
Kelly
Instagram: https://www.Instagram.com/PaperHibiscus


