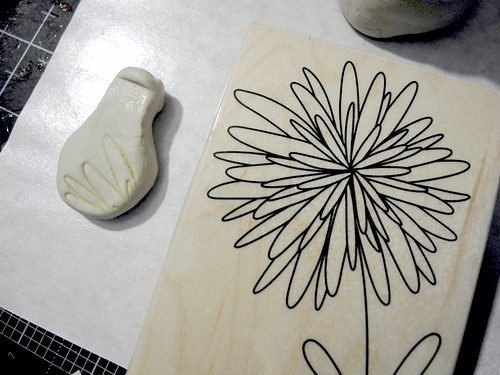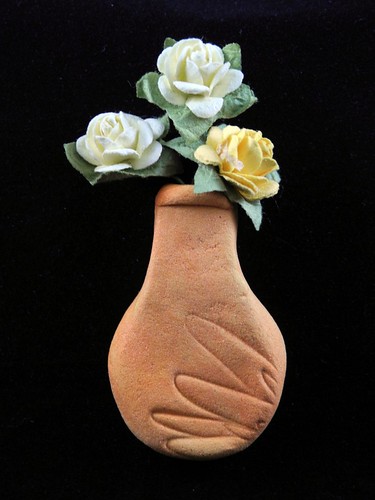
Next, you simply need to let it sit and dry. This will take 1-3 days depending on thickness. After it has dried completely, you can paint it. I used Luminarte's Twinkling H2O's to color mine a lovely peach color that shimmers in the light.

Once the paint has dried (this is very quick if you use Twinks!), simply place flowers into the little hole you created and glue magnet to the back of the piece. It's simple, it's pretty, and it makes a great gift piece, too! Happy!!! Thanks for visiting and please check out my blog, Just Jingle, to see more of my work!


No comments:
Post a Comment