Showing posts with label creative paperclay wall hanging. Show all posts

Monday, March 7, 2016

Book of Life

Spring is getting closer and since it's too early for spring flowers I thought I would create my own by making this mixed media wall hanging using my Creative Paperclay. The first thing I did was cover a small canvas with the Paperclay and once it was dried I painted the background and book edges with some ColourArte Primary Element Arte Pigments that were mixed with a gel medium.
I love that I learn so many things when I am creating with my Creative Paperclay, like patience and what I might be able to use as a tool. Trying to duplicate the paper edges of a book perplexed me at first. Finally, after letting the clay harden for about 2 hours I came back and scraped the surface with an old tootbrush and it worked like a charm!

The flowers were all made from molds and once they dried I layered on some ColourArte Twinkling H20's and then glued a bead into the center of each flower. I love how the look so glossy, almost like clay that had been dried in a kiln!

I also experimented with Paverpol in bronze to make the bookmark. I admit I was intimidated with this product but I was amazed at not only how easy it was to use but how well it worked! Although the ribbon hanging from the bottom didn't have to have an application of it, the top part did or the ribbon would flop over onto the front of the book when it was hanging on the wall. So I made a slice into the side of the book where I wanted it to go...then painted on the Paverpol and laid the ribbon ends into the slot and let it dry. Oh my word, again I admit I was doubtful it was going to be stuck into that small slot, but YES, it is! lol

Another texturizing tool is your handy dandy kitchen plastic wrap, perfect for adding a leather like surface to the spine of the book. It's easier to do this by rolling your clay onto a sheet of plastic wrap which will automatically wrinkle and place those onto your clay. OK, so I admit I discovered this by accident, but hey, it worked out beautifully!

I just love my little book I created by covering a canvas, you can lay it on a surface or display it but hanging it on a wall. It's full of texture and color and just makes me smile.

"Despite the forecast, live like it's spring"
Lily Pulitzer

Sunday, June 21, 2015

Lynda's Frame - AND Tip

Hello everyone - I am so excited to bring you today's project and absolutely love how it turned out!!!  I seriously can't wait to make a few more, let me tell you!!!!  This can be used either as a wall hanging, or on a small easel on your desk - depending on what YOU want!    


Supplies used for this project:
1 package Creative Paperclay
Flower molds
Xacto knife
Ruler
White 8.5 x 11 sheet of cardstock
Flower paper
Sheet of chipboard 
Ribbon
Scrap paper
Saying
White paint
Twinkling H2O's - African Jade and Rose Gold
Sandit's 

Directions to complete the project:

Flatten out the clay to the thickness you want.  I usually do mine fairly thin - but not paper thin.  


Taking your ruler and Xacto knife, make a square that is larger than the picture you are going to use.
  

Using your photo as a template, cut the inside of the frame first, and then cut the outside of the frame shown below.  


**Tip**  Cut the inside of the frame before you cut the outside piece.  This will assure you have a straight piece cut.  Also, try to use a ruler such as the one shown above, so you know the piece is straight.  


After the piece is complete dried (at least 24 hours, or in the oven for faster dry time) - paint the frame the color YOU want.  I chose white for my frame, but you can choose any color you wish.  

Paint the flowers - 2 are in Rose Gold, 3 are in African Jade.  Let dry.


After the frame and flowers have dried, starting with the chipboard, add the white sheet of cardstock to the chipboard, and then the patterned paper.  Add the photo, then the frame.  Finish up by adding the flowers, and the simple saying if you want to the bottom. (See picture above)

If you want to to hang it up, add the ribbon to the top right and left corners of the back - as shown below!  


Great project you can do for any person, as a gift, or just for yourself!  I am so happy with the finished result, I can't wait to send it - and make one for myself!  
Thanks for stopping by, and for more paper craft ideas, you can check out my blog here!
Lynda Jeffs
Creative Paperclay Design Team 

Sunday, April 5, 2015

Wall Hanging by Lynda


I have been working on a project - though the work was more "in my head", than my hands!  Once I had it all in my head, it made the finishing up part a whole lot easier for me!  A design sheet can be used for each and every one of your projects, to keep your thoughts down on one sheet of paper, with your sketches - instead of all over the place!   

**Tip - By using a design sheet, you can keep all of your thoughts in one place with everything you need!  If you don't have one, here is one for you to use with your projects!**

Supplies used:
Creative Paperclay product
Acrylic paint - white and blue
Paint - ColourArte 
              Pretty Peridot
              Sapphire on Ice
              Rose Gold
              Sunflower
              African Jade
Scrap paper (green check)
Premade Creative Paperclay molded flowers

Toolbox items:
Rolling pin
Xacto Knife
Ruler
Molds (Martha Stewart and Stampin' Up) 
Sandits sanding sticks
Paint brushs
Hot glue gun

Directions:
Step one:
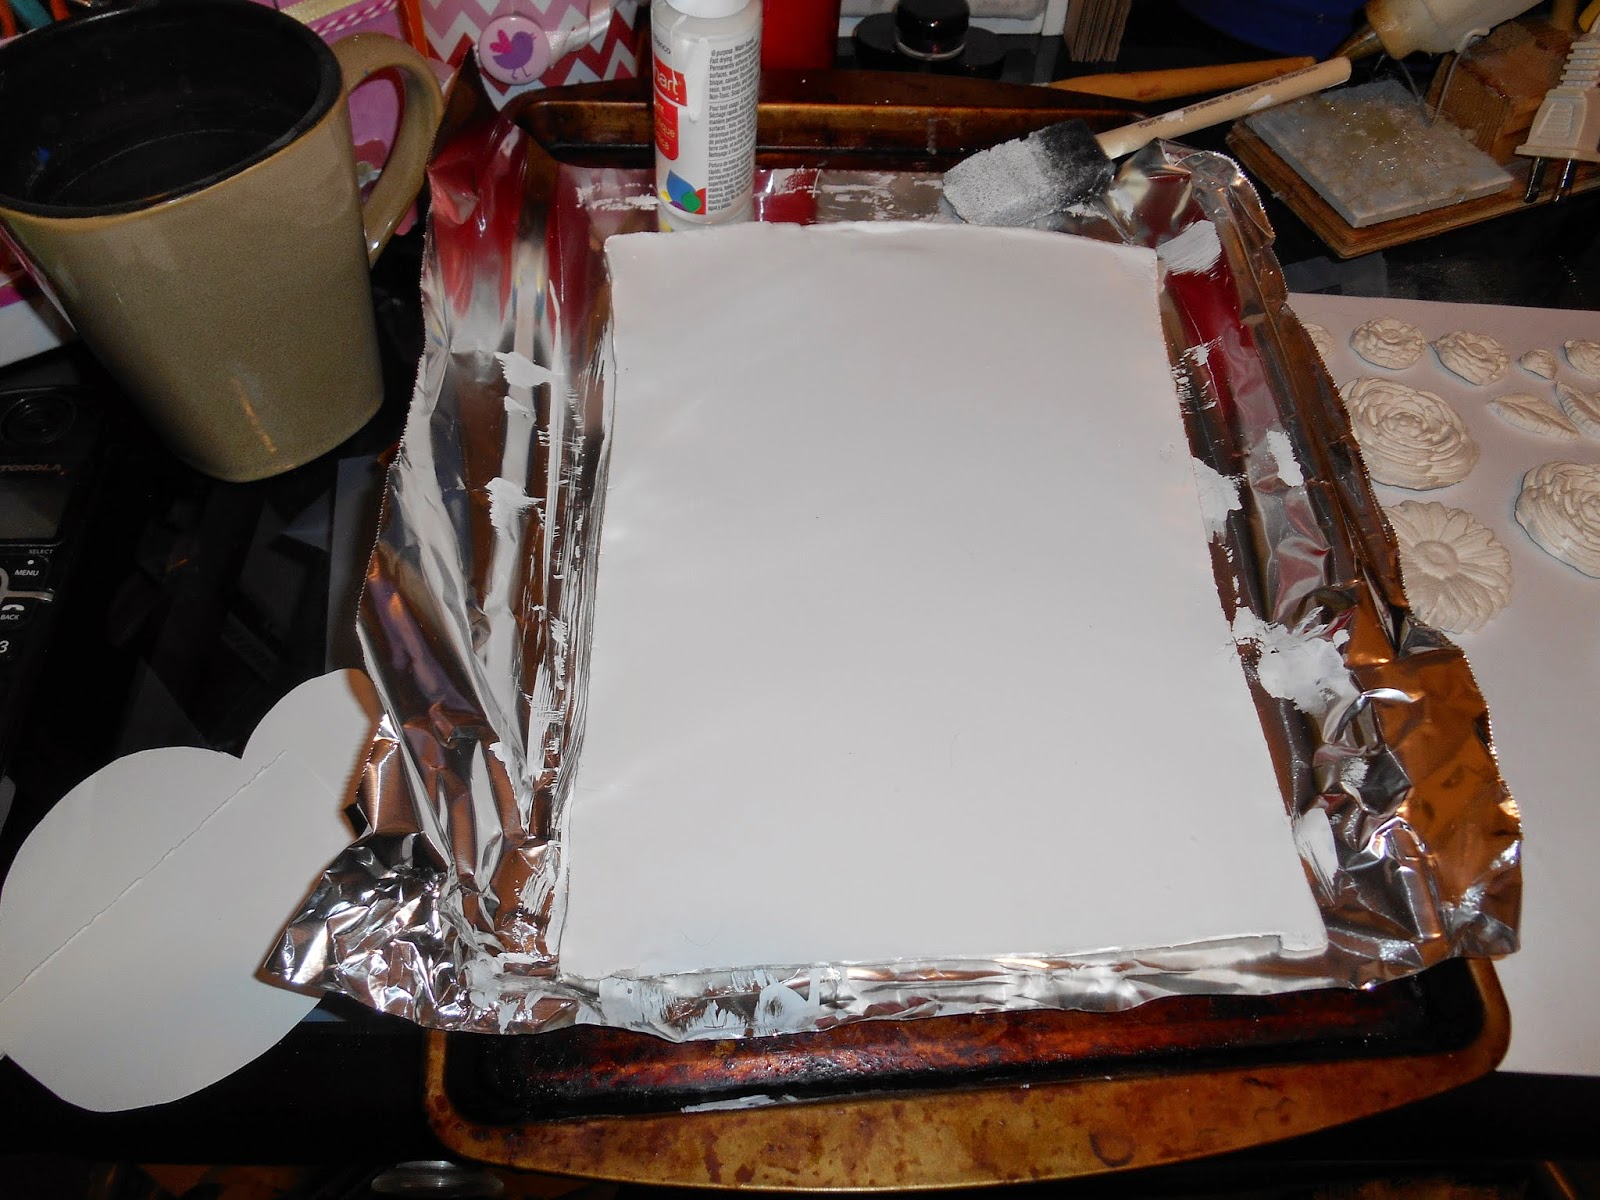
Starting with your brick of Creative Paperclay, take your rolling pin and flatten out the product to 1/8" thick.
Step two:
Using your ruler and Xacto knife, trim the edges after you have flattened the product. Product should look like the photo on the right.     


Step three:  
Allow to dry at least 24 hours - or put in the oven to allow it to bake quicker.  I baked this piece at 250 degrees, for less than 30 minutes!  
Step four:  
Once the piece is done baking, paint two coats of white paint, let the piece fully dry.

Step five:
Create a template that looks like a cloud.  Taking your blue paint, create clouds on the background.

Step six:  
Paint the bottom of the piece in the Pretty Peridot.  
Step seven:  
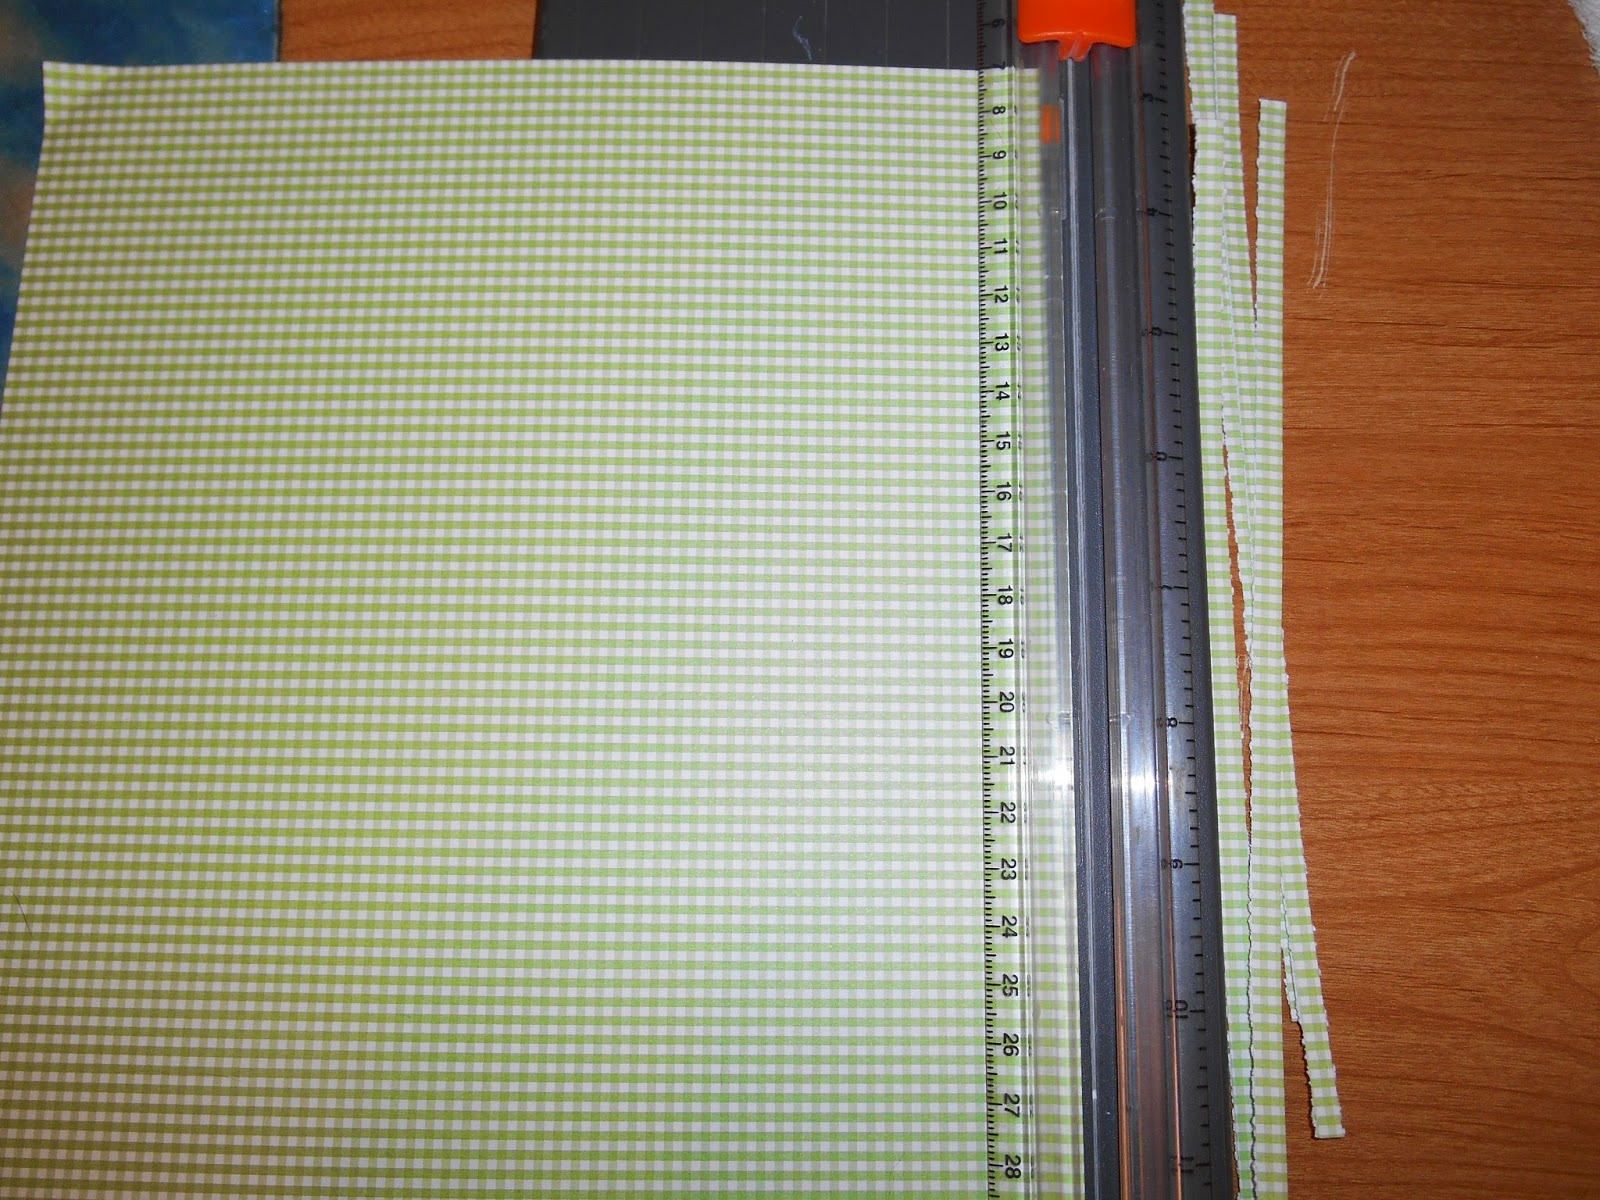
Cut the green checkered paper in small strip's for the stem on each of the flowers.  

 
Step eight:  
Paint the premade flowers in various colors - I used the Sapphire on Ice, Rose Gold and African Jade.  Paint the leaves in Pretty Peridot.  
  

Step nine:  
After the paint has dried, add each of the flowers to the piece.  To finish it all off, add the painted leaves in various places along the stem.  

This was such a fun project to work on!  I can't wait to get the rest of the things I want to make to go with it - done!  The design sheet will help me, I hope it will help you as well!  Thanks for checking out today's project!  
Lynda Jeffs
Creative Paperclay Design Team