

I have been working on a project - though the work was more "in my head", than my hands! Once I had it all in my head, it made the finishing up part a whole lot easier for me! A design sheet can be used for each and every one of your projects, to keep your thoughts down on one sheet of paper, with your sketches - instead of all over the place!
**Tip - By using a design sheet, you can keep all of your thoughts in one place with everything you need! If you don't have one, here is one for you to use with your projects!**
Supplies used:
 Creative Paperclay product
Acrylic paint - white and blue
Paint - ColourArte
Pretty Peridot
Sapphire on Ice
Rose Gold
Sunflower
African Jade
Scrap paper (green check)
Premade Creative Paperclay molded flowers
Toolbox items:
Rolling pin
Xacto Knife
Ruler
Molds (Martha Stewart and Stampin' Up)
Sandits sanding sticks
Paint brushs
Hot glue gun
Directions:
Step one:
Starting with your brick of Creative Paperclay, take your rolling pin and flatten out the product to 1/8" thick.
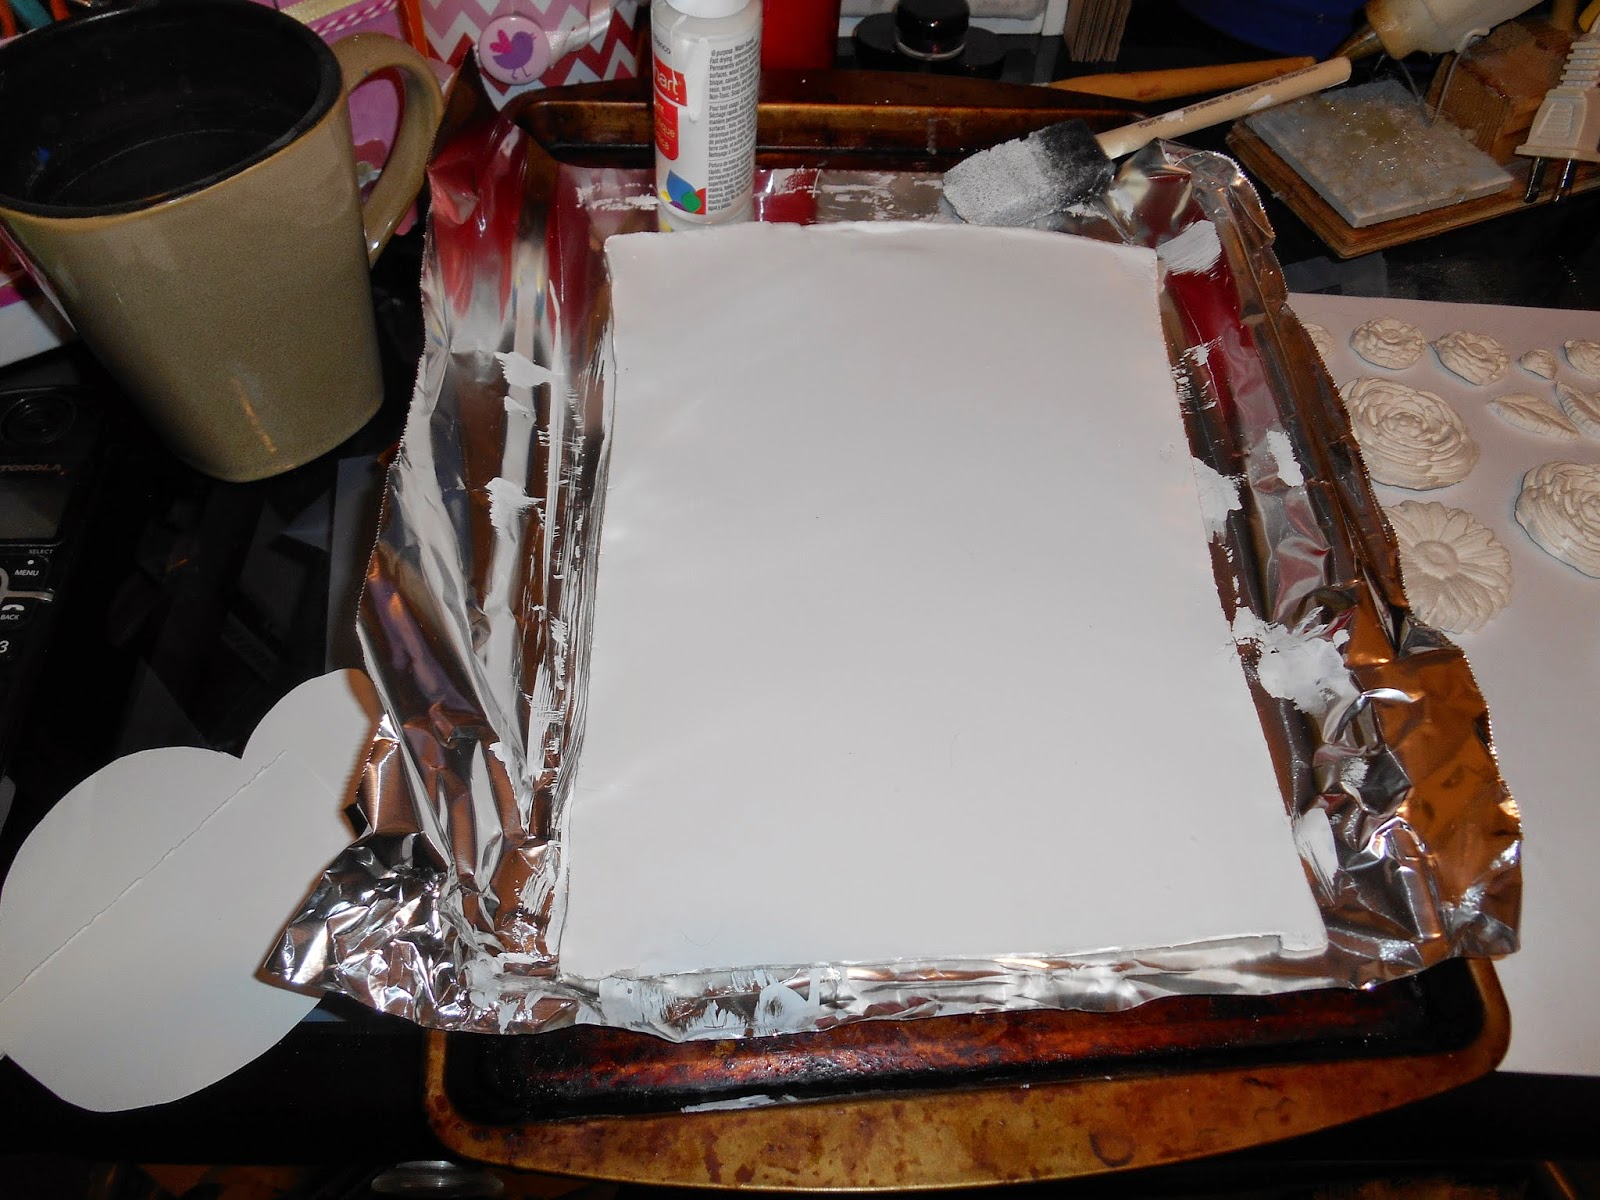
Step two:
Using your ruler and Xacto knife, trim the edges after you have flattened the product. Product should look like the photo on the right.


Step three:
Allow to dry at least 24 hours - or put in the oven to allow it to bake quicker. I baked this piece at 250 degrees, for less than 30 minutes!
Step four:
Once the piece is done baking, paint two coats of white paint, let the piece fully dry.
Step five:
Create a template that looks like a cloud. Taking your blue paint, create clouds on the background.

Step six:
Paint the bottom of the piece in the Pretty Peridot.
Step seven:
Cut the green checkered paper in small strip's for the stem on each of the flowers.

Step eight:
Paint the premade flowers in various colors - I used the Sapphire on Ice, Rose Gold and African Jade. Paint the leaves in Pretty Peridot.

Step nine:
After the paint has dried, add each of the flowers to the piece. To finish it all off, add the painted leaves in various places along the stem.

This was such a fun project to work on! I can't wait to get the rest of the things I want to make to go with it - done! The design sheet will help me, I hope it will help you as well! Thanks for checking out today's project!
Lynda Jeffs
Creative Paperclay Design Team
and Memories in Tyme
1 comment:
GREAT project
Post a Comment