
 Use any pen you'd like that has an area that can be covered in clay. A cheap one like mine, or one that clicks. They won't be exposed to the oven, like polymer is, so the pen can stay intact, too. Just don't cover any working parts, like the clicker.
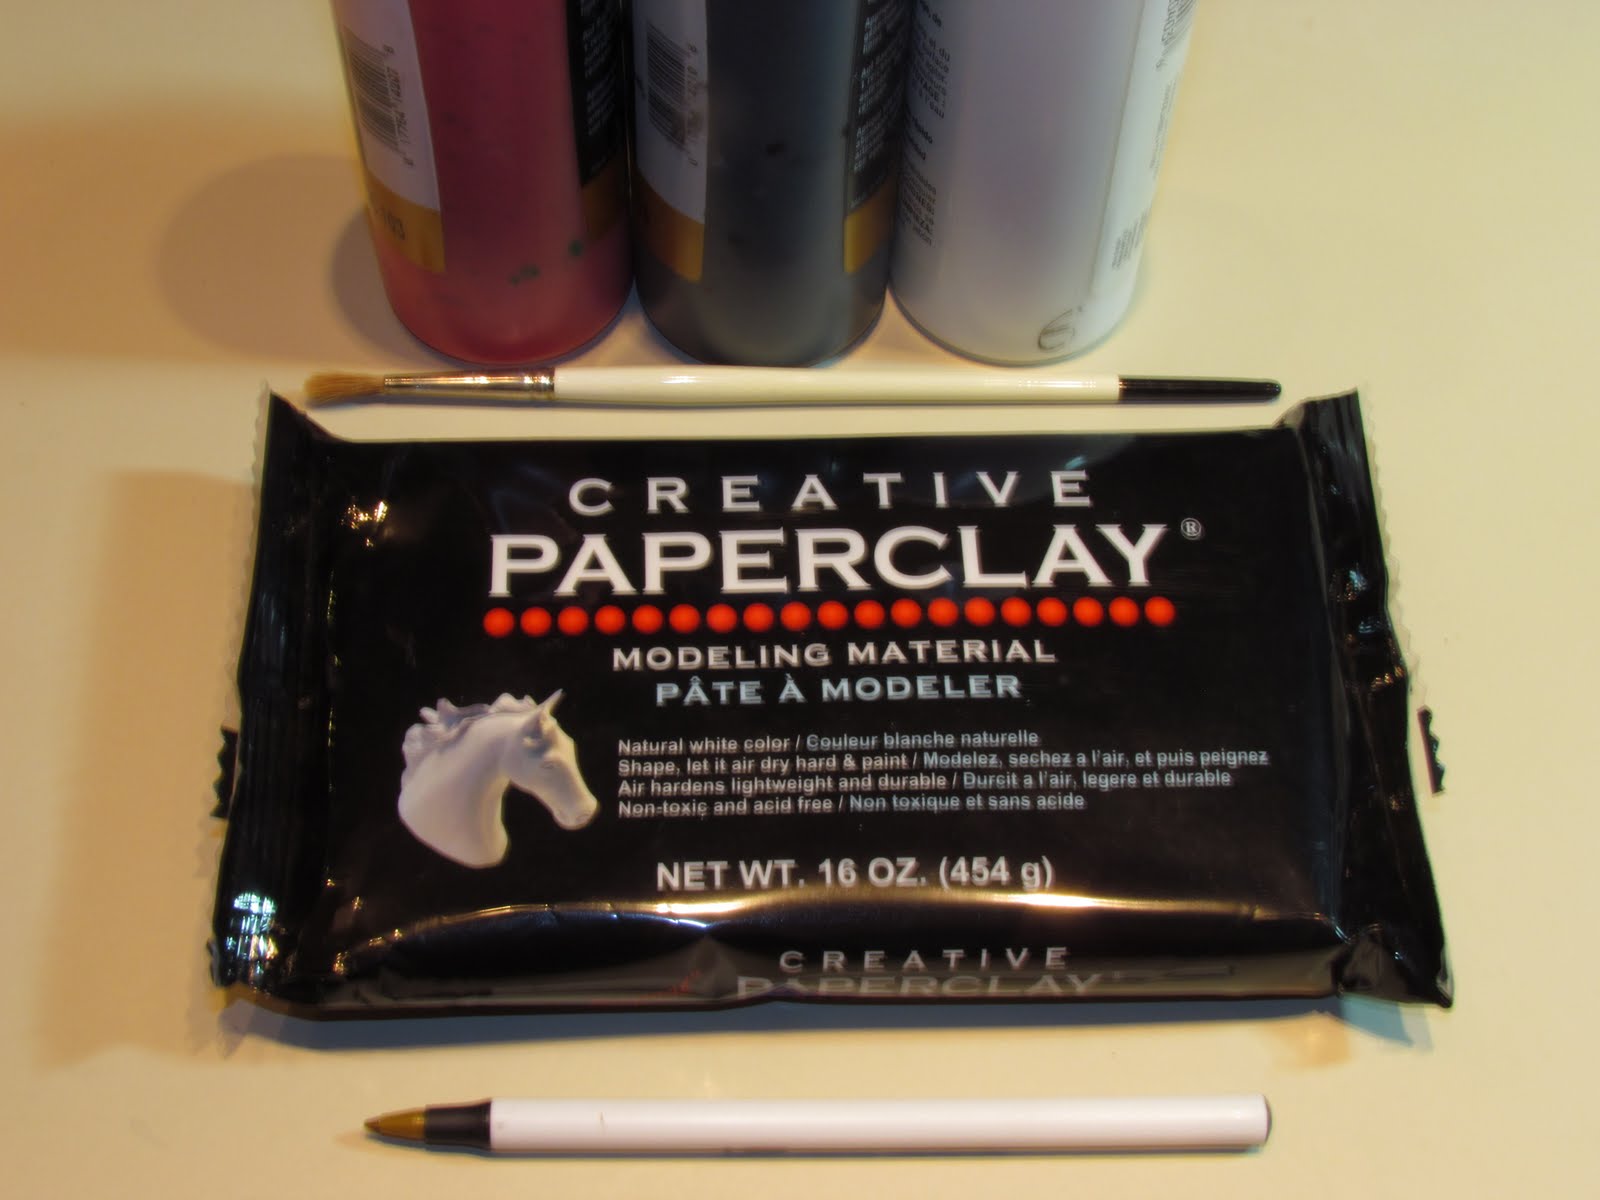
 So, the supply list is short, consisting of only a pen, paint, a brush, some white glue, and of course Creative Paperclay.
 The first thing you want to do is to roll out a thin sheet of clay the size of the part of the pen you are covering. I pinched the clay to make it thin, then cut a rectangle out the approximate size that I needed.
 By moving your hands directly away from you, and pressing down, the trapped air will be pushed out to the edges, and remove bubbles. Don't press too hard. The glue is a big help with this step, so the clay stays tight against the pen as you roll. Trial and error, folks.
See how he keeps his hand in the same position?
 This pen does not have clay on it, I took these pics as an afterthought, and my son was nice enough to help.

 The pen on the top belongs to my son. He left it to dry, so that it would be easier to work with when he added the designs.
 The first thing you want to do is to roll out a thin sheet of clay the size of the part of the pen you are covering. I pinched the clay to make it thin, then cut a rectangle out the approximate size that I needed.
Cover the part of the pen that will be covered with a thin layer of white glue, and let it dry a bit to get tacky. This will assure that the clay will stick. It sticks to itself well, but you need a bit of help when applying it to another surface.
In the next three pictures you will see my 13 year old son demonstrating how to roll the clay on the pen. His was a bit lumpy and too thick when first put on, and he wanted it thinner, so I told him to press his fingers down on the clay as he moved his hands straight ahead, so it would even out the clay, and (this is important) remove any air that is trapped under the clay.
By moving your hands directly away from you, and pressing down, the trapped air will be pushed out to the edges, and remove bubbles. Don't press too hard. The glue is a big help with this step, so the clay stays tight against the pen as you roll. Trial and error, folks.See how he keeps his hand in the same position?
This pen does not have clay on it, I took these pics as an afterthought, and my son was nice enough to help. You will find that the extra clay will need to be removed from either end, after you roll the clay on, since it will stretch longer than the pen, most likely. No big deal, just use your fingernails if you want, or a dull blade.

 The pen on the top belongs to my son. He left it to dry, so that it would be easier to work with when he added the designs.
The one in the middle was rolled on a large rubber stamp to make a pattern.
The one on the bottom has a starfish and octopus added, then left to dry.
Here's how they turned out after my son finished his and we painted them. He made his for his dad for Father's Day. He duplicated his dad's favorite guitar, and amp, complete with power cord.
Here's how they turned out after my son finished his and we painted them. He made his for his dad for Father's Day. He duplicated his dad's favorite guitar, and amp, complete with power cord.

I think they turned out nicely. I am going to put a coat of paste wax on them, so they will be resistant to sweat and oils from human hands. Eww... gross, I know. The good thing about these pens is that if the ink runs out, we can pull out the ink chamber and replace it. Cheap, and fun.
If you can't find the clay at Michael's or Hobby Lobby, you can always get it at:
Visit my personal blog at:
My Facebook art page:
6 comments:
Trying a second time to comment... F+Debbie, these are great! Just think how one could individualize the pens!
I love this project and the time is california time you did great...
Great idea and awesome step by step :)
Love these Debbie! Great descriptions, and nice painting!
I am so excited to make these tomorrow!!! Thanks for the great idea!
Those are amazing! The details are wonderful. I've never used paper clay before, but I think I'll give it a shot. Great tutorial.
Post a Comment