Tuesday, June 28, 2011

PaperClay Red, White and Blue Pendant

Good morning all-

Today I would like to welcome you to another Creative Paperclay project.  I have been having such a great time making things and experimenting with all different types of projects using paper clay.  Today I am showing you how to make a easy, peasy simple pendant.


I am a huge lover of anything Red, White and Blue and I also love jewelry.  So I combined those two passions and made this:


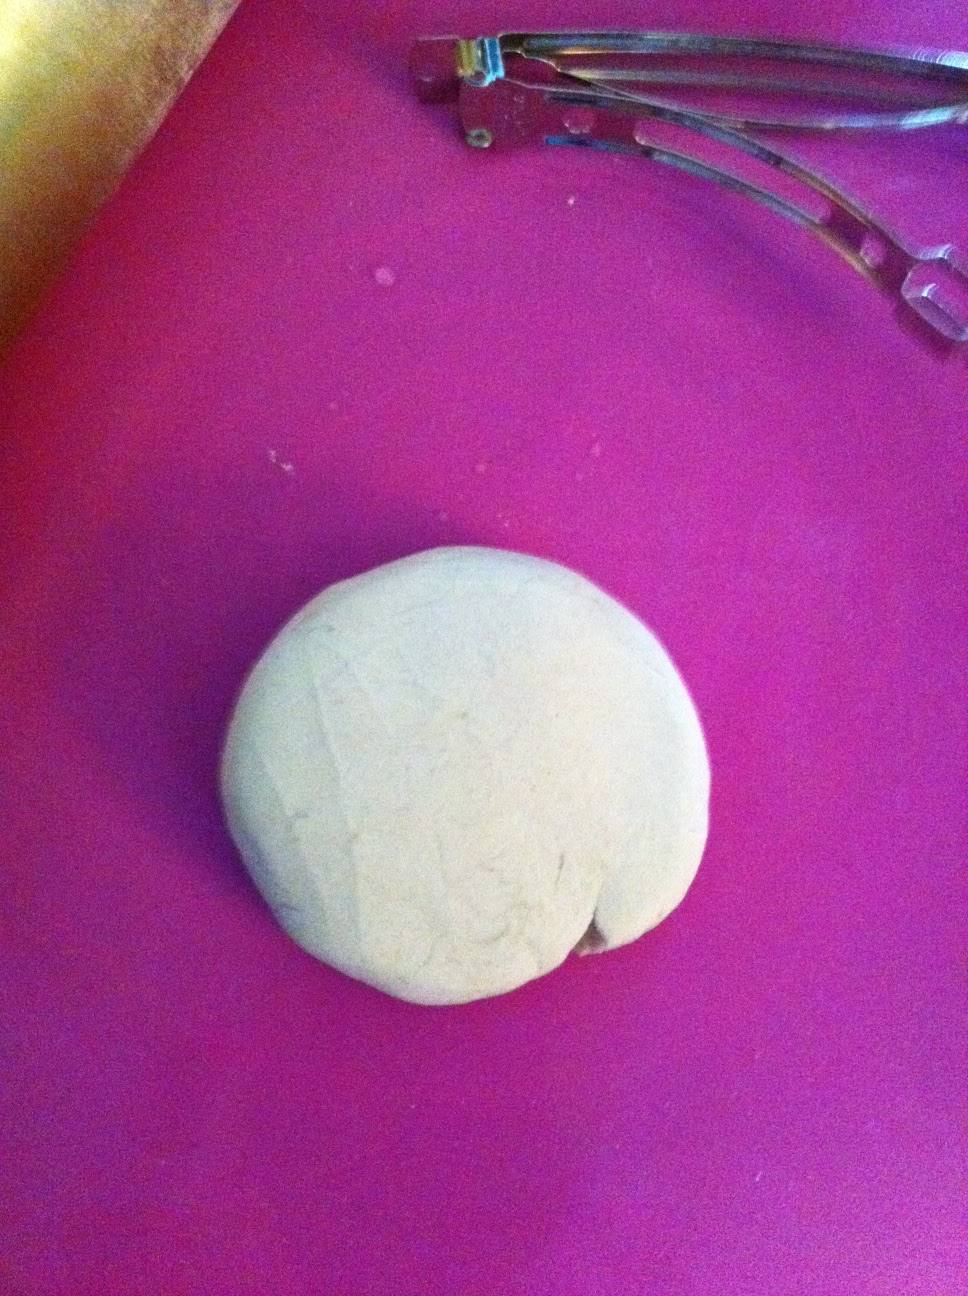
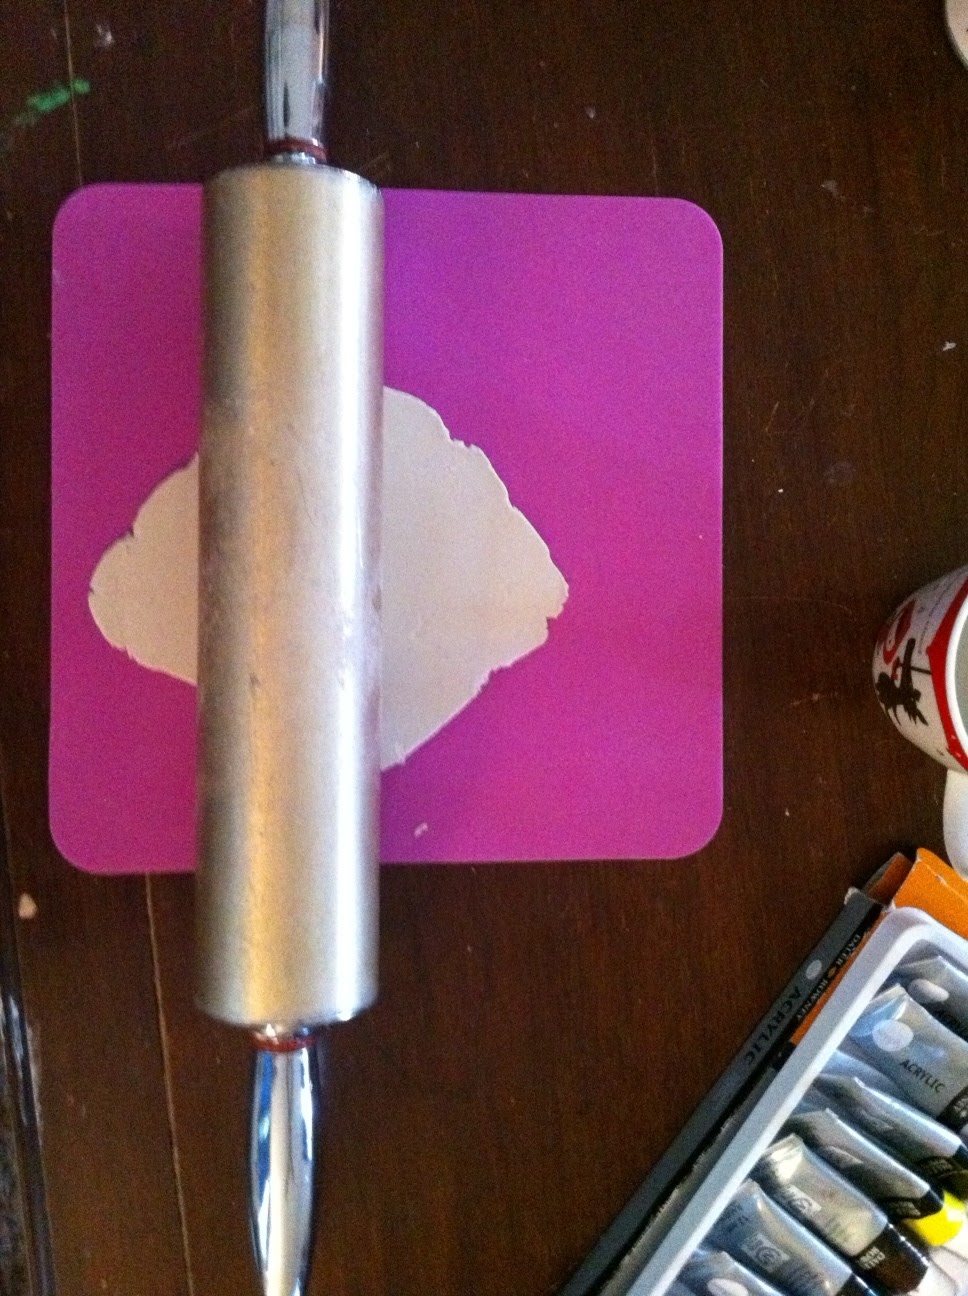
First I rolled out my clay and cut a 2 inch by 1 inch rectangle and tiny little stars out of cookie cutters.  
I forgot to punch my hole in the paperclay before it dried, but that was an easy fix with my dremel tool.  I used a little bit and just "sawed" my way through it.  Because paperclay isn't that hard when it dries it took like 2 seconds.  Super easy!!!  What I also like about using paperclay for jewelry is that it isn't heavy.  I've tried other mediums and they can get heavy, especially for earrings.


Then I painted the base of the pendant blue front and back.  I painted the tiny stars white just using regular acrylic paint.  I tell you, that paperclay takes to paint like nothing else and it dries super fast too.  Then I took some puffy paint and added some dimensional stripes with red and placed a few dots in white puffy paint.  I let that dry for a couple of hours and then I added the stars with some glue.  


I added a jump ring and attached a red,white and blue beaded chain and there you have the easiest and quickest pendant ever. The most time consuming is waiting for the paperclay to dry, but within 24 hours you should have a finished pendant. 


I hope I've inspired you to create your own pendant using some Creative Paperclay.  You can purchase Creative Paperclay here or you can even get it at Hobby Lobby or Michaels.  If you'd like to see some of my other projects jump over to my blog here.

Saturday, June 25, 2011

Paperclay Barrette Tutorial

Ladies! Are you looking for the perfect hair accessory that no one else has? Make your own!

What You'll Need 
Creative Paperclay
Metal Clip Barrette (available at Michael's and Jo-Ann's)
Non-stick craft mat or wax paper
Rolling pin
Cup of warm water (for sculpting and paintbrush wash)
Sharp pottery tool
Acrylic paint
Glue gun

What To Do
1.  Roll out a lump of paperclay to about a 1/4" thick.
 2.  Place barrette backing into paperclay.


3.  Cut around barrette with sharp pottery tool or butter knife. Feel free to make an oval shape, round shape, or angled shape to your liking.
4.  Smooth edges with water and make sure there is an impression of the barrette in the clay.
5. Place paperclay on top of the barrette. Make sure the clay takes the shape you desire and will glue flush to the barrette. Bake in your toaster oven at 250 degrees for 10-15 minutes. 
 
7.  Flip over and bake for an additional 10 minutes. Once dry, allow to cool.
8.  Time to paint! You have complete creative control, so have fun with it!

9.  Paint both sides. Allow to dry. Finish with varnish. Allow to dry. 
10.  Glue the flat part of the barrette to the back of your creation. Allow glue to dry and then go style your hair! 

Here is another barrette I did a while back...a complete one! The one above is still drying! Can't wait to wear it though!

Feel free to sculpt your barrette too! I am sorry the picture quality is not better. On this barrette, I sculpted grape bunches, leaves, and fashioned vines out of small gauge jewelry wire. Also feel free to glue flat beads, use glitter, decoupage, etc. The possibilities are truly endless with this project! Have fun! 

Thursday, June 23, 2011

Flower Garden Pincushion


For this project, you will need:

Small, flat can (mine had water chestnuts, but a tuna can would work. Just wash it well with vinegar to remove odor)
Fiberfill
A small piece of cloth
Buttons (optional)
Paint, brushes, and hot glue

First, you will cover the sides of the can with the clay, then you will make leaves by rolling a small teardrop shape, placing it on the can, then making indentations for leaves with the handle of the paintbrush. Let that dry completely, then paint it. I used a shade to match my cloth, then lightened it a bit with white paint to do the highlights.

And yes, I used the can for a paint palette, since it wouldn't need to be washed out. I'm lazy that way.
Then you will cut a circle from the cloth that is approximately twice the width of your can.

Now comes the tricky part. I don't really like hot glue, but for this project, it is the easiest method. If you want to take the time to baste around the edge of the cloth circle, to gather it and make the gluing job easier, I would recommend it. I was in a hurry as usual, so I just glued the cloth to the inside upper rim of the can, about one inch at a time, gathering and tucking as I went, to make it fit. I only burned my fingers a little, no big deal. I left a gap about an inch wide as an opening to stuff the fiberfill in. When you stuff it, it's best to use a trick that doll-makers use. Tear your filling into small balls first, and stuff them in one at a time, so that your finished work is smooth. Trying to stuff a huge piece into the small opening on your can might also cause the glue to pull away from the metal, so be patient. When you think that you have stuffed all the fiberfill into the can that it can hold, stuff in a few more handsful. You want firmness.

Then tuck the cloth down into the can for the last bit. Don't try to glue it before the cloth is tucked or that's when you'll really get a burn. Once it's tucked down, use the nozzle of the glue gun to get the glue where you need it, inside the can, then hold the top down firmly until you're sure the glue is cool. Once it's cool, you can add your flowers. I used colorful buttons, but you could cut flowers from felt, use artificial flowers, or come up with another idea.

You can get Creative Paperclay at Michael's, Hobby Lobby and online at: http://www.paperclay.com/

Monday, June 20, 2011

Creative Paperclay Gourd Penguins

Monday, June 20, 2011

From time to time I love to do something totally out of the ordinary and whimsical. I love penguins and thought I would show all my readers how I make a small bottle gourd into a penguin using creative paperclay. Here's what you start with:
Creative Paperclay

I know it seems like not much, I did use a little glue also. I got so excited while working with the paperclay on the one gourd that I decided to do a couple more. I worked with the clay using a little glue to make sure that the clay stayed on the gourds. I made tails, wings, and cute little fat cheeks and beaks. Here's what they looked like after the clay was put on:


Still not very pretty but starting to get some character! I then used a lot of paint and some glitter to make them pretty. After all the painting was done I sealed the penguins with a spray on sealer with a gloss finish:


The glitter didn't show up that well in these pictures but it really gave the penguins a nice look. I then made little hats and scarves for the trio and they really looked good. Voila' and here they are, three little penguins ready to play in the snow. They made me feel a little cooler just by looking at them and it was pretty hot today!


Barbara

Friday, June 17, 2011

Dream It ATC


I adore ATC and Paperclay - so I had to put the two together. So here is my Steampunk meets Tim Burton project.... the center image remind me of steampunk but the color are more Tim Burton...

Supplies:
Paperclay
Molds - mine are from Sweetbrier Studio - which i beleive is not longer in business, but any molds works... Cookie Molds, Candy Molds - or you can make your own...
Bottle Cap
Crystal Lacquer
1" hole punch
Twinkling H2O's
Stamp: Don't Dream it... be it.... from Viva Las Vegastamps!
Ink: Memories Dye Ink "Mint and Pink" and Black ink...
White Cardstock - for the stamp quote
ATC - EcoArt Board from Viva Las Vegastamps!

Direction:
1) I added Paperclay to my molds and let paperclay Dry over night... Pop out the PaperClay piece and started to paint with my Twinkling H2O's....
2) using my 1" hole punch I punch out a steampunk image and adhere to my bottle cap using my Crystal lacquer. then I filled the bottle cap with more Crystal Lacquer. Set aside to dry...
3) Added Mint Dye Ink to my ATC, then I went around the edge using my Pink Dye Ink...
4) Stamped my "Don't Dream it - be it" onto white cardstock and only cut of the two words I need "Dream and It"
5) Now all my parts are dry and really to assemble. Using my Crystal Lacquer - great adhesive - drys clear will not show. I adhere all my parts down to my ATC....
6) Remember to add your ATC info on the back - I try and do this BEFORE i put my ATC together...

I really had fun with this project! I don't claim to be able to mold stuff from paperclay as some of my other Teammate do (Aren't they great at it)- But I can place into per-made molds... See you do can make ART with Creative Paperclay!

TTFN
Terri Sproul - here is my blog

Thursday, June 16, 2011

Father's Day Picture Cube

 
JEFF DO NOT READ THIS UNTIL AFTER FATHER'S DAY!


Materials:
Plaid Square Photo Box (I got mine at Wal-Mart for $4.00)
Delight Paperclay (It is lighter than the normal Paperclay)
Fondant Roller
Exacto Knife
Child's Drawing
Lots of Patience
Paint
Brushes
Glitter (Studio G Glitter Glue)
Bic Mark Its (Black)

This project I will admit did not turn out anything like I had envisioned it.  I know Jeff will love it but I am going to admit it is not my favorite piece.  It turned out NOTHING like I had planned but I tried really hard to make lemonade out of the big giant bushel of lemons I was given.


The box, my helper drawing her picture and the drawing.


 The drawing after I had transferred everything with the graphite paper.  Getting ready to start forming letters and lines.

The Delight paperclay is much softer, lighter and the texture is not like any other clay I have ever used.  It reminded me of cotton candy but without the stickiness.  In hindsight I should have used the original Paperclay for this project but I really wanted to use the Delight.  My plan was to roll everything out into snakes and then "redraw" my daughter's line with the clay giving it a raised look.  My problem was when I rolled out the Delight is it is so light (which is really cool) I couldn't feel how thick the clay was an I kept getting it to thin.  So I ended up rolling the Delight Paperclay out into a flat piece, which worked much better than rolling it into snakes.  I then took the drawing my daughter did and traced it onto the clay.  Once I finished the tracing process, I went through with a sculpting tool and made the lines deeper.  I also took a paint brush and brushed the lines with water to smooth everything out.


 The D finished me realizing that this is no going as planned.  Second Photo me scrapping the original idea and making it work.


I let the "drawing" dry for 24 hours then I took a Bic Mark Its Black and redrew all the lines with the marker.  Since I was painting over everything with Acrylic Paint it didn't matter that the marker bled.  Once the lines were traced I went back with the acrylic paint and painted the people.  If my daughter would have had it her way, her brother would not have been in the drawing and the whole box would have been pink sparkly.  I managed to get her to agree to a glitter around the outside and a little on the top (nothing that can be seen from space).

Protesting mom is making her paint it Aqua and not Pink Sparkles.


 Here is the picture cube - I know Jeff is going to love it.


 Please note I did not purchase the clay as a part of the Design Team it was provided.  All other items I either purchased or had.

Tuesday, June 14, 2011

PaperClay "Refrigerator Magnet"

Good morning all-

Today I would like to welcome you to another Creative Paperclay project.  I have been having such a great time making things and experimenting with all different types of projects using paper clay.  Today I am showing you how to make a refrigerator magnet.

I rolled out my paper clay

 I cut a strip approximately 1 inche wide by about 12 inches long.  It really depends on how big you want your ribbon to be.
 I then formed the ribbon.  I had to cut a bit out of the inside so that it didn't bunch up when forming
 After the ribbon was formed I did add a bit of white glue to the strip to keep it in place.  I also textured the ribbon with an outside edge.
 After it dried I basecoated it in a white glossy acrylic paint.  Then after that dried I painted the ribbon pink.  Do you see the texture a bit better here?
 I attached a piece of magent to the back of the ribbon and now I can hang it on my refrigerator.
 Isn't it just cool?  I might add the word "Hope" to the ribbon with vinyl.  Let me know what you think.
You can see more of my creations using all different types of mediums here.

Saturday, June 11, 2011

Make Your Own Stamp Magnets Tutorial

This is a very fun rainy day project for the whole family!
What You'll Need
Creative Paperclay
Rolling pin
Non-stick craft mat or wax paper
Assorted stamps
Sharp pottery tool or butter knife 
Acrylic paint
Paint brushes
Small cup of water for sculpting and paintbrush washing
Paper towel
Strong glue
Magnets

What To Do
1. Roll out a lump of paperclay to 1/4-1/2 inches thick.


2. Lift the paperclay off of the craft mat to ensure that it is not sticking anywhere.
3.  Press your favorite stamps into the paperclay.

4.  Remove stamps to reveal impressions in the paperclay.

5.  Take sharp pottery tool or butter knife and cut around impressions. I prefer straight lines, but feel free to go with curves and circular shapes as well.

6.  Smooth edges with a bit of water.
7.  Bake in toaster oven at 220 degrees for 10 minutes, flip over and bake for another 10 minutes. You can also let the pieces dry overnight.
8.  Once dry, paint to your liking!!!
9.  One the paint dries, glue magnets (small round ones are best) to the back. Allow glue to dry.
10. Stick your new magnets onto your fridge or filing cabinet and enjoy those rainy day memories!!!