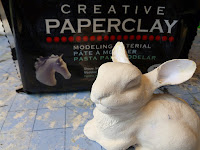
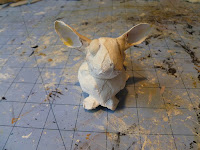
Once our first layer of clay is dry, we can add a second layer to put in the details and textures. A paper craft armature is an easy way to see where to put details.
For this next part, we want to fill in the face, build up muscles, add fur (or scales, depending on the beast you're making).

With a clear position of the location of eyes, ears, nose and mouth, I often start adding the details to the head.
At this stage, the eyes look like they are bulging, the ears and nose too big, but keep in mind that we will be adding more dimension to the cheeks and neck and a whole layer of fur to the body.

It may take a little practice to determine how much clay to add and where to add it. This may be a good time to look at some reference photos.
Your paper armature shows you where everything goes. A few reference photos can help you see how everything fits together.

Try to find photos that show your animal from a variety of angles. The more realistic you want to make it, the more you will need reference photos.
The best advice I can give at this point is to add clay a little bit at a time. Work on one part of your animal, then another so that you are building it up proportionately. This will help you decide which areas need more work.
If you're not sure about an area, then let it dry and work on other areas. You can come back it to it the next day after it dries and look at it with fresh eyes to determine if it needs more building up or smoothing down.

Creative Paperclay sands and carves easily if you need to remove some bits or carve in some texture. After working on my bunny and having the first layer dry, I decided to change the position of the head, so I just cut it off with a craft knife. I then used a little wet clay to reattach it and hide the cut.
A note about making textures
I am always on the lookout for items I can use to texture my sculptures. For the bunny's tail and chest hair, I used the head from an old action figure. He had a full head of curly hair which worked well just by pressing and turning it in the wet clay.
Don't be afraid to use unusual items for textures. Plastic, glass, metal and non-porous materials work well because the clay doesn't stick to them or if it does, you can easily wash it off with water.
A note about scale
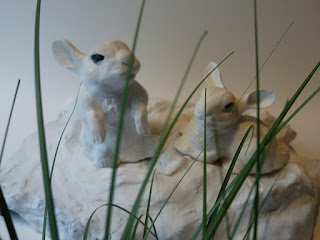
When making paper craft armatures, remember you are not limited in scale. The larger bunny was made using the same paper craft armature printed at a larger scale.

The little guy turned out looking like he had some attitude,
so I call this piece, "Biggie and Lil' Attitude".
You can visit me on Facebook.


No comments:
Post a Comment