

Creative Paperclay ® Anime Kitty Cutie
Design Samantha Ellard.
Hi my dear friends this is Gloriann Irizarry creating a new tutorial that will be kid friendly.
So friendly I had my 13 years old making her own design of this Cutie paper clay kitty.
The Creative Paperclay ® Anime Kitty was designed by Samantha Ellard and she completed this project all by her self. We both had so much fun making this critter. I will be describing each step so you or your little helper can complete this easy to sculpt cute cat friendly project.

Material List
Delight Air Drying compound
1 Styrofoam ball
Acrylic paint (Gray, Pink and Black)
Water mist bottle
Plastic sheet
Air Dry Ascent Black liner
School Scissors
Paint brushes
Plastic Cake decorating tools (safer for little hands)
And my trusty roller.

Roll a clay sheet to a 1/4 thickness.
Mist the clay lightly with water.
Place the Styrofoam ball in the middle

Now grab the clay sheet and pinch it to close it tightly.
Cut away any excess of clay.
Moist the clay ball.

Smooth so it look like a nice sphere.

For the ears you are going to create 2 triangle shapes.

Place the triangle on to of the paper clay ball.
Blend the triangle to the now kitty body.

To make the little paws cut 4 pieces and create 4 drop shapes.

Lightly water mist the drop shapes.
Attach the drop shapes in the opposite direction from the ears to make her little paws.
Blend the leg unions to make a nice smooth piece.

To create the little tail is so easy.
Roll a little clay into a worm shape.
Water moist to attached to the kitty body.

To make sure your little round critter do not roll away from you.
Let's roll a little ball.
Water moist the ball.
Place it were you want you kitty to be standing.
Press the clay ball against a flat surface.
Since Samantha decided this cat is a little cat will be a girl she will be making a nice bow.
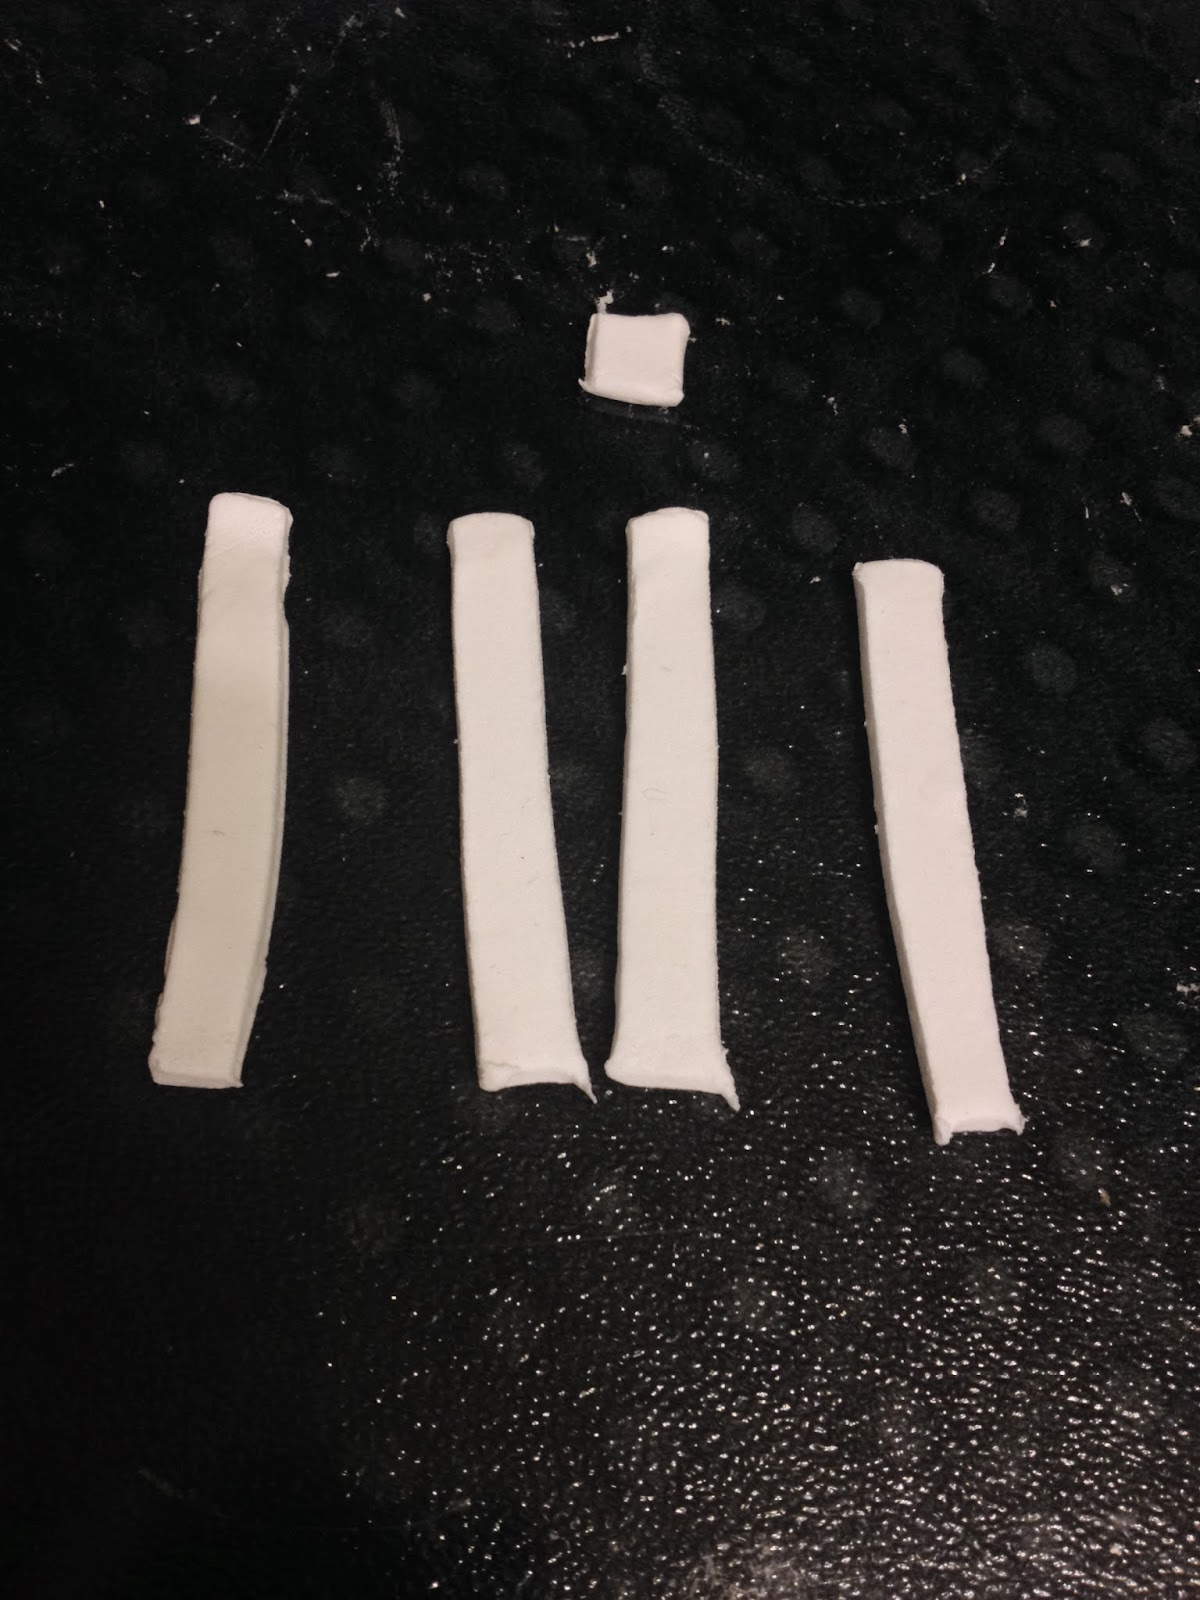
Cut 4 even pieces about 2 to 3 inches long depending how big you want the final bow to look.
Roll the clay in little worms.

Bend two to create the one U shapes and stick them together.
Use the other 2 worm to create to the little draping down ribbons.
Choose your favorite position and moist to stick it safely.
Let the whole piece dry over night.

Use a pencil to draw the face details.
Paint 2 coats of the gray acrylic paint.

Detail the little cheeks with pink acrylic paint.
Also paint the bow pink.

Use the back acrylic paint to create the cute eyes.
Oppsy!! We got some blue paint all over her hands.
Sam wasn't too sure if her kitty would have a blue or pink bow.
Well my friends it seem pink some how always end up winning at my house.

We were looking for a 3D effect to the whiskers and mouth so we decided to use
Air Dry Ascent Black liner to paint them up and create the look we were looking for.

Here is the little Kitty Cutie final piece after shes been seal with a Glossy finish.

Cutie Showing off her little tail.
Many other animals variations can be achieve using the same technique show above.
Feel free to explore and exercise your imagination were everything is possible once you put your mind to it.
If you have any questions feel free to email me at Gloriann@byglori.com.
I hope you had fun creating this cute critter and remember my friend to have a bless day and happy crafting.
Sincerely always.
Gloriann Irizarry and Samantha Ellard
Gloriann @byglori.com
5 comments:
Great project !
and such a cute kitty :)
~Diane
Love it!! Such an easy project!
She's puuurfect! I love her! :)
Really cute!
Darling Kitty! She looks fun to make. The kids would love this.
Post a Comment